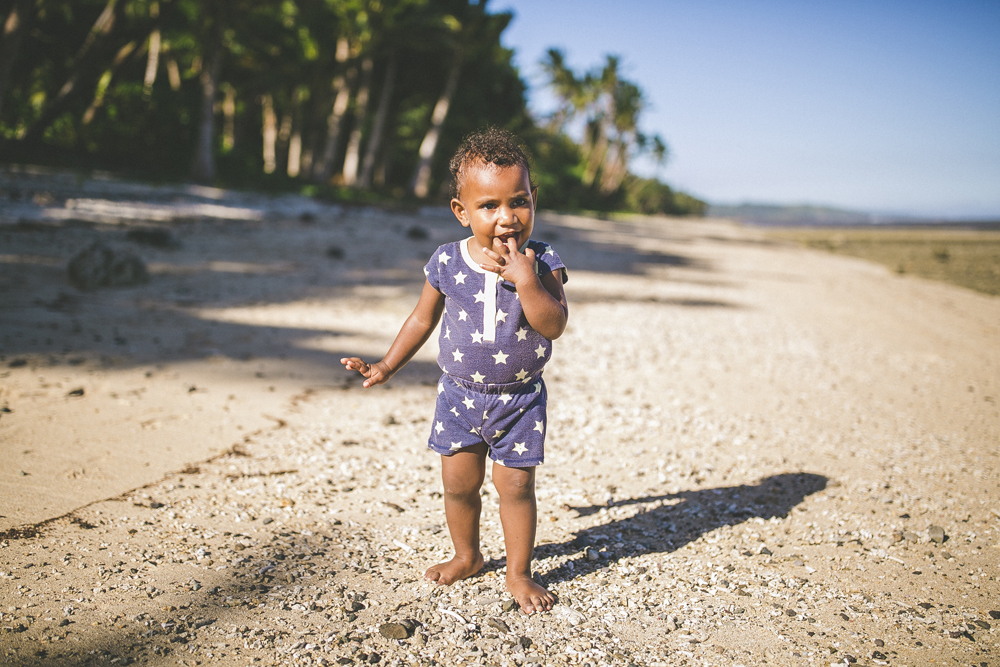
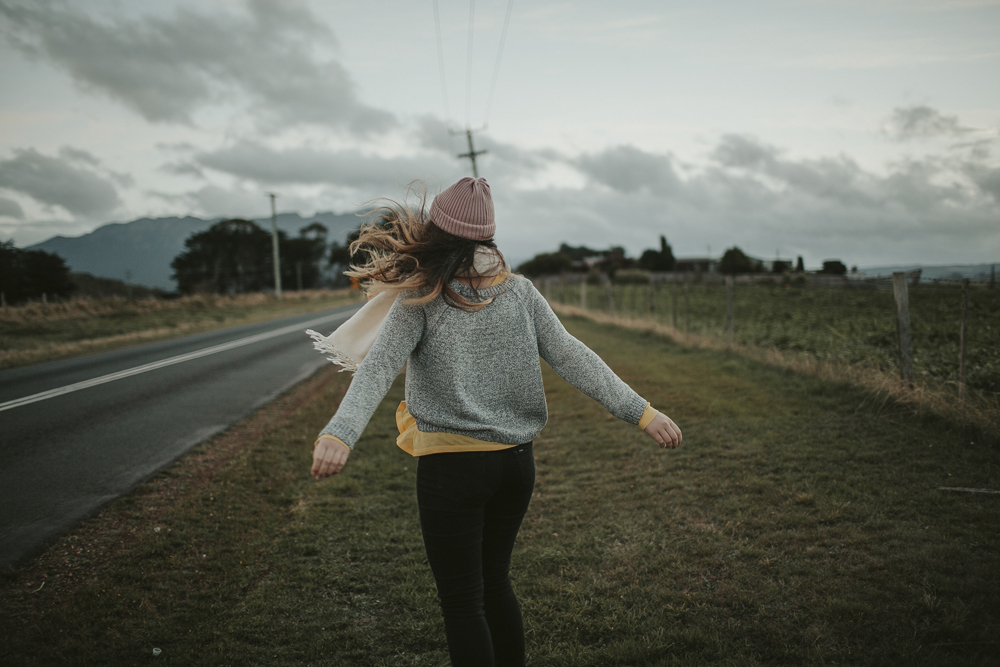
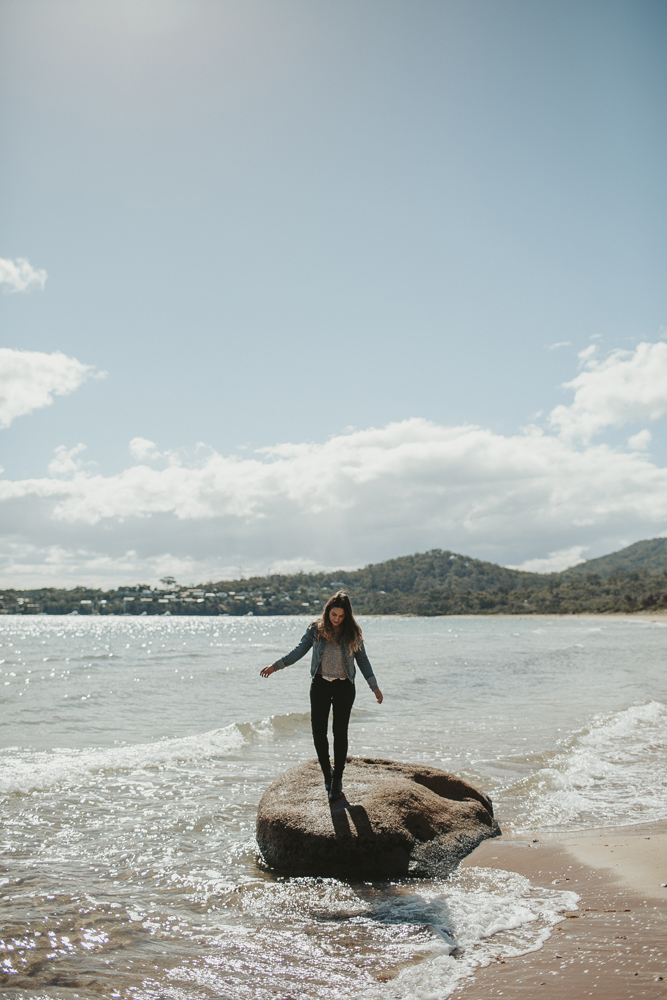
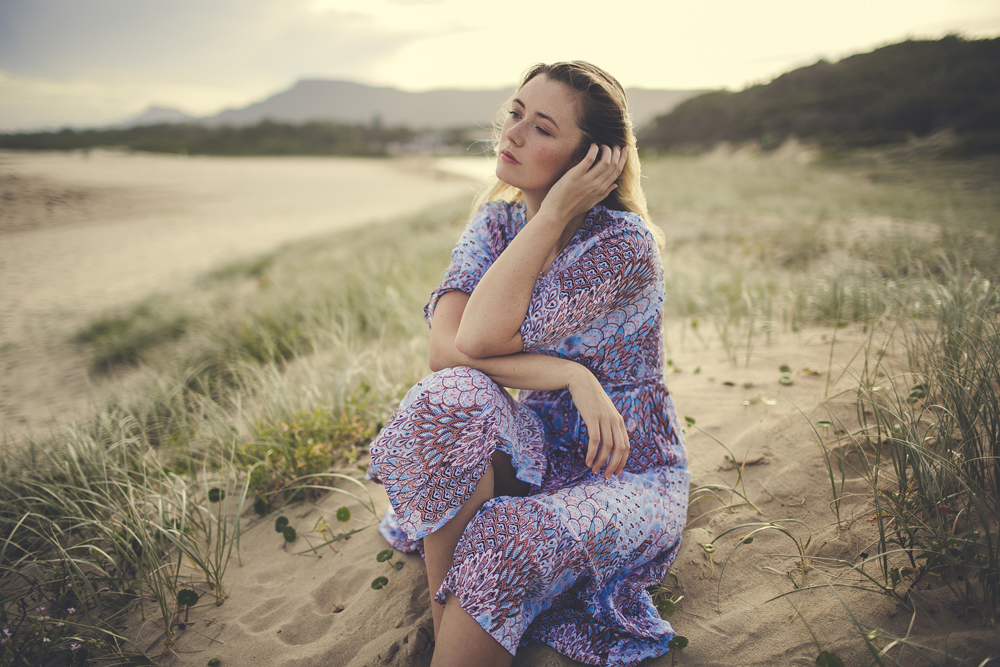
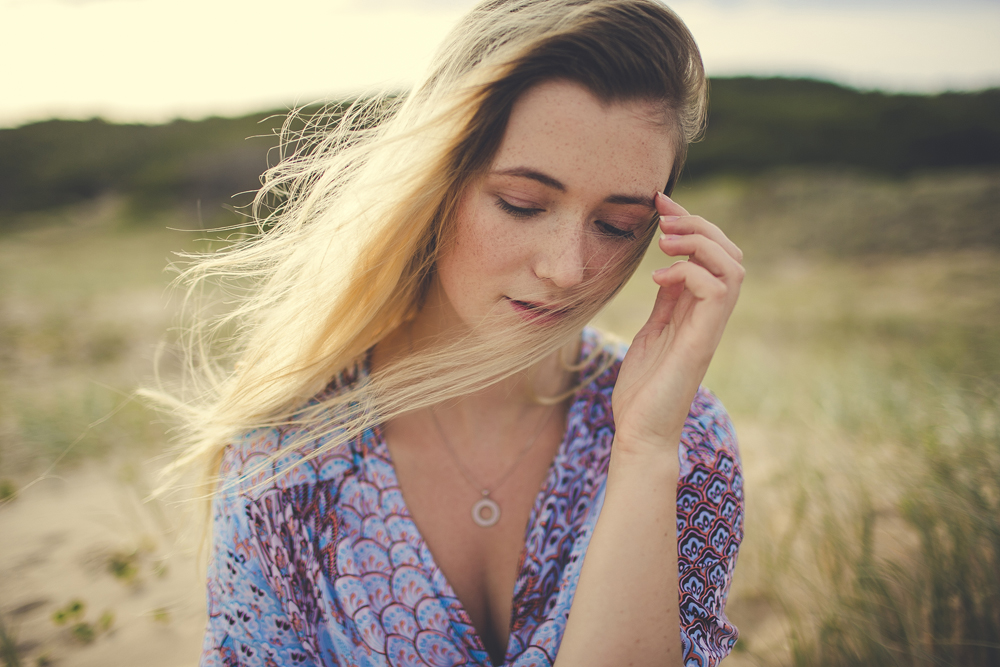
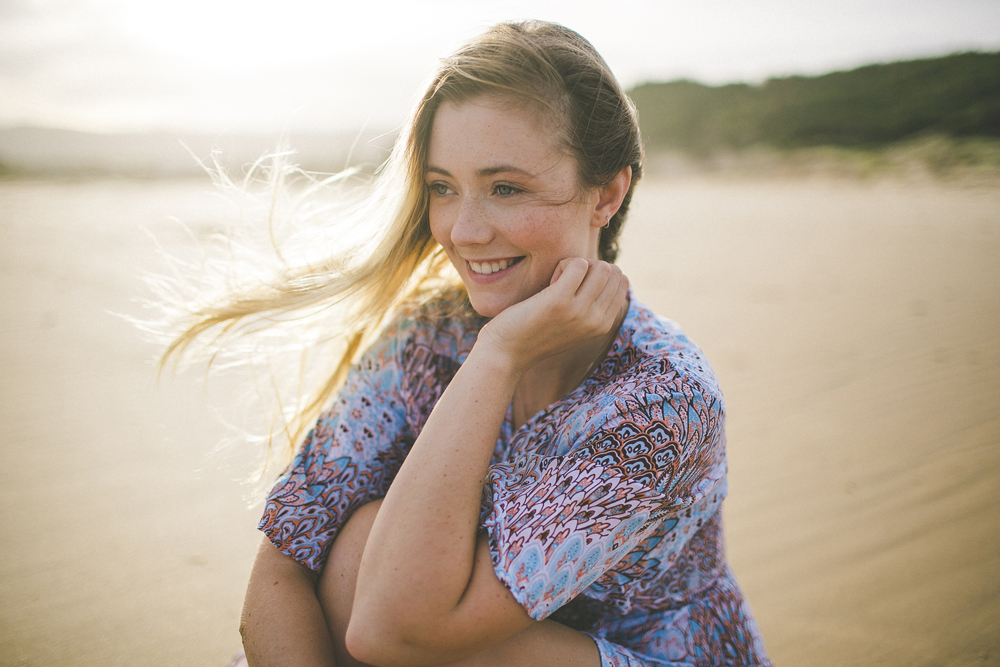
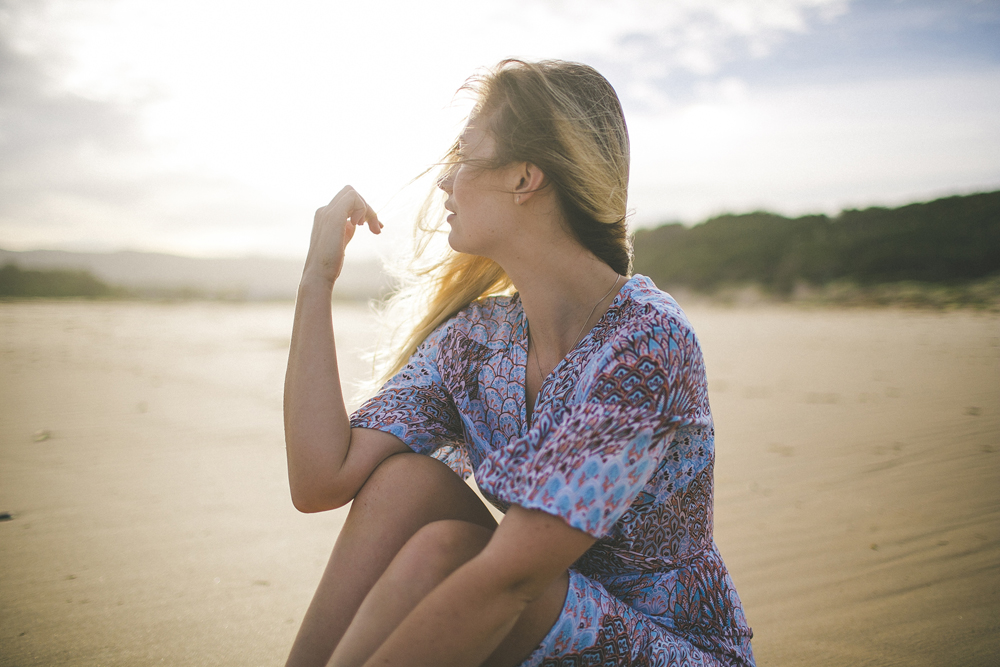
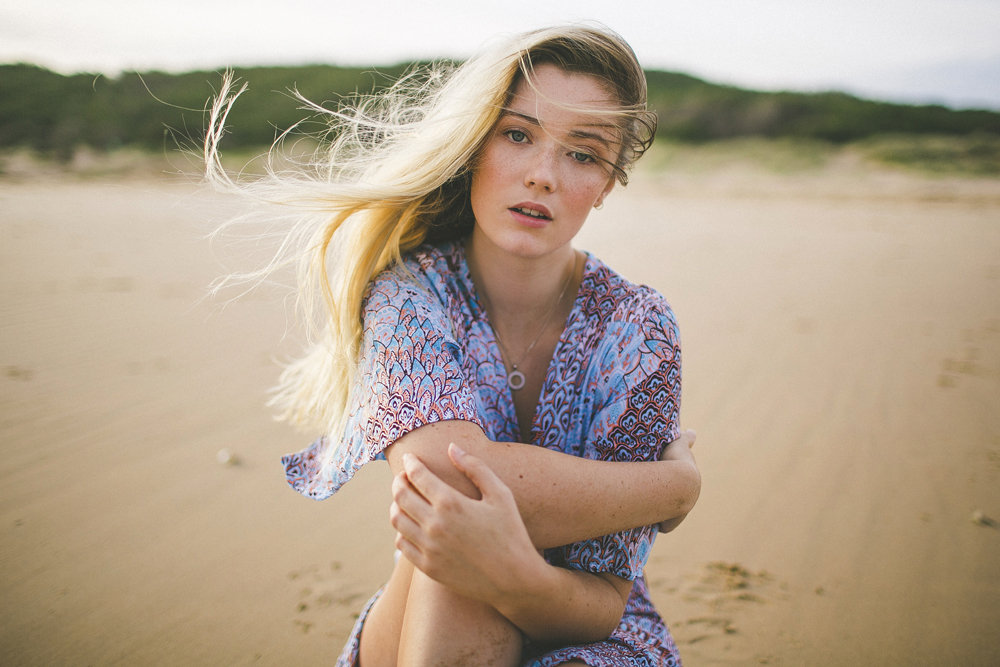
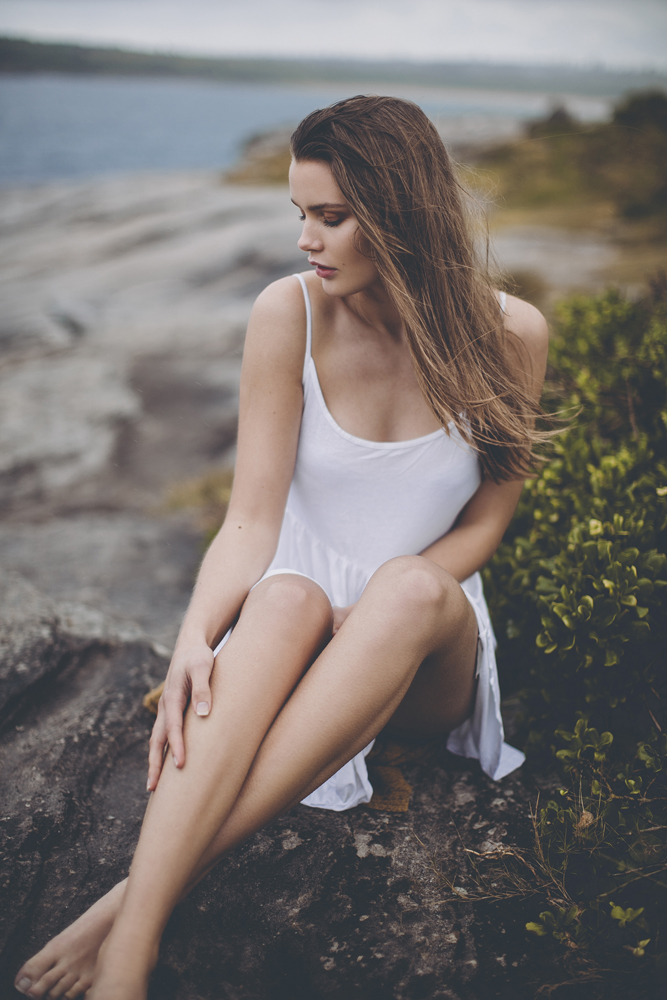
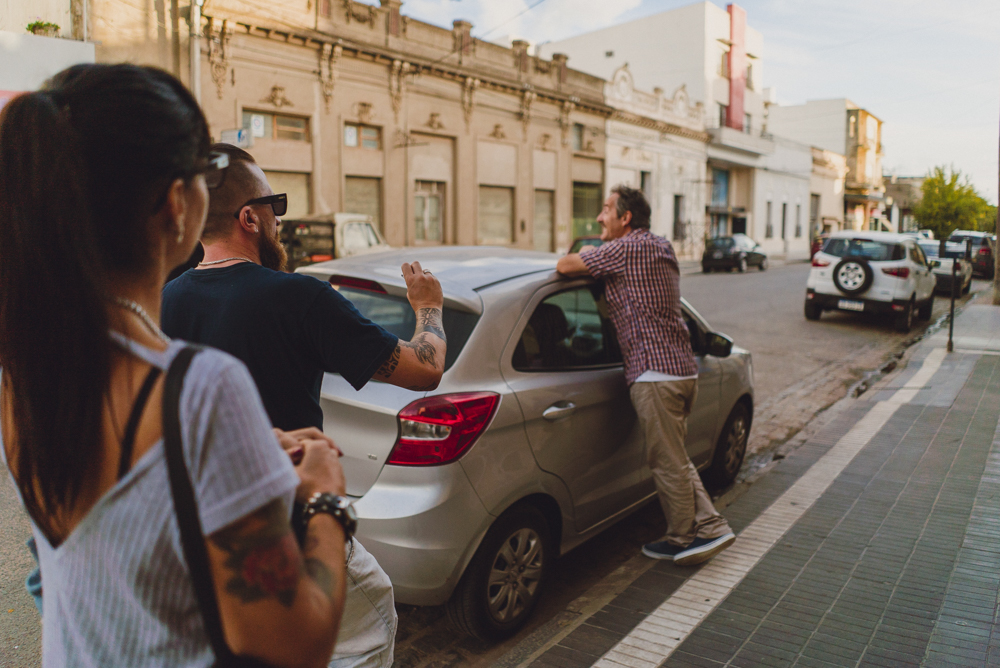
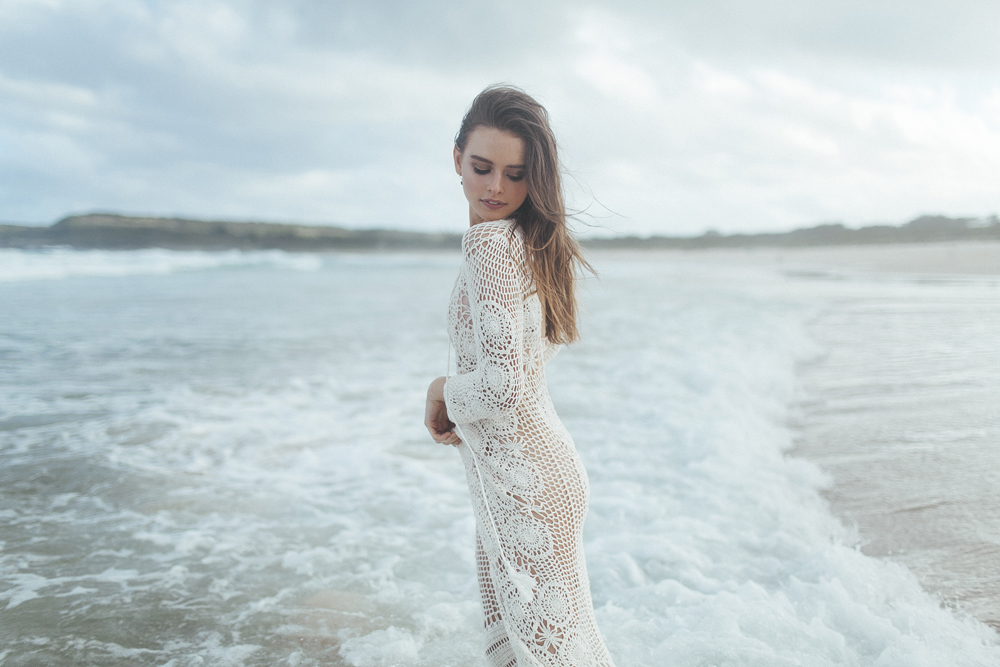
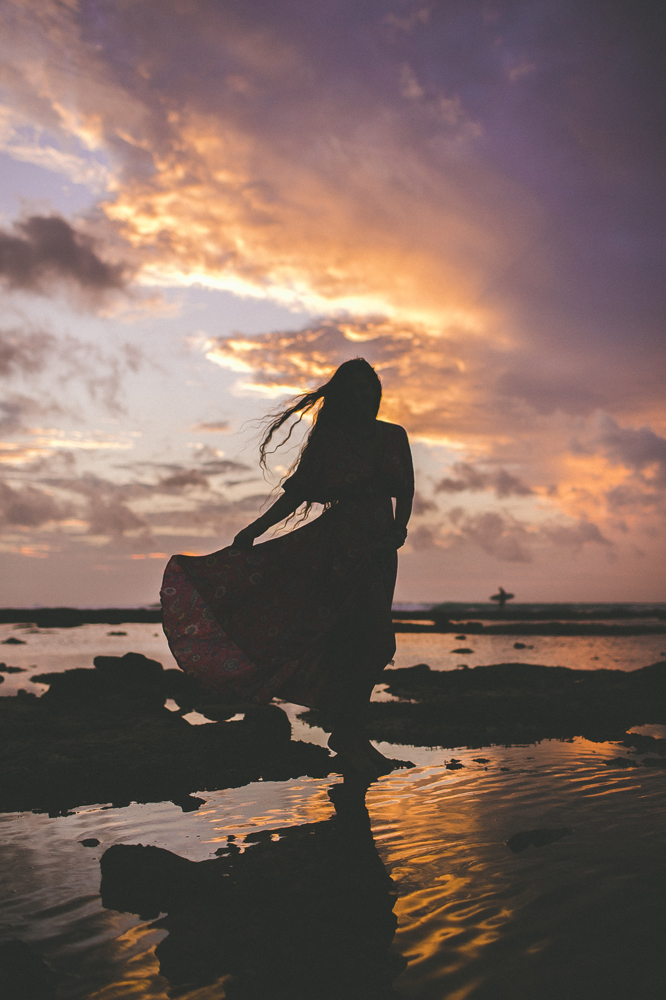
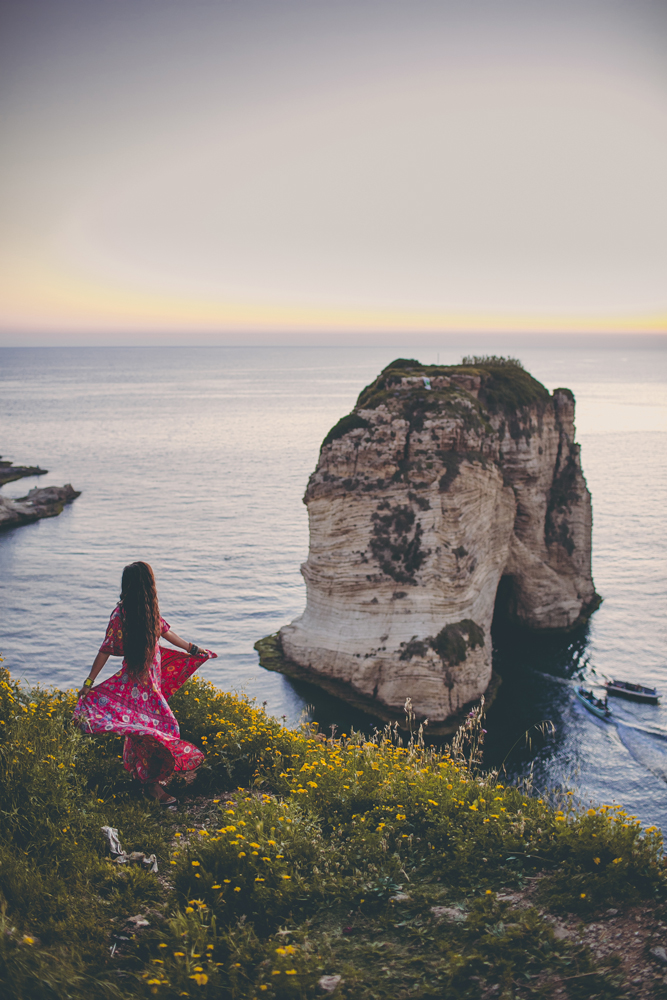
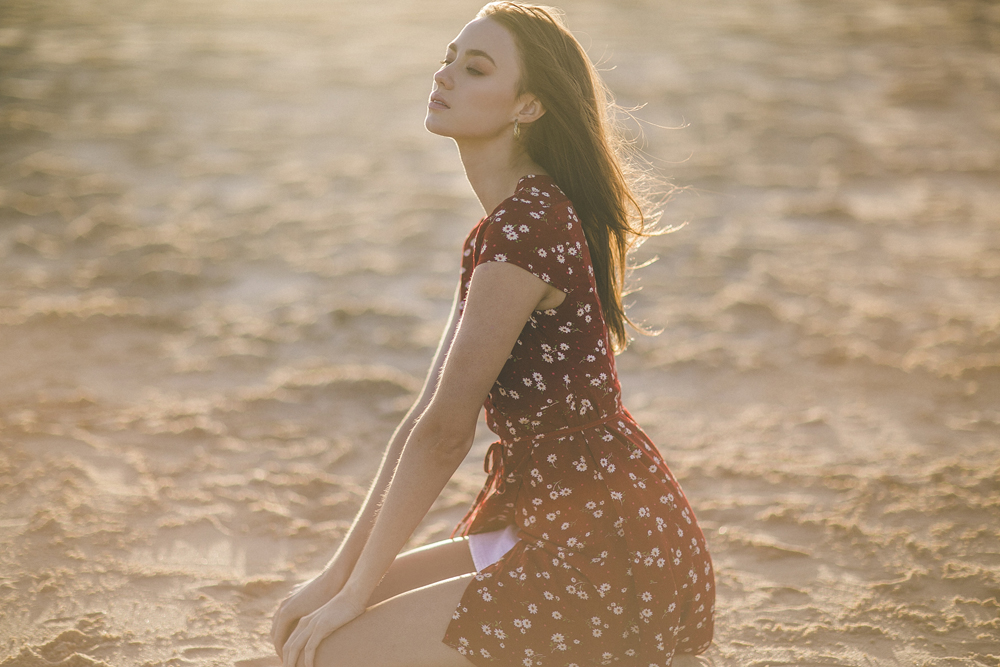
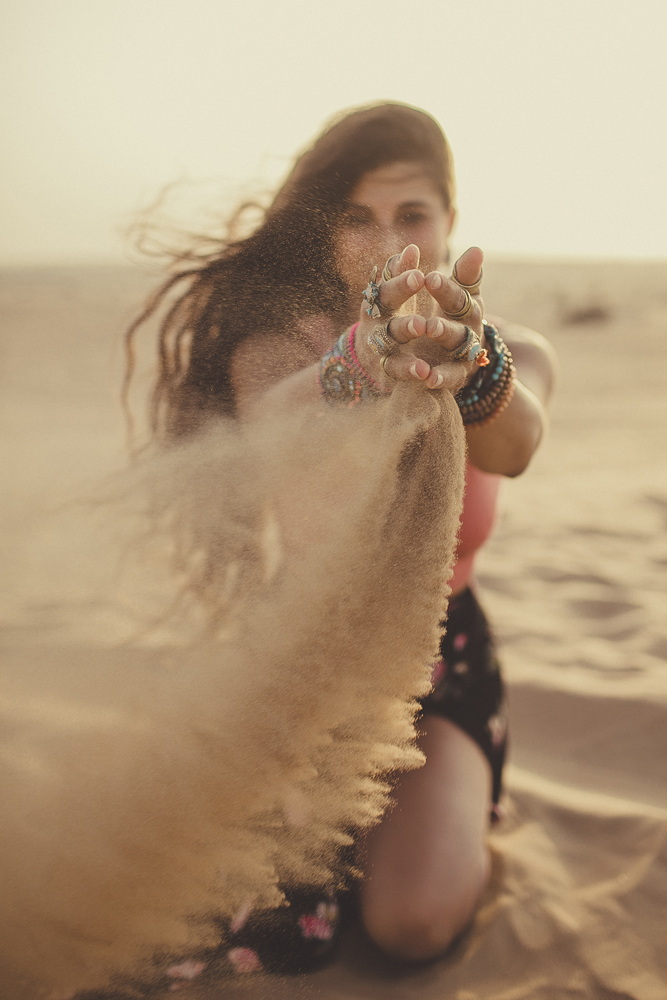
As a Canon shooter my entire photography career, this was my first portrait photoshoot experience with the Sony A7III. I recently borrowed the Sony A7II from a friend and took it to a beach portrait photoshoot session and a golden hour portrait session to test it out. I enjoyed using the Sony A7II so much realising there were a lot of benefits to shooting on mirrorless compared to a DSLR.
I have been using Canon since the Canon 5D mkII. I then upgraded to the Canon 5D mk3 as soon as it was announced for the dual card slots and finally upgraded again to the Canon 5D mk4.
After using the Sony A7II, following week I decided to buy a Sony A7III. Compared to the Sony A7II, the A7III had some key features I was interested in. The A7III has a touch screen, it also has eye AF. Compared to the A7II which only had face detection. The A7III also has higher dynamic range and better low light sensitivity which is important to me as a wedding photography.
Another big factor of getting the A7III is the video capabilities. I wanted a camera that I could do my portrait photography and wedding work on. At the same time, I wanted to travel with this camera and have the option to film video and take photos.
With mirrorless you have a lot of added benefits to help you out as a photographer. Compared to my Canon DSLR, the A7III uses phase detection to focus, making it easier to focus in back-light. You also have eye AF to nail focus on the eyes while shooting with fast apertures of f1.2. This isn't impossible to do on DSLRs, but it definitely makes your life a lot easier. The Sony A7III is also much smaller and lighter to the Canon 5D mk4 which is great for travelling and long days of photography.
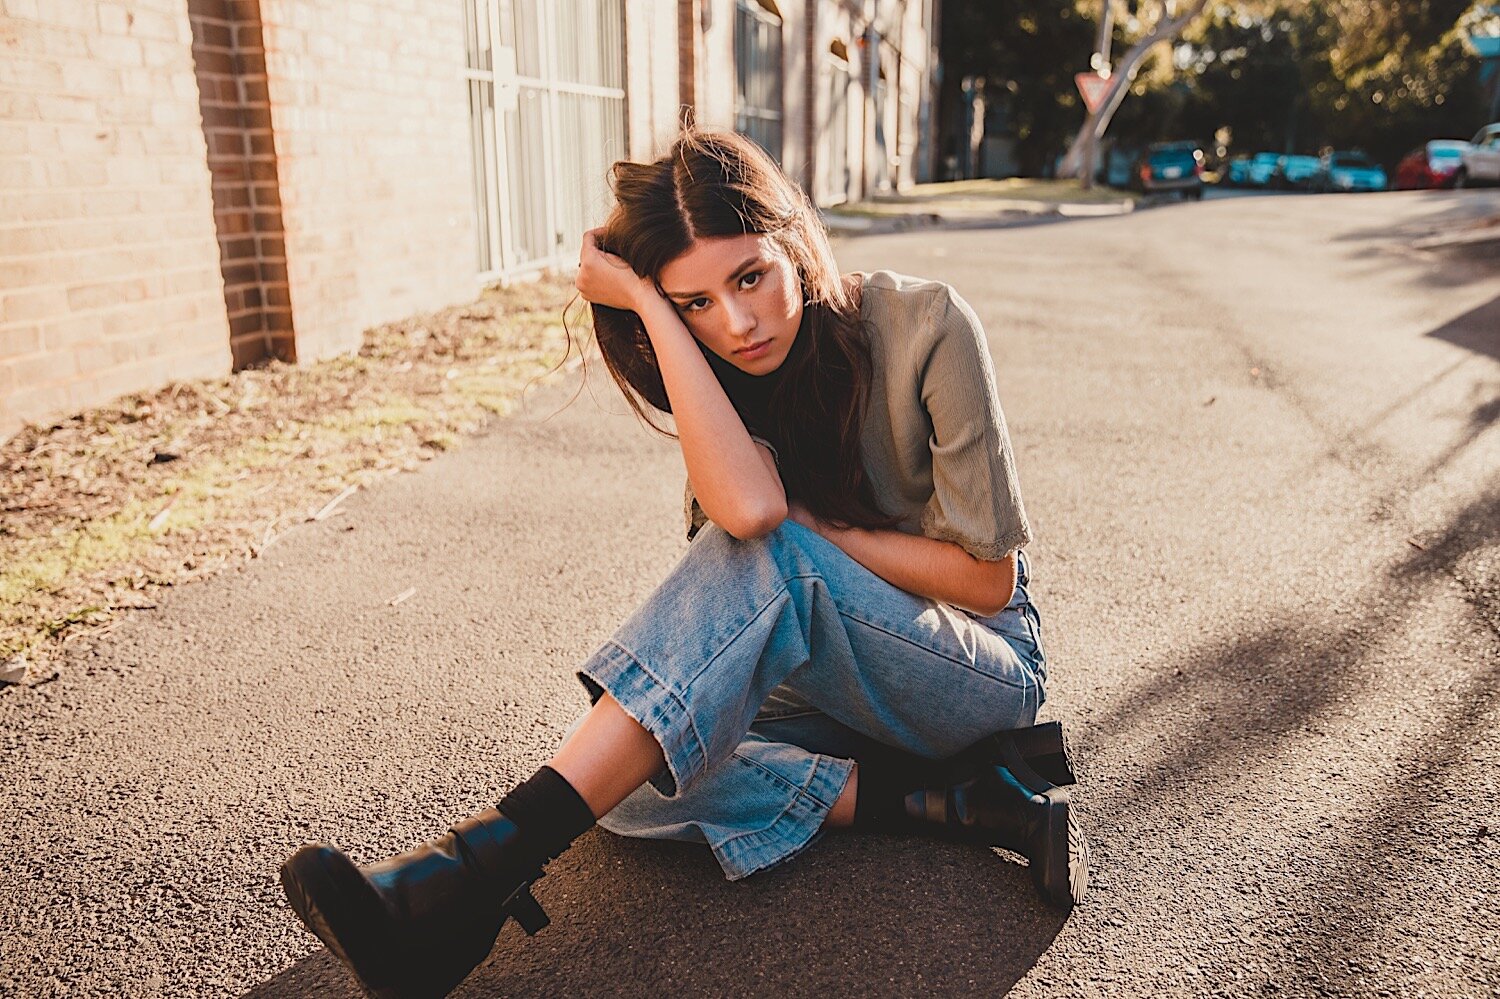
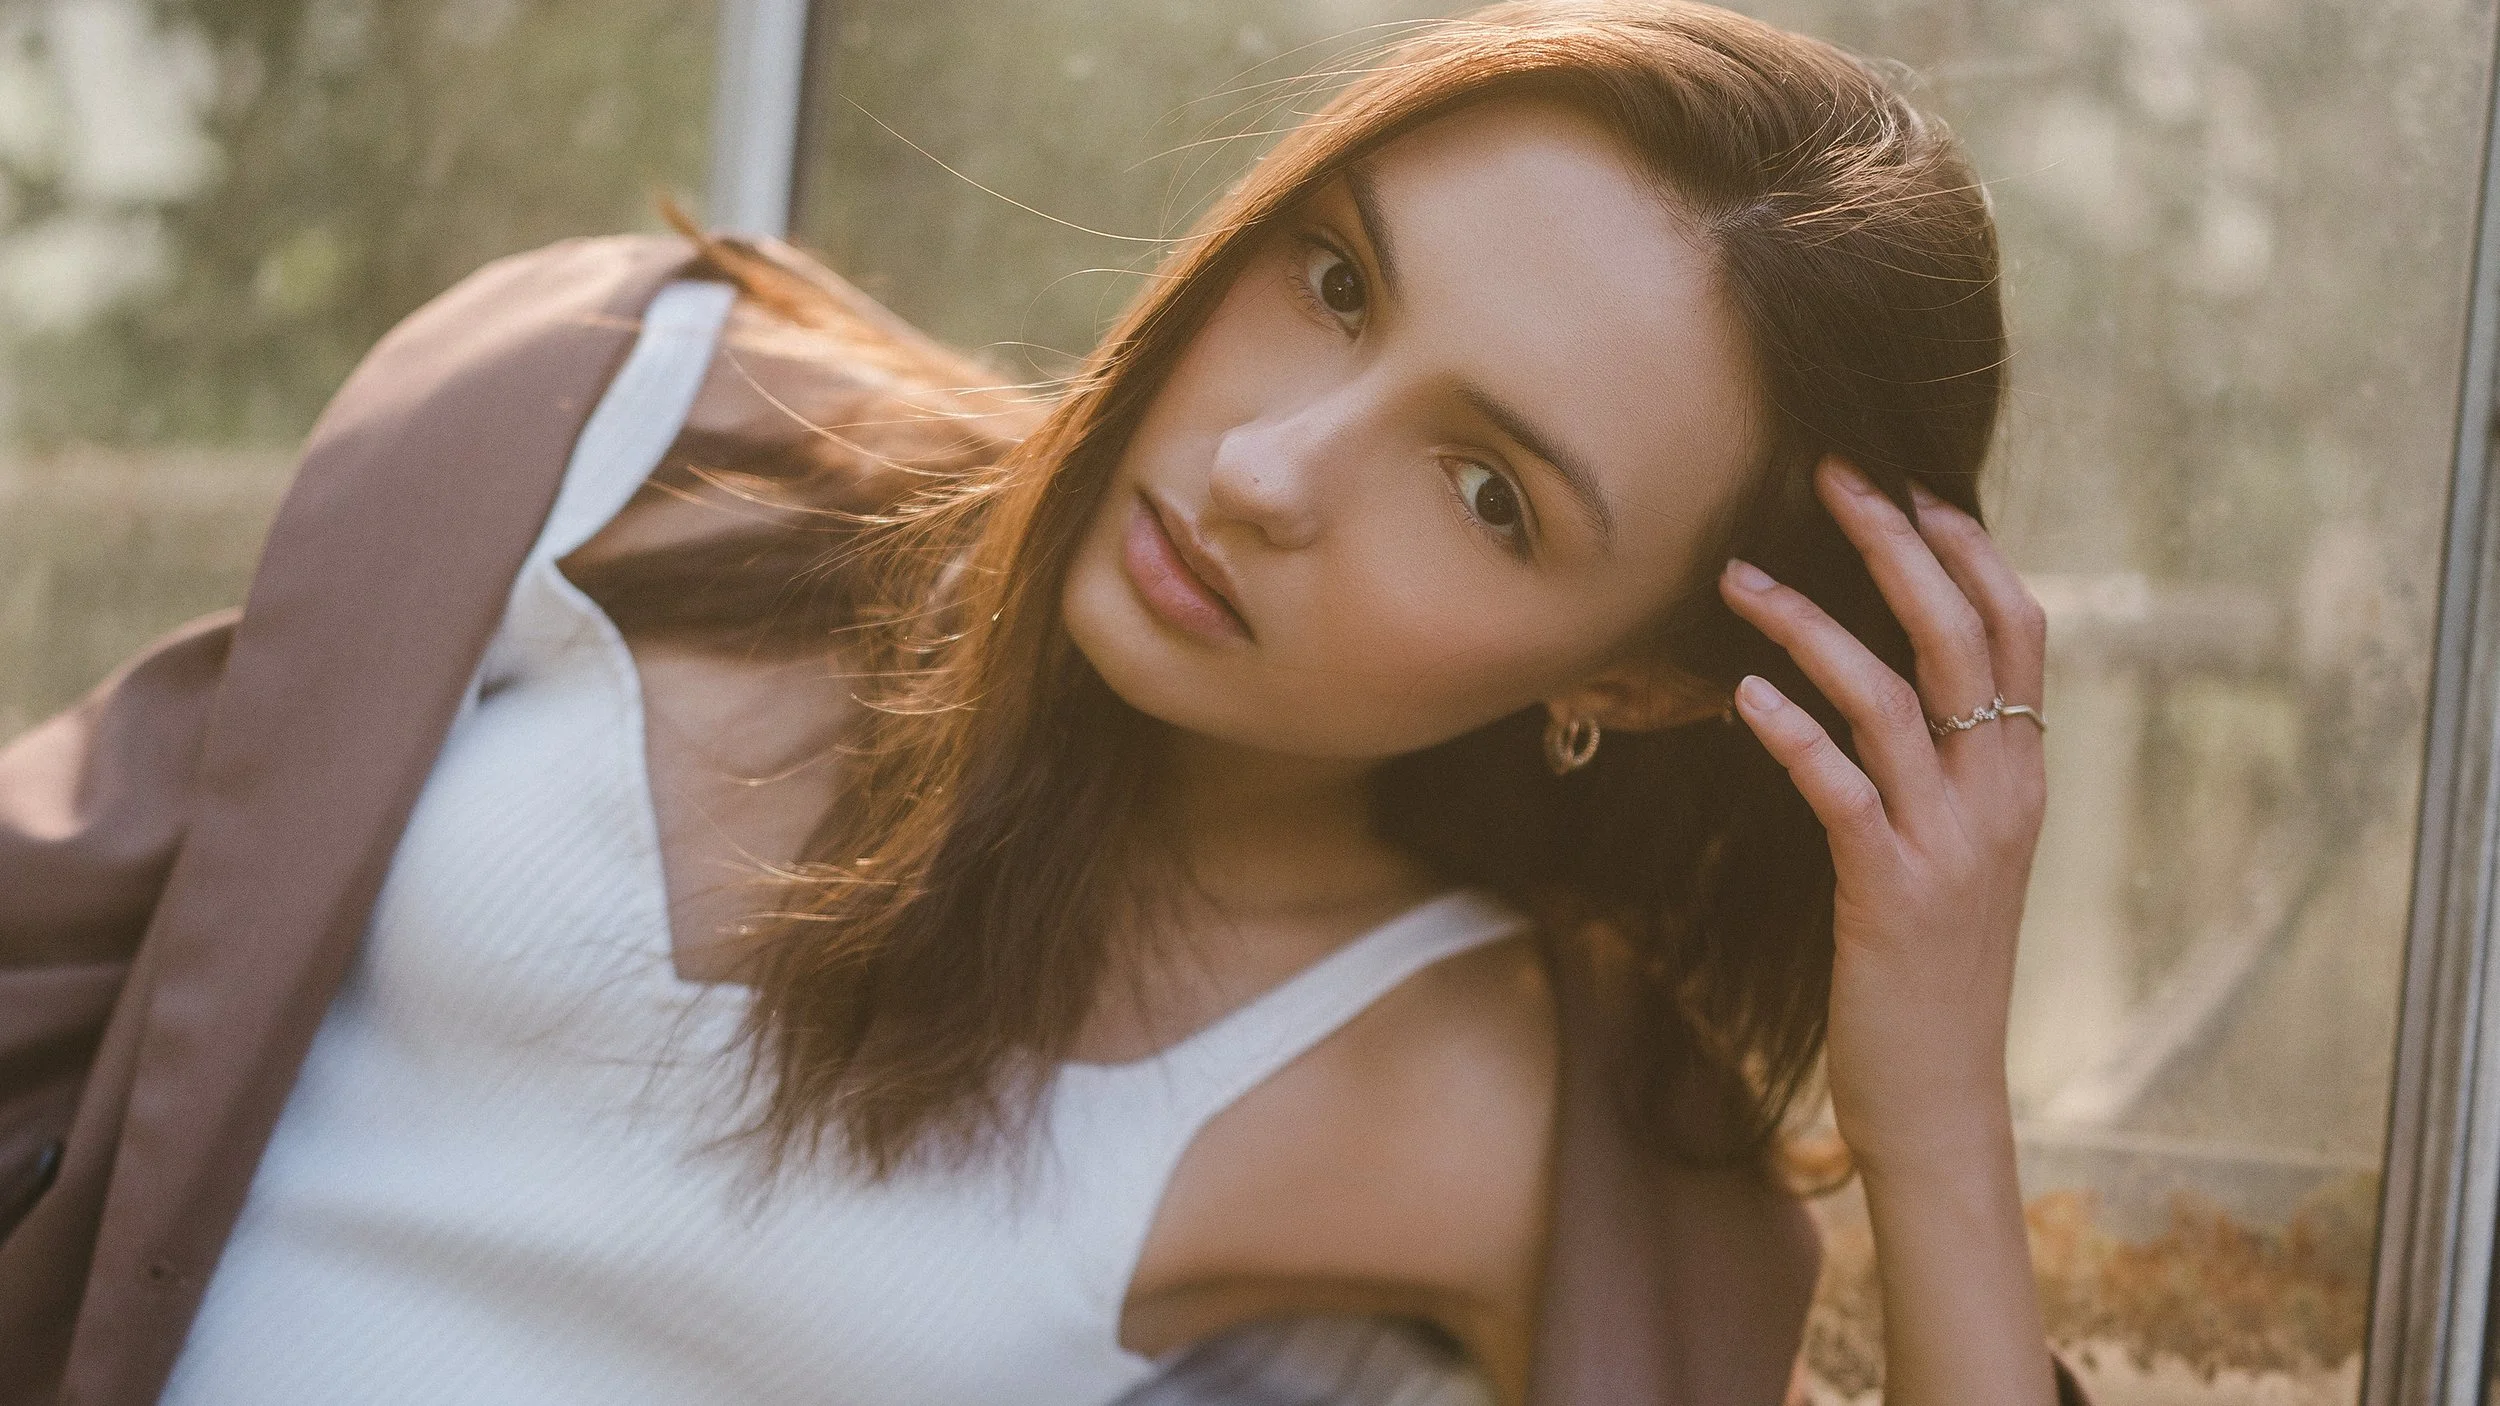
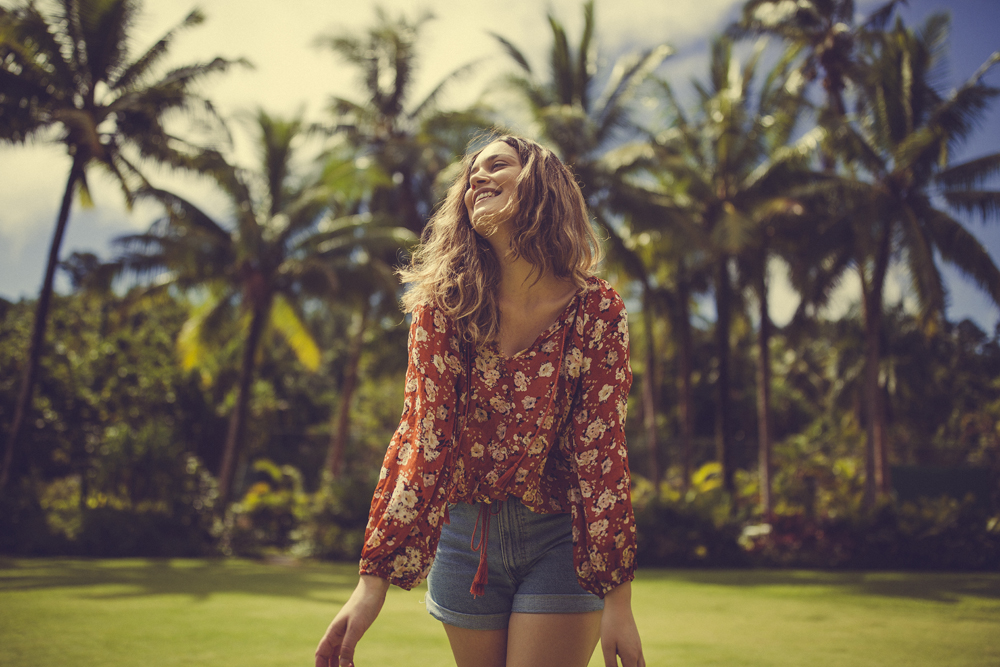
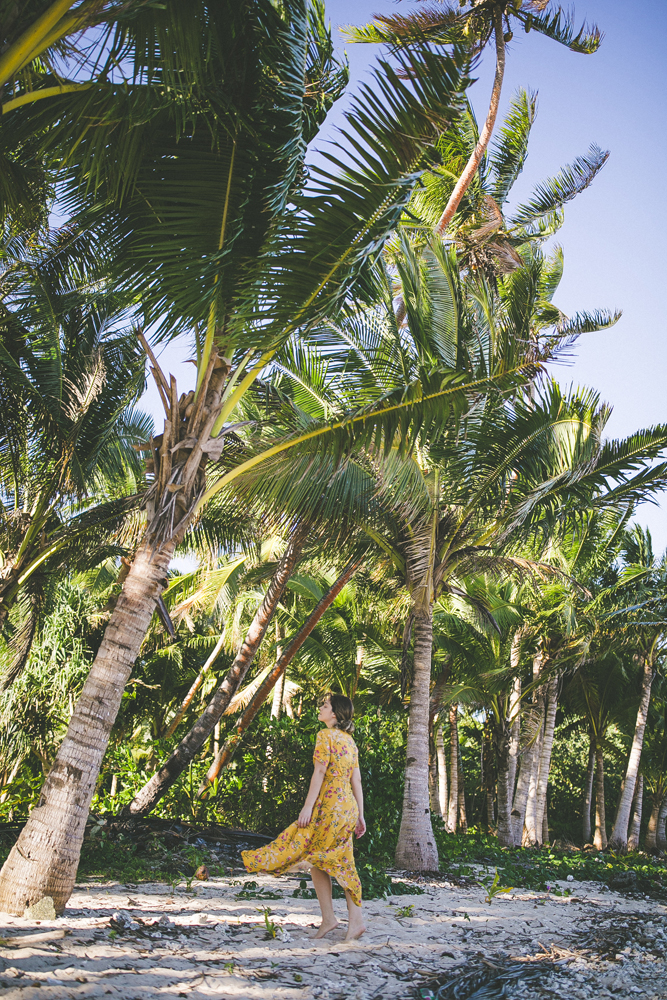
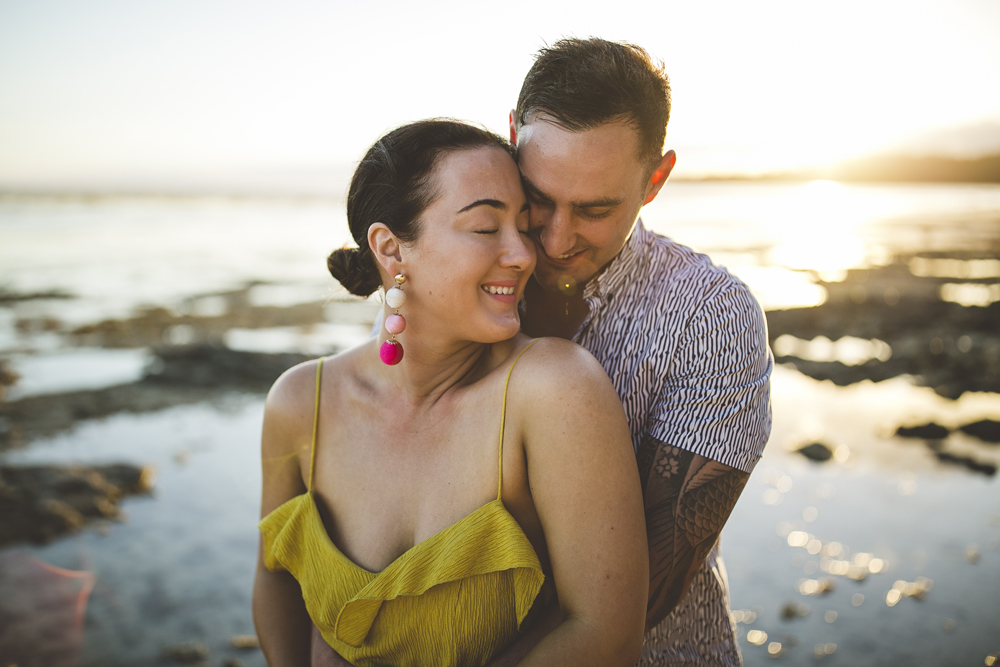
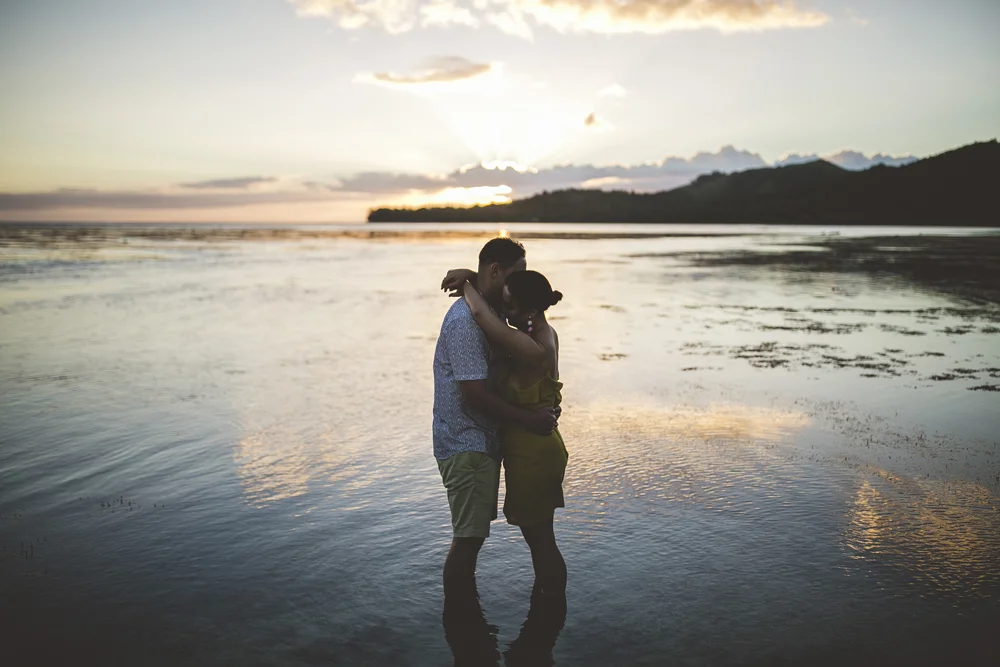
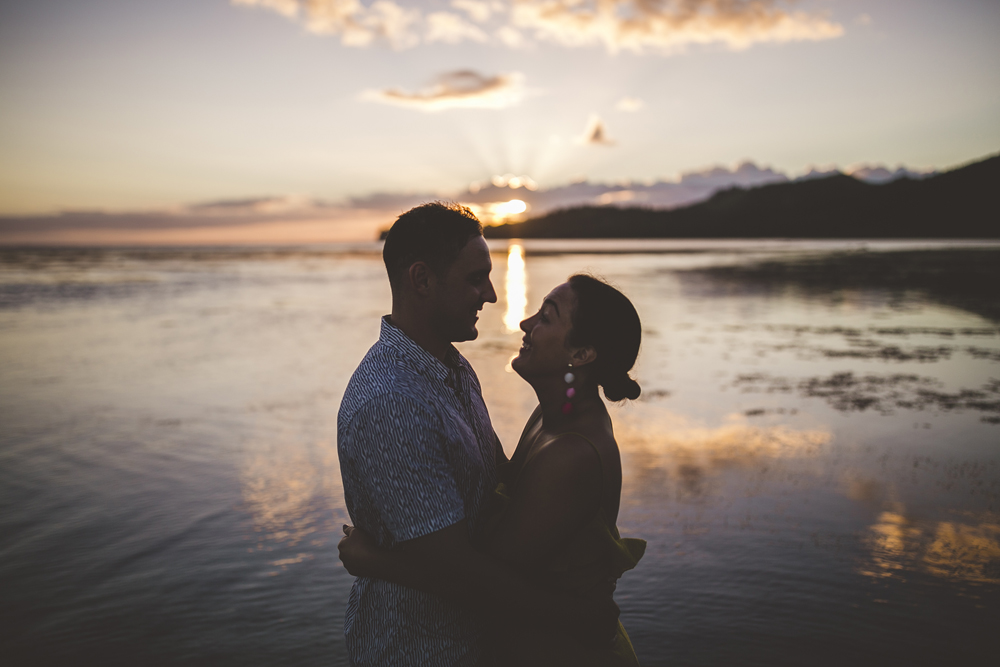
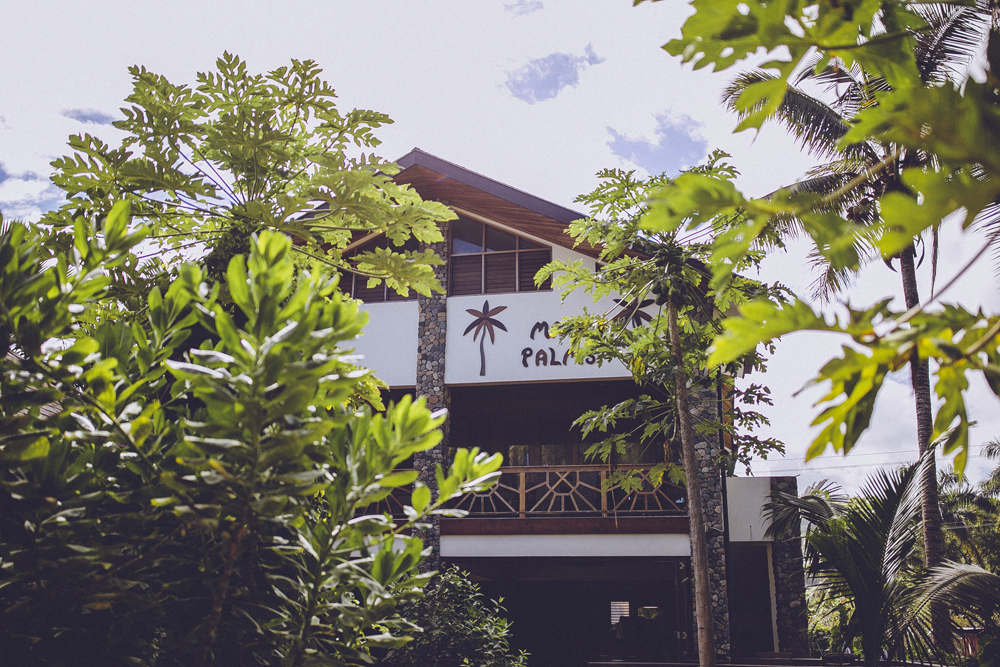
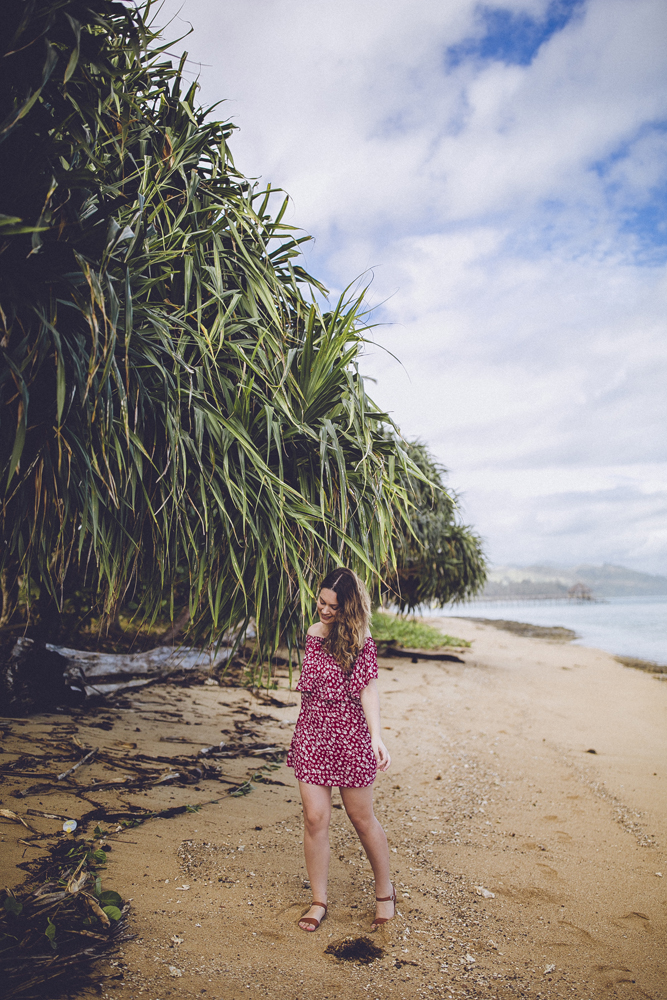
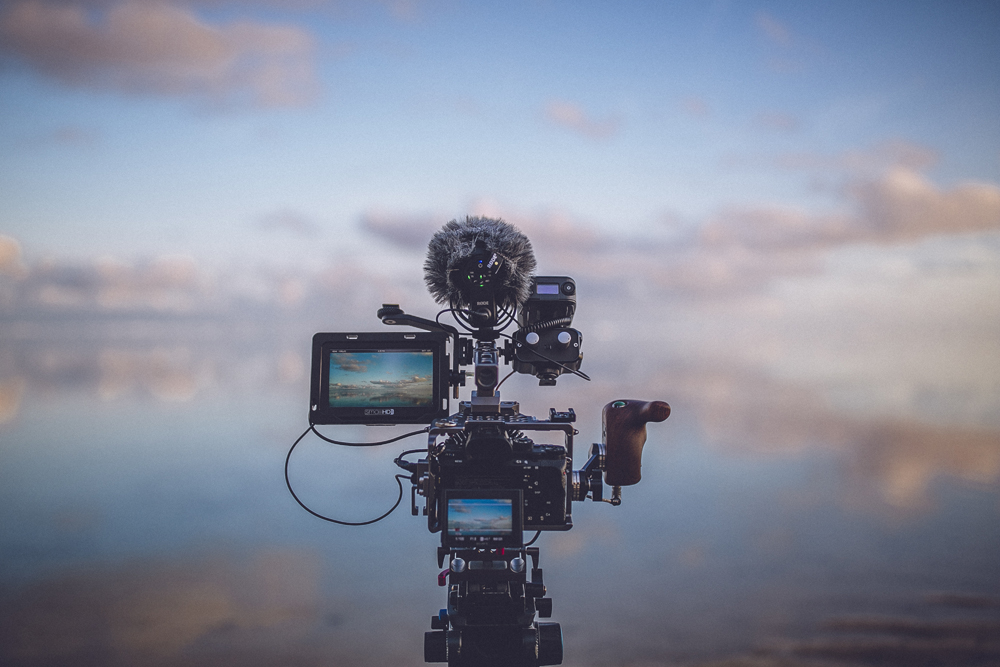
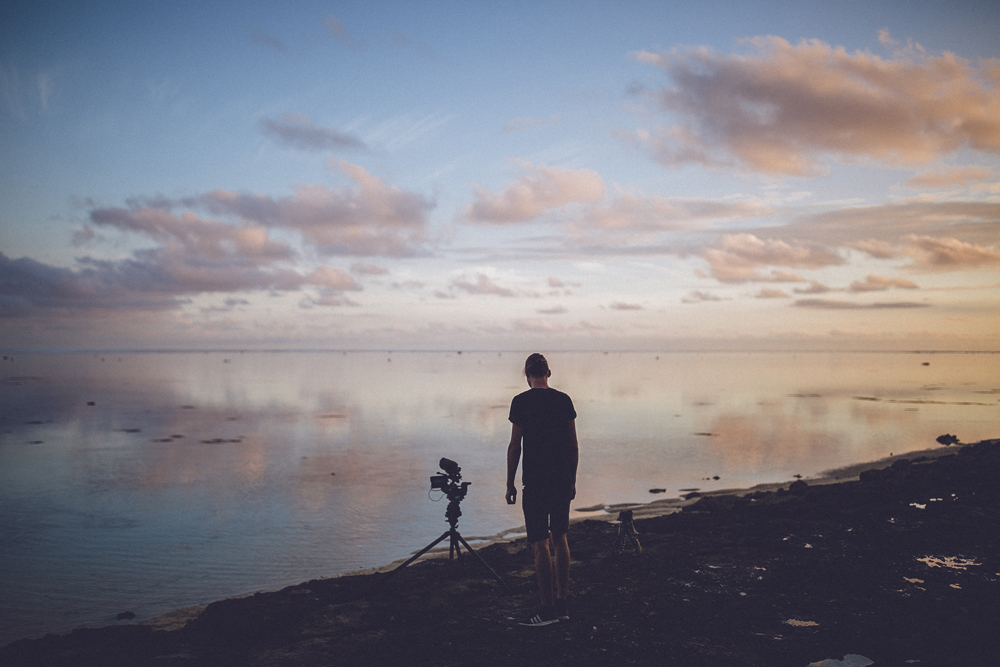
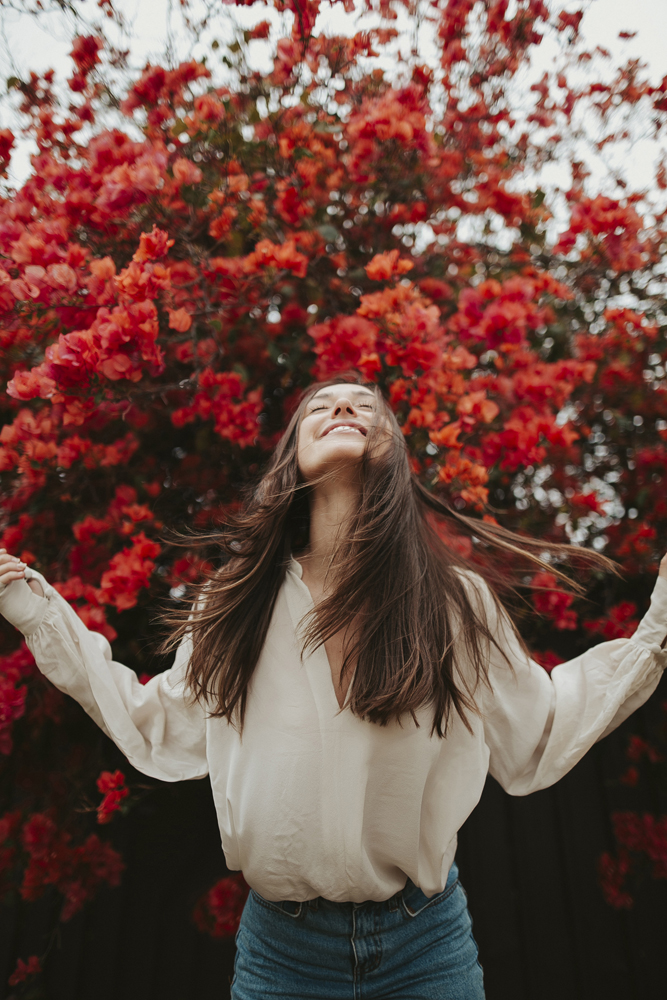
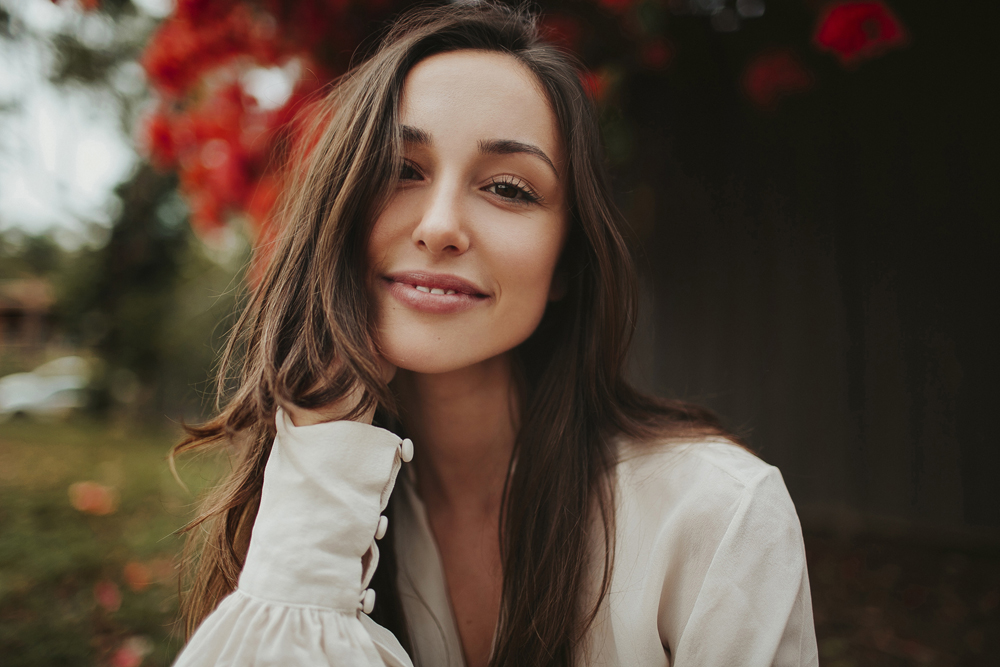
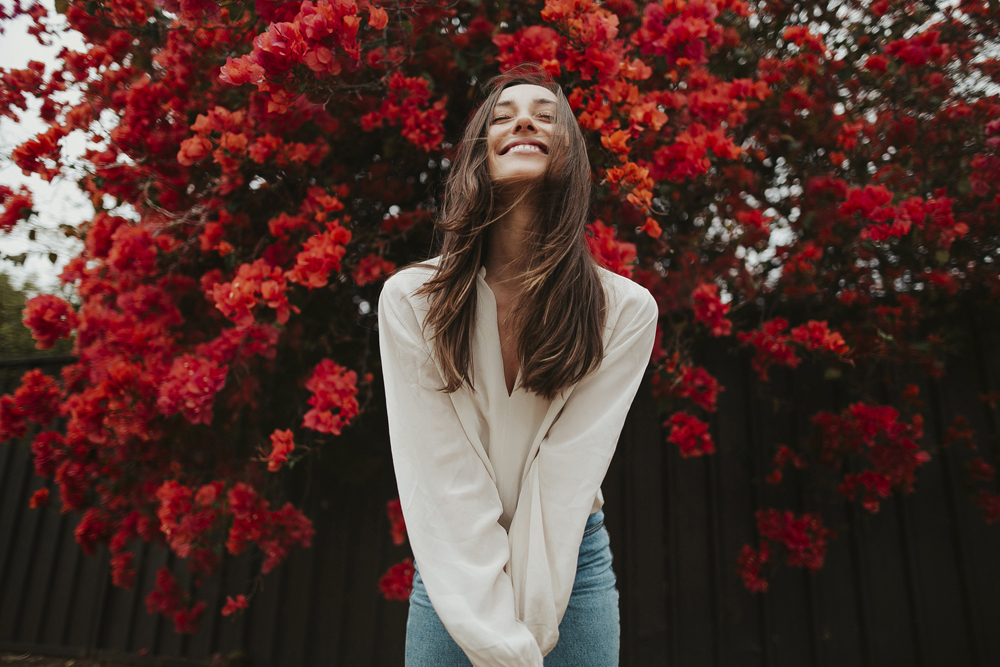
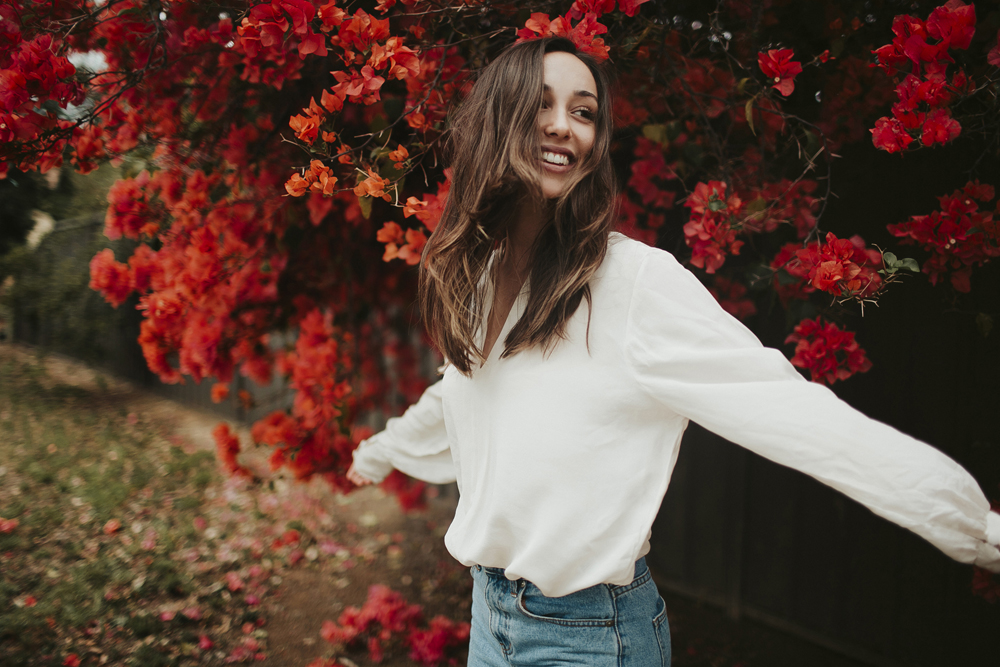
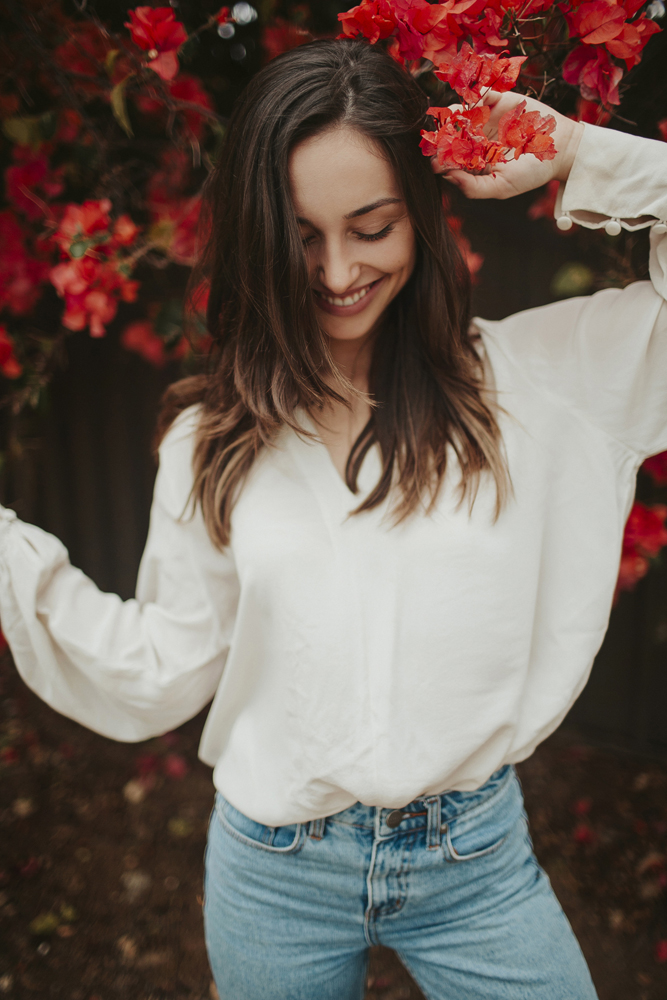
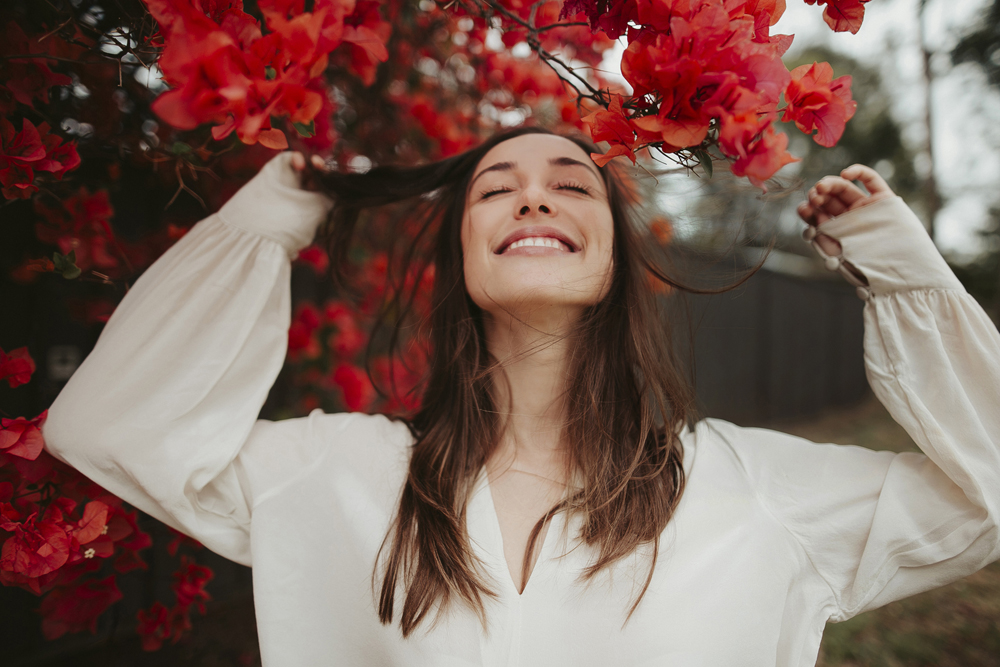
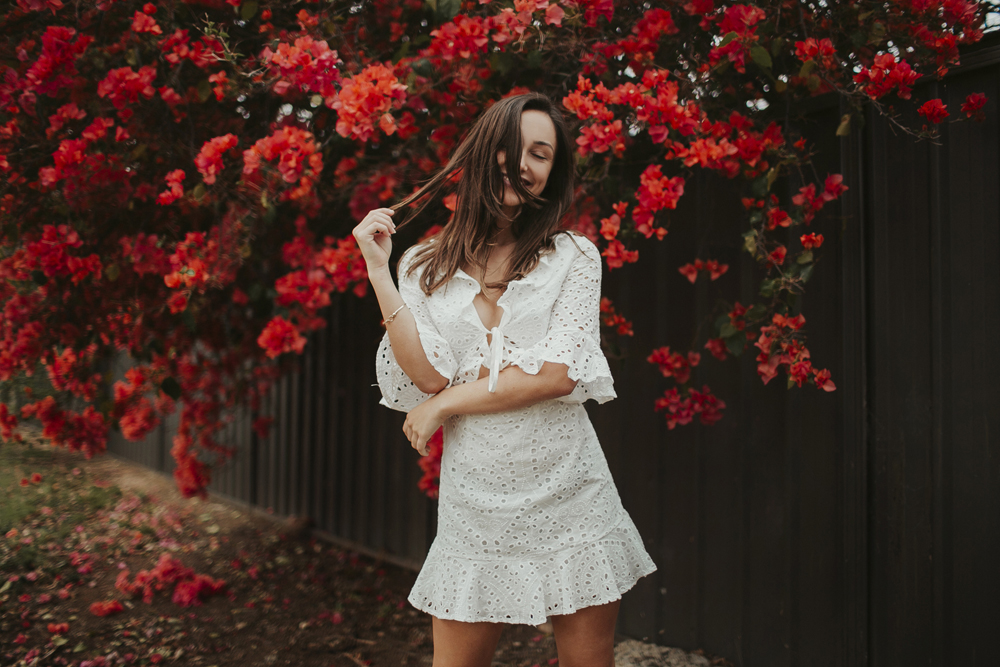
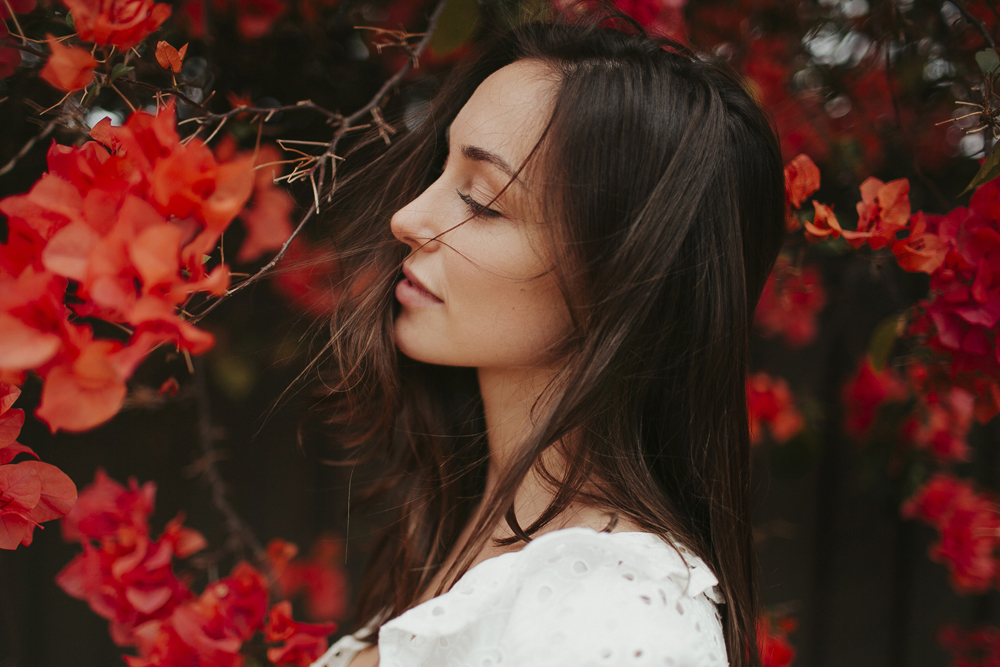
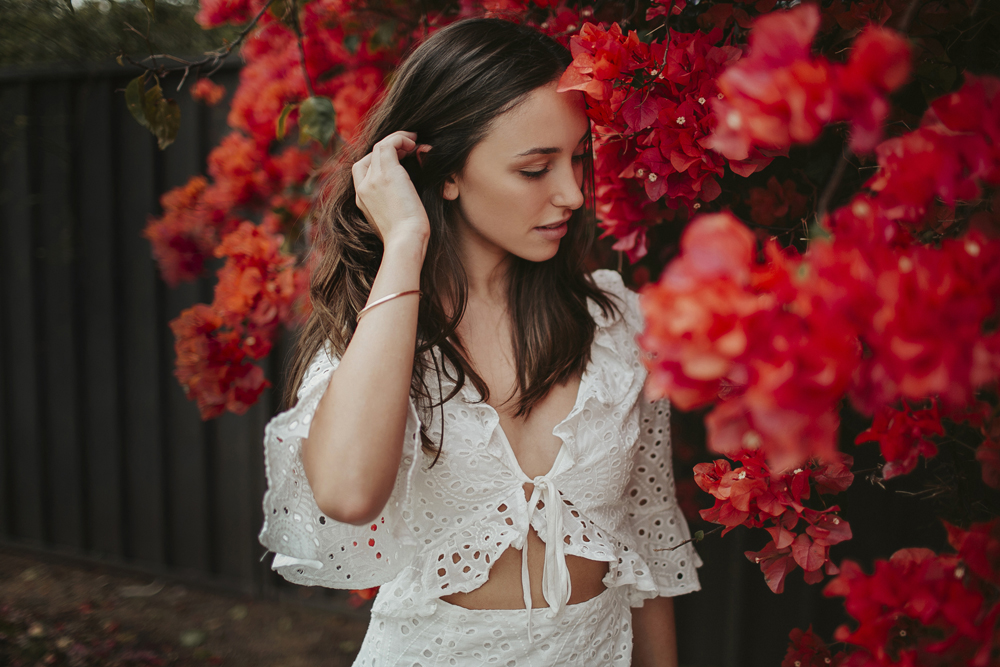
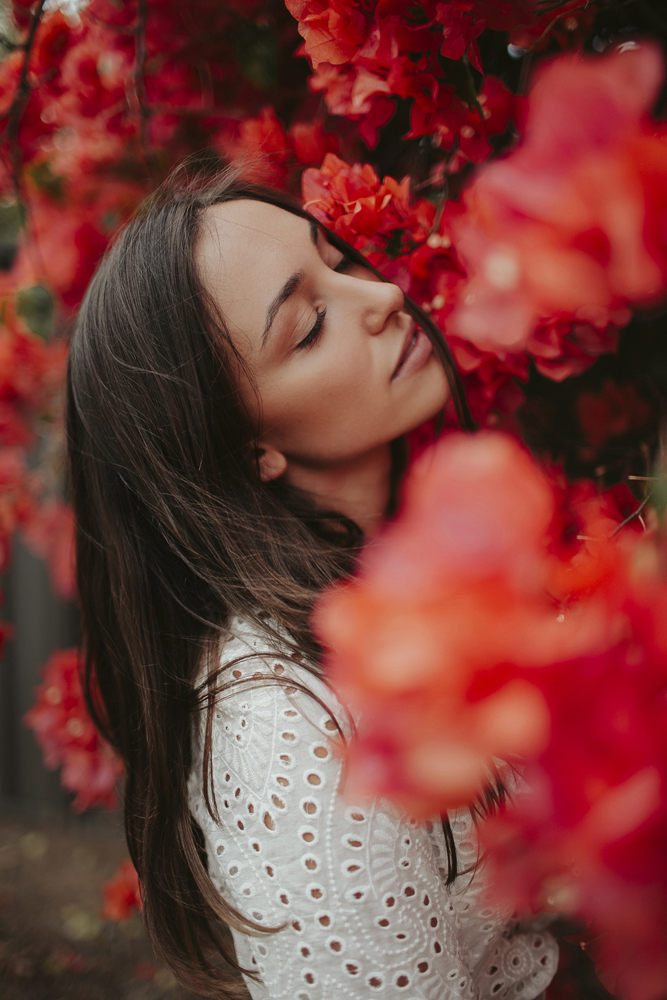
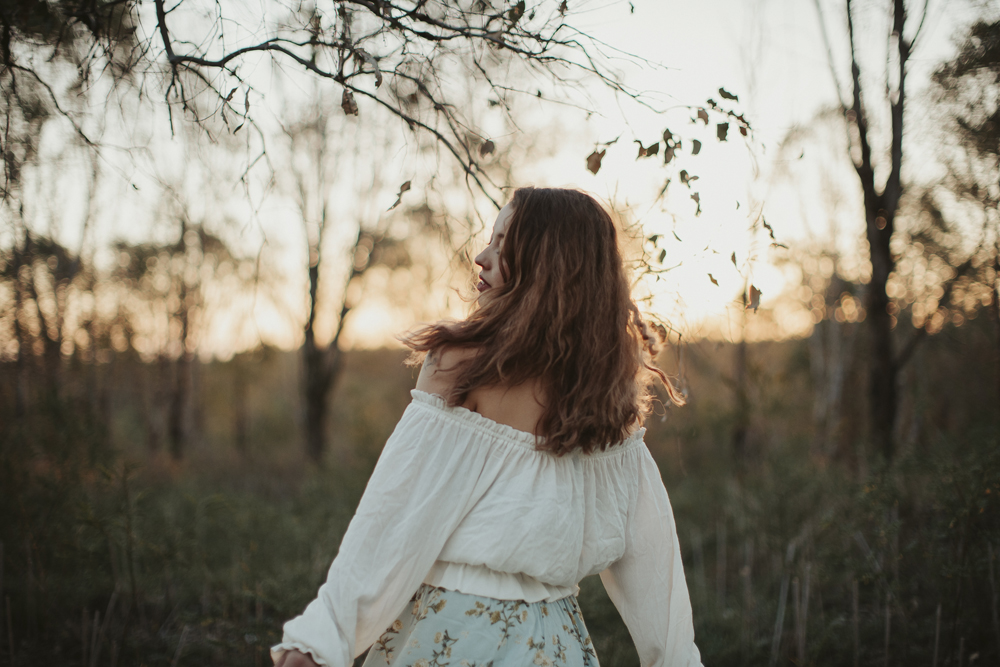
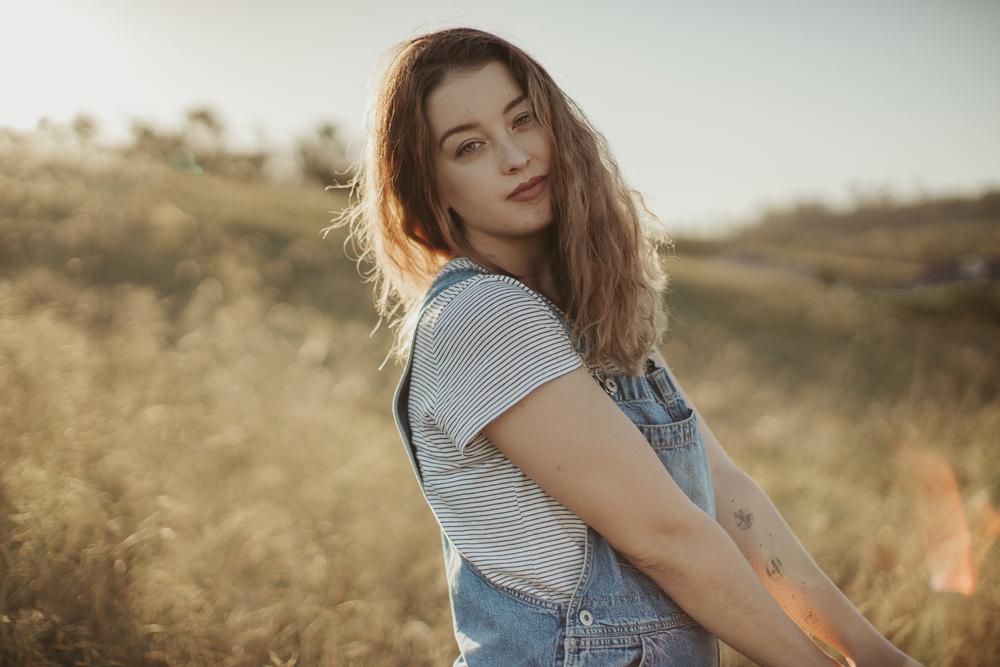
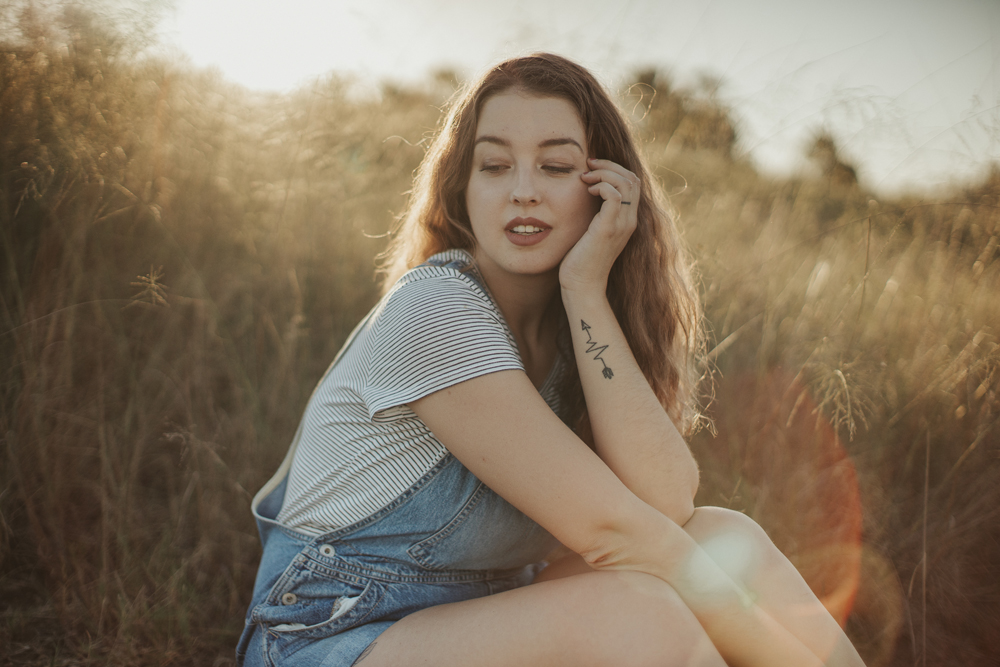
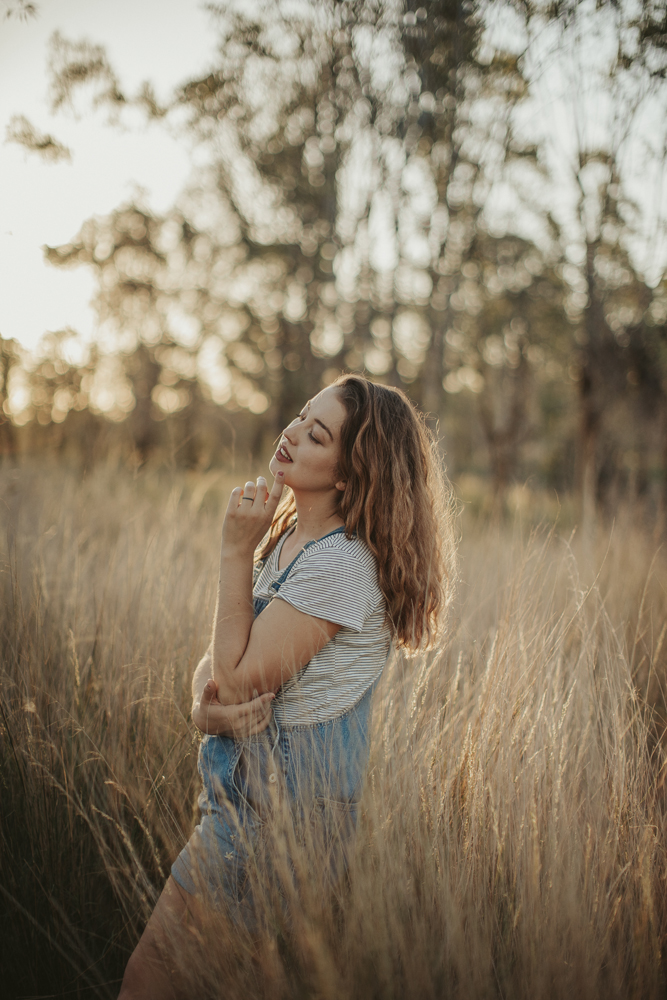
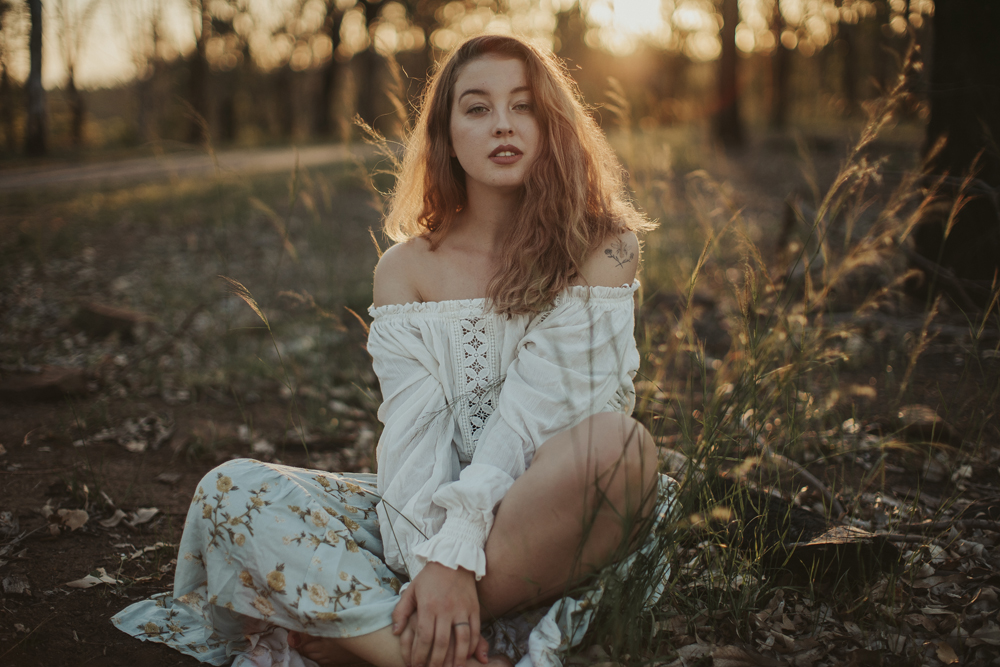
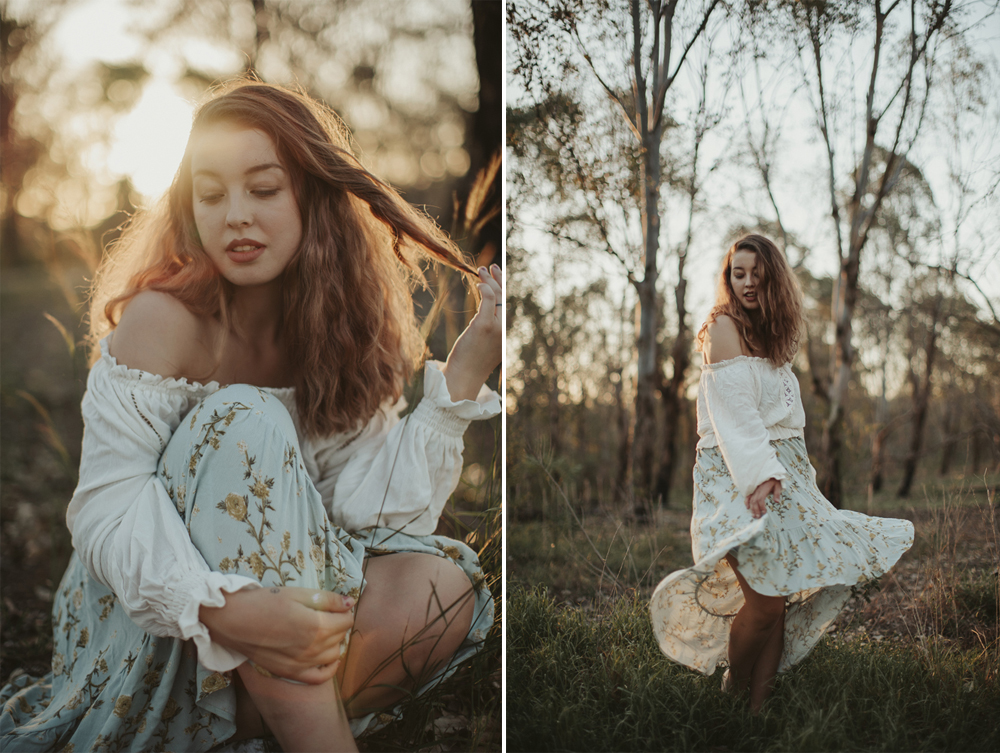
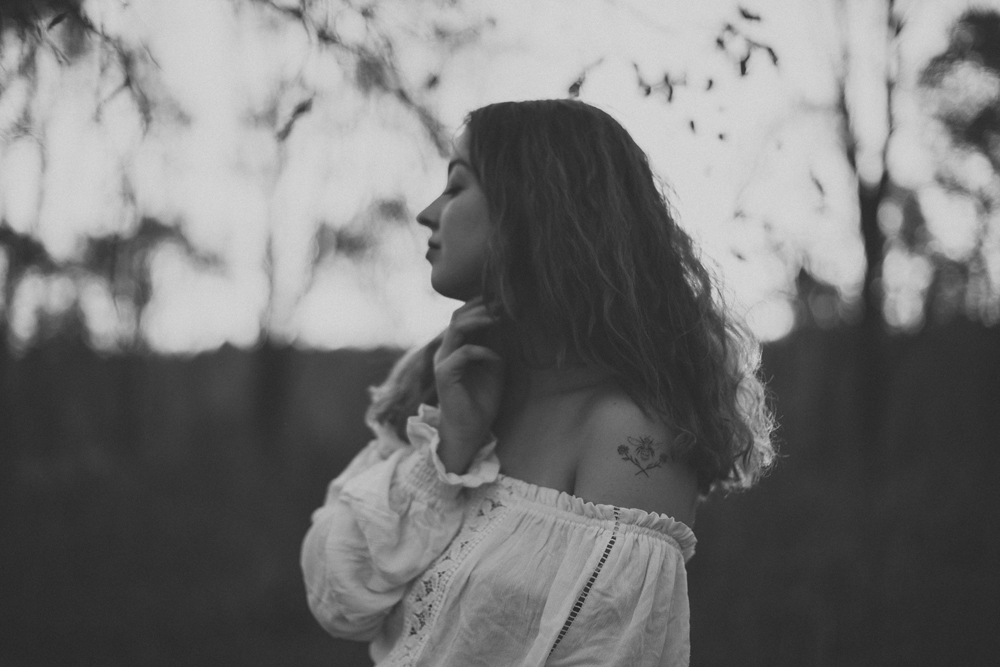
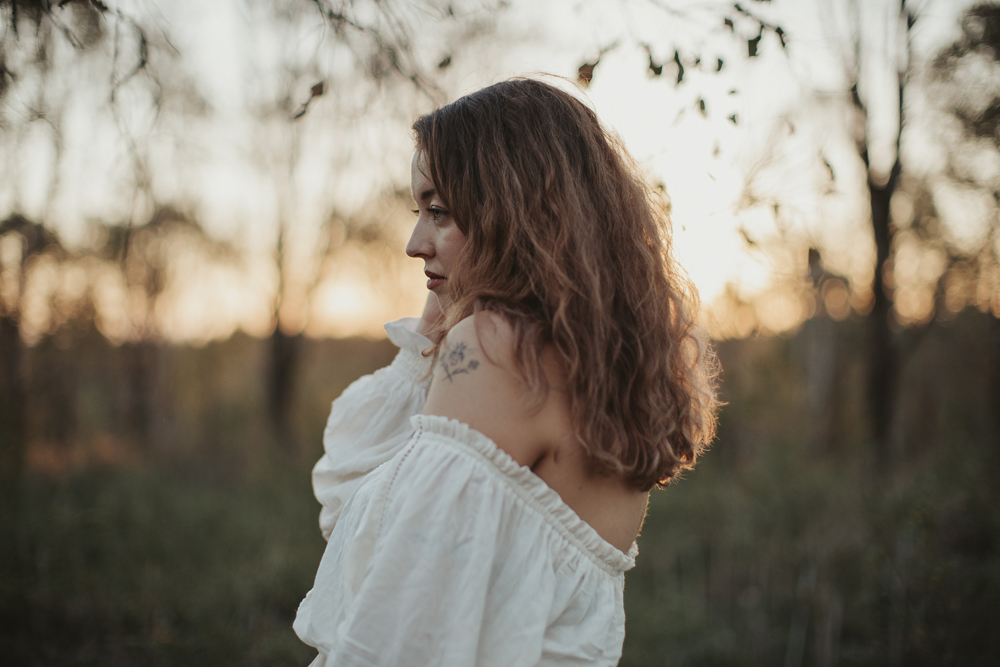
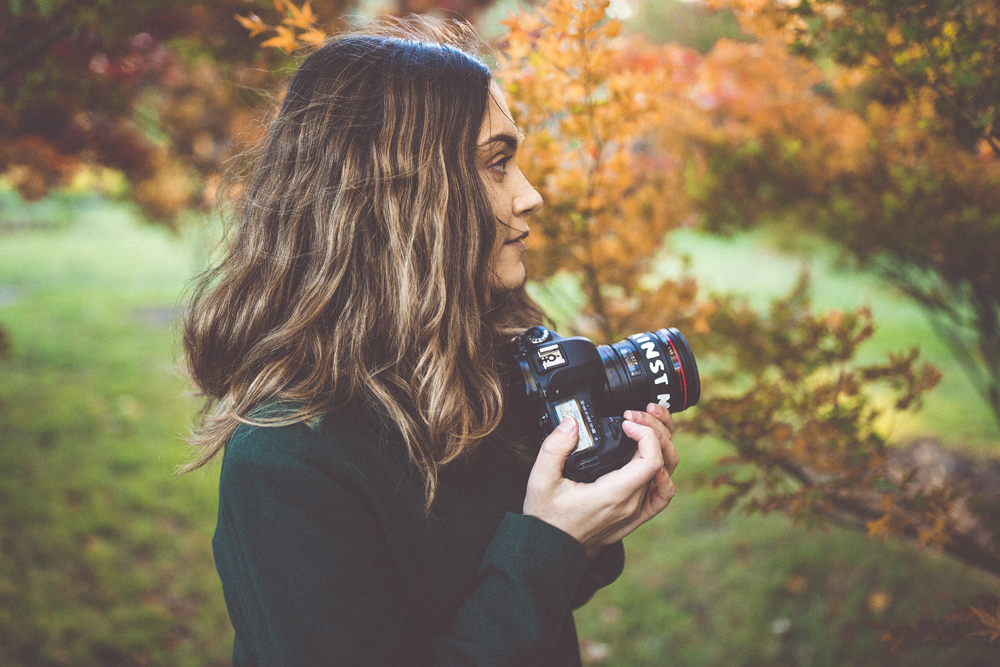
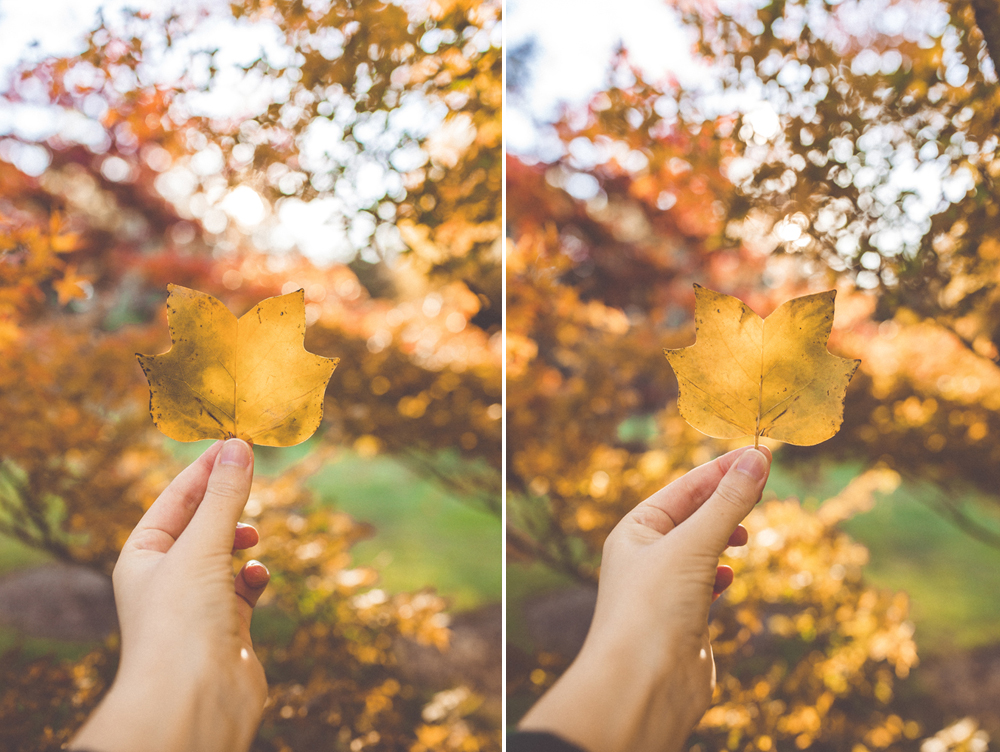
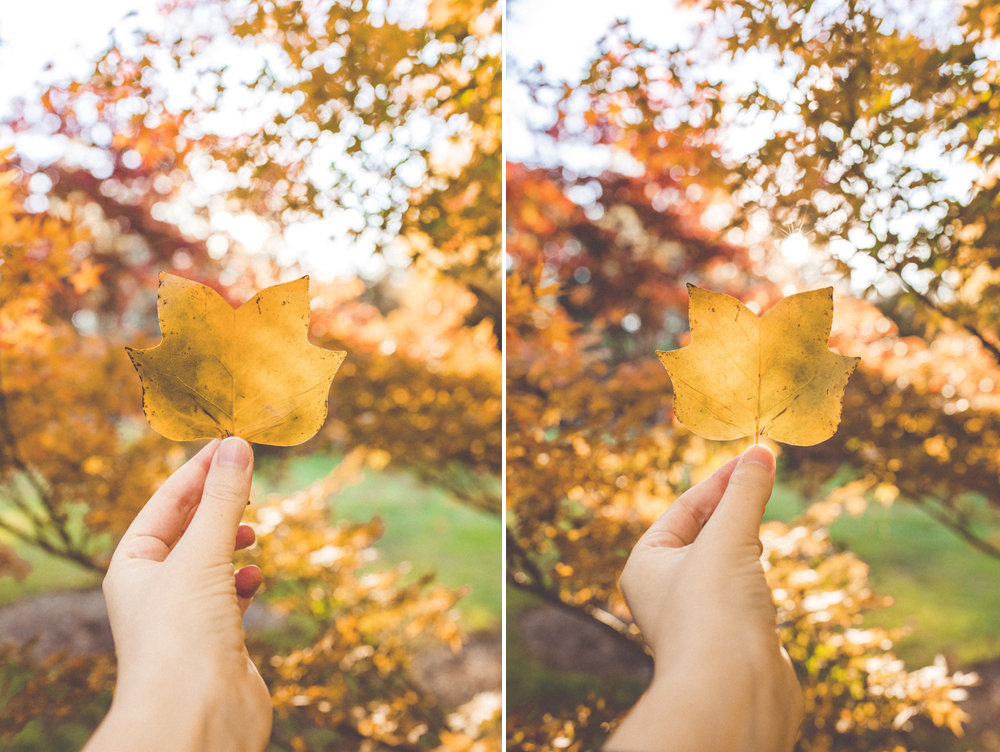
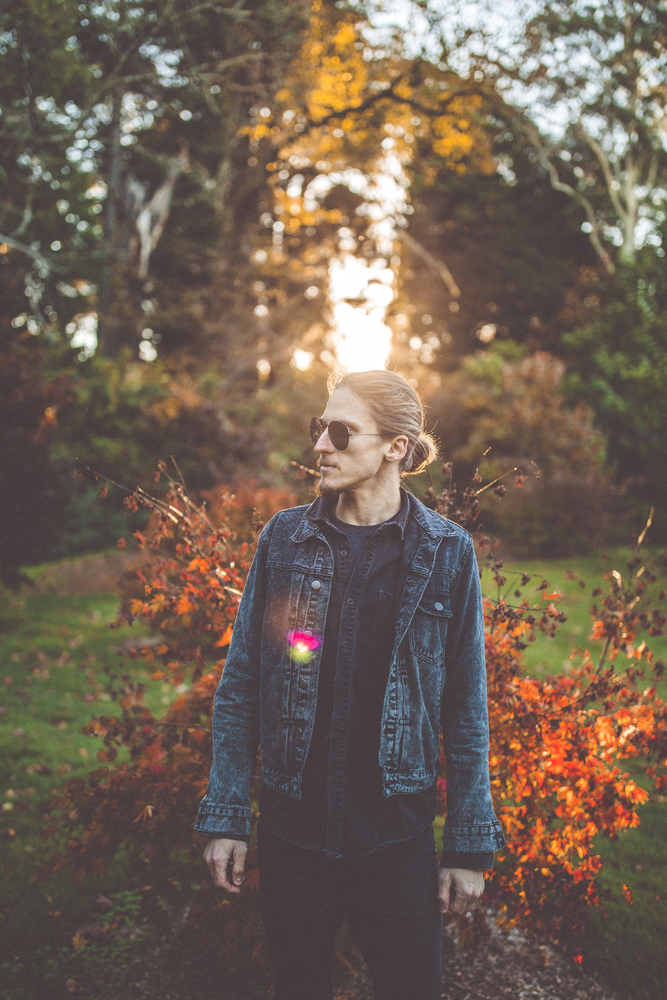
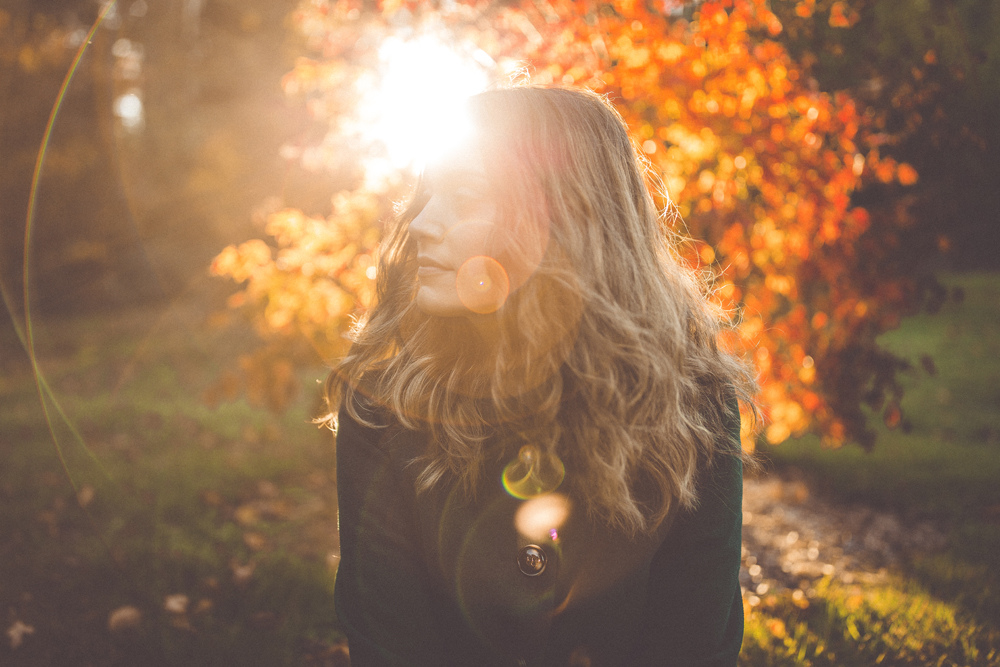
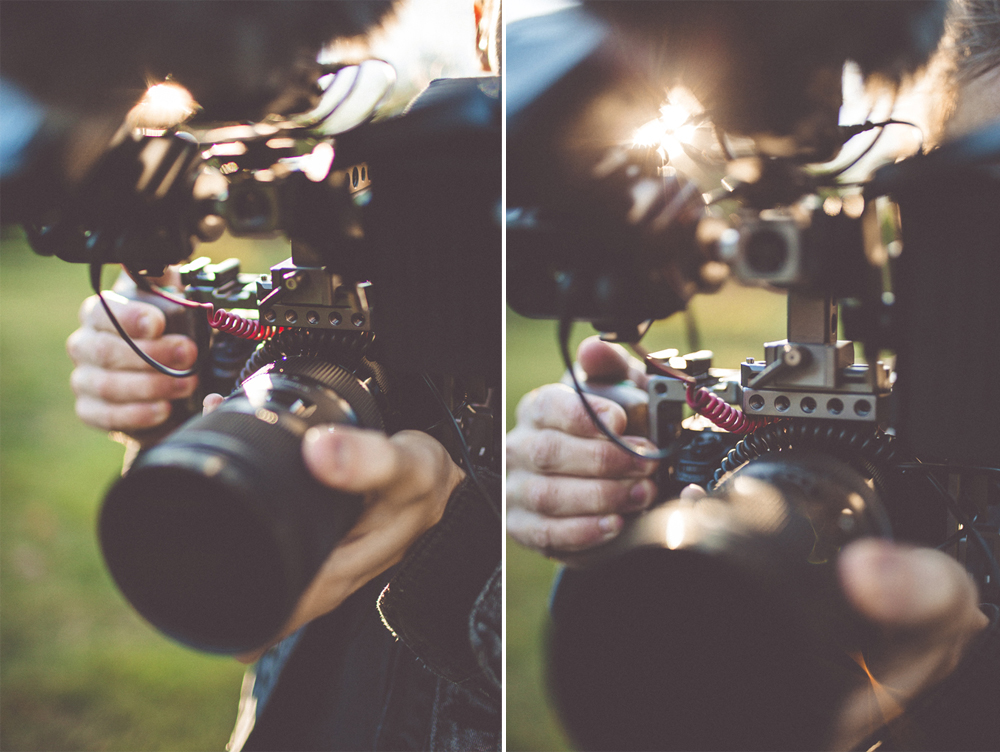
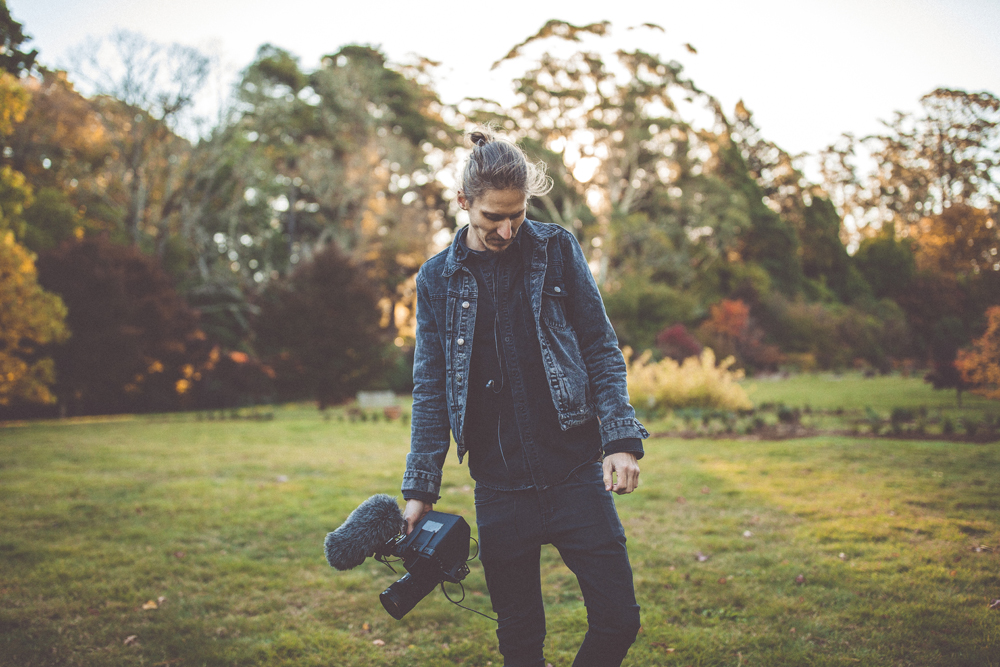
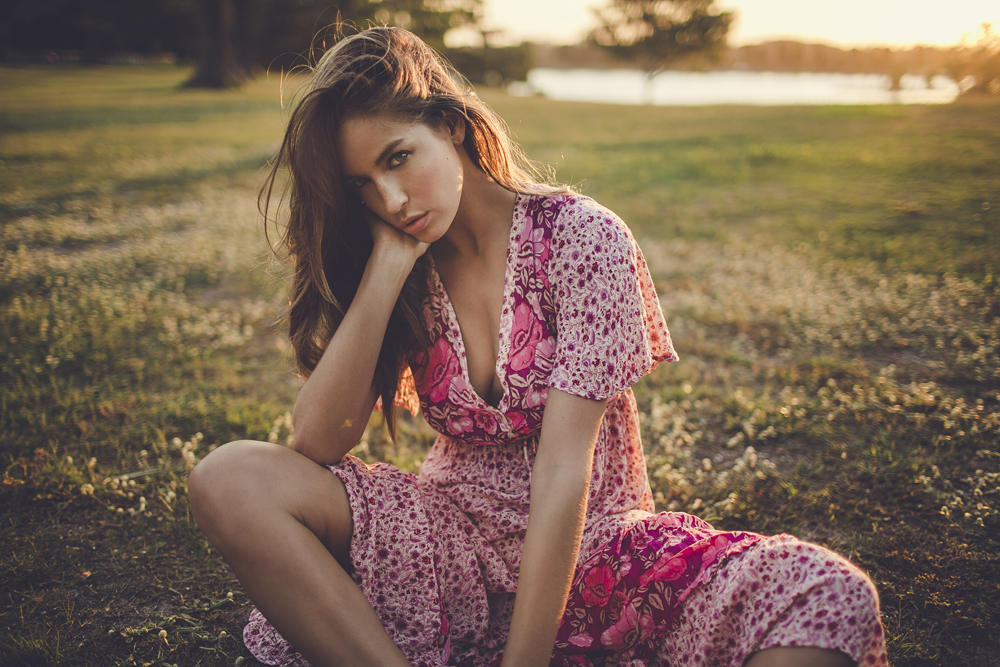
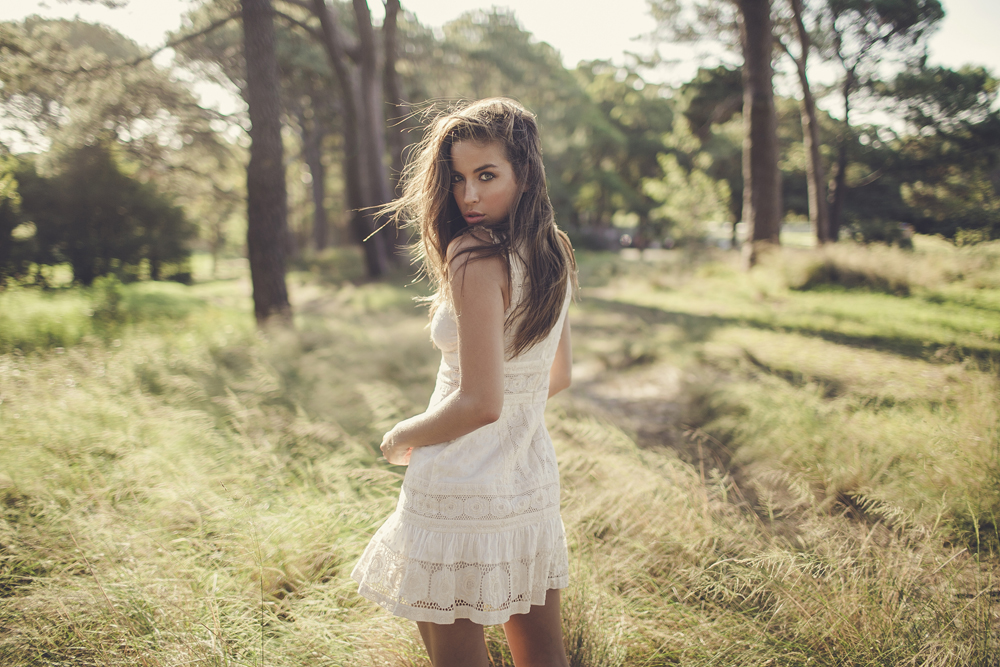
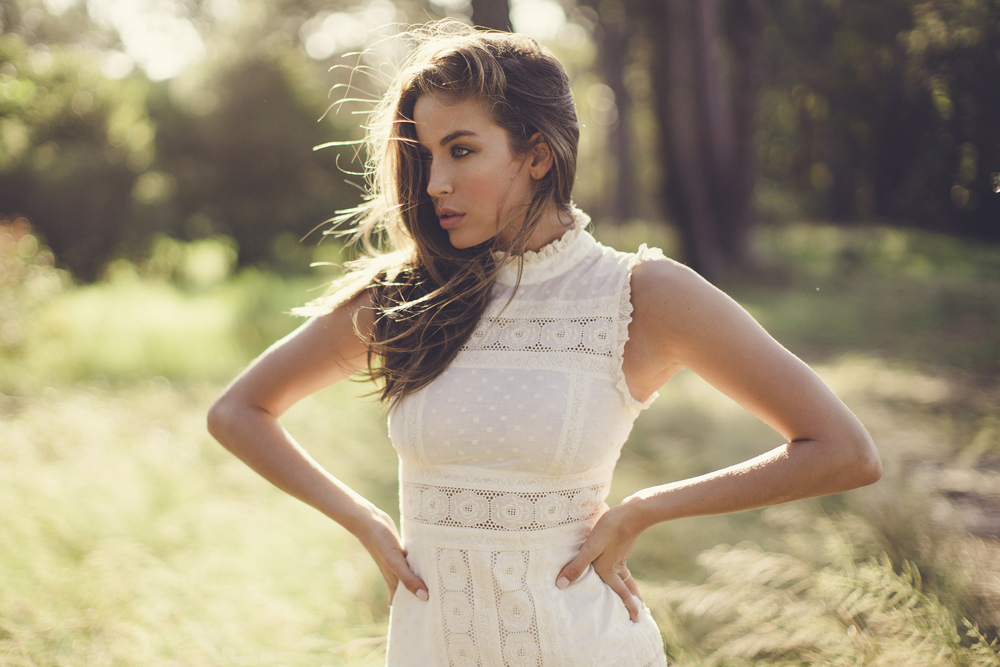
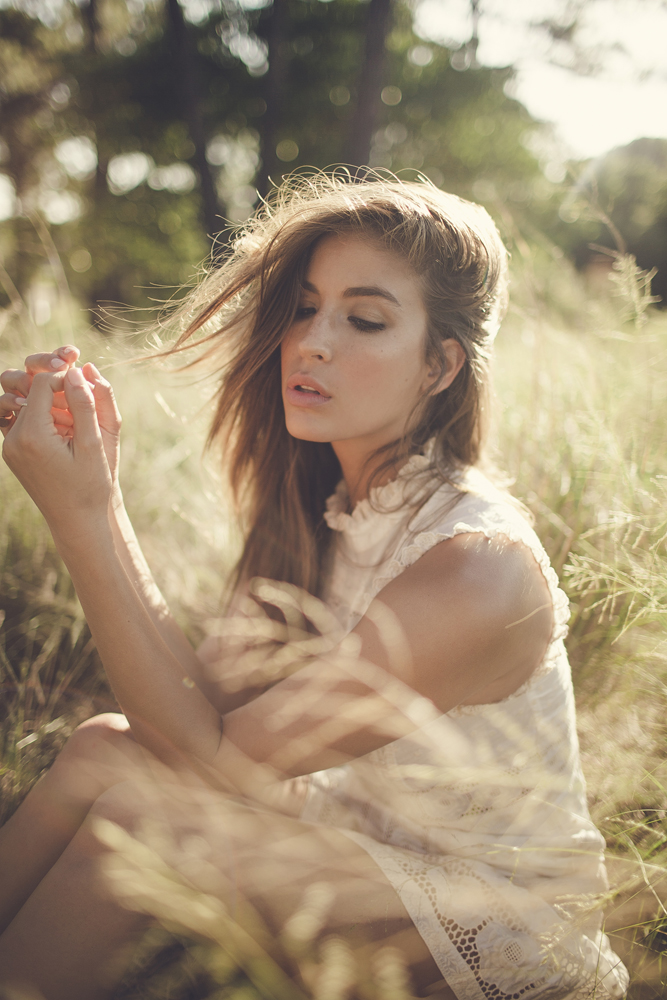
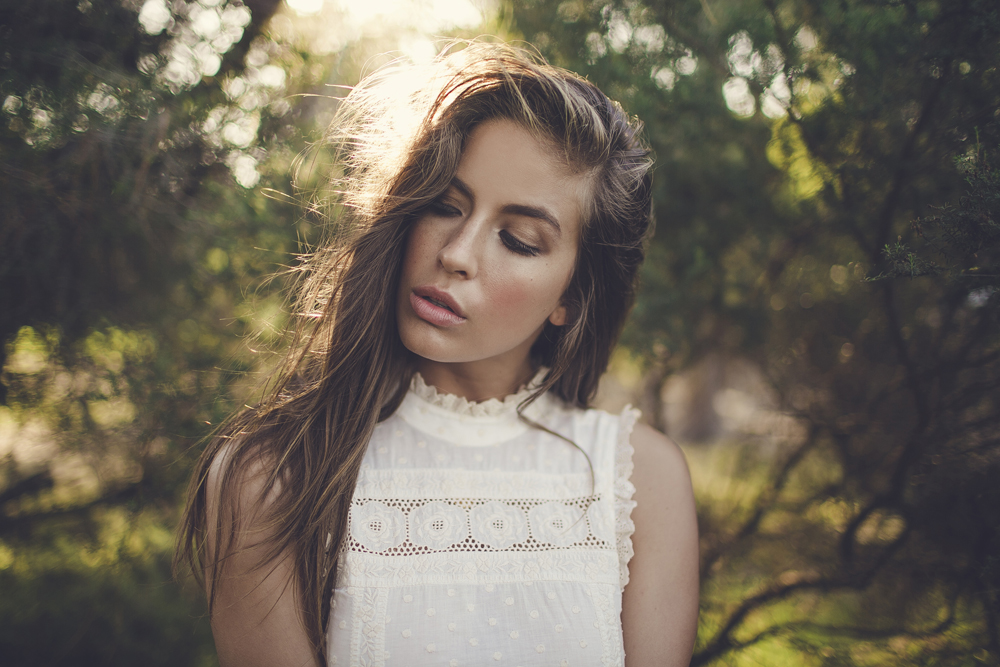
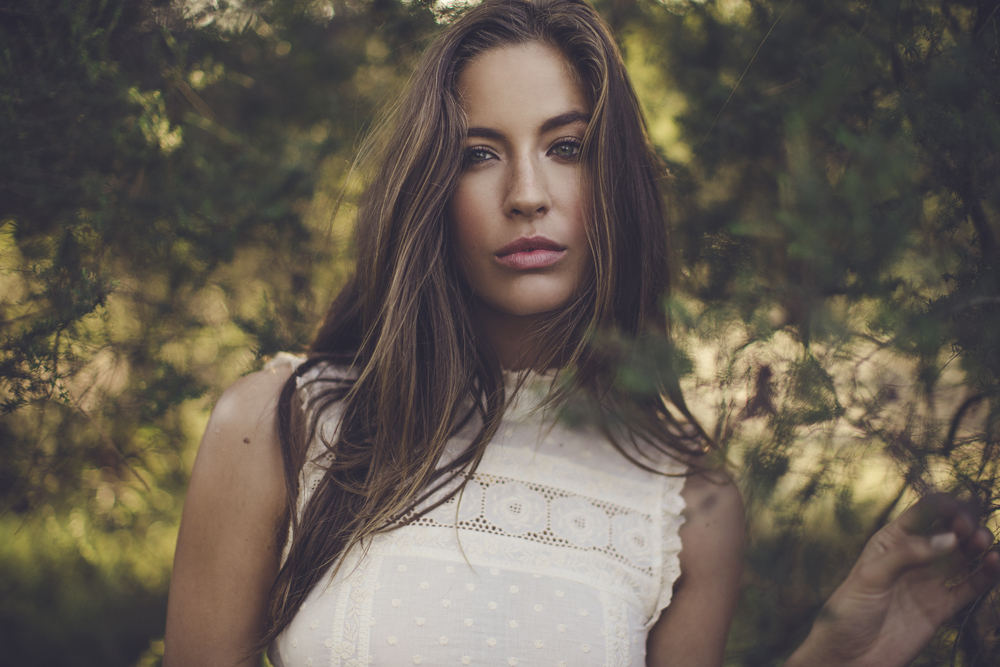
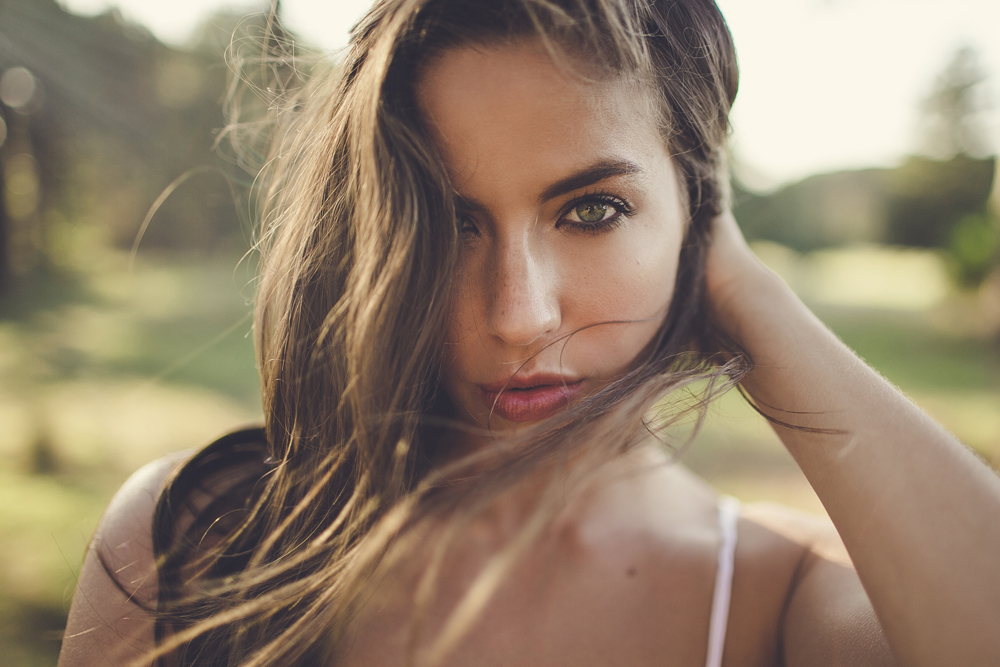
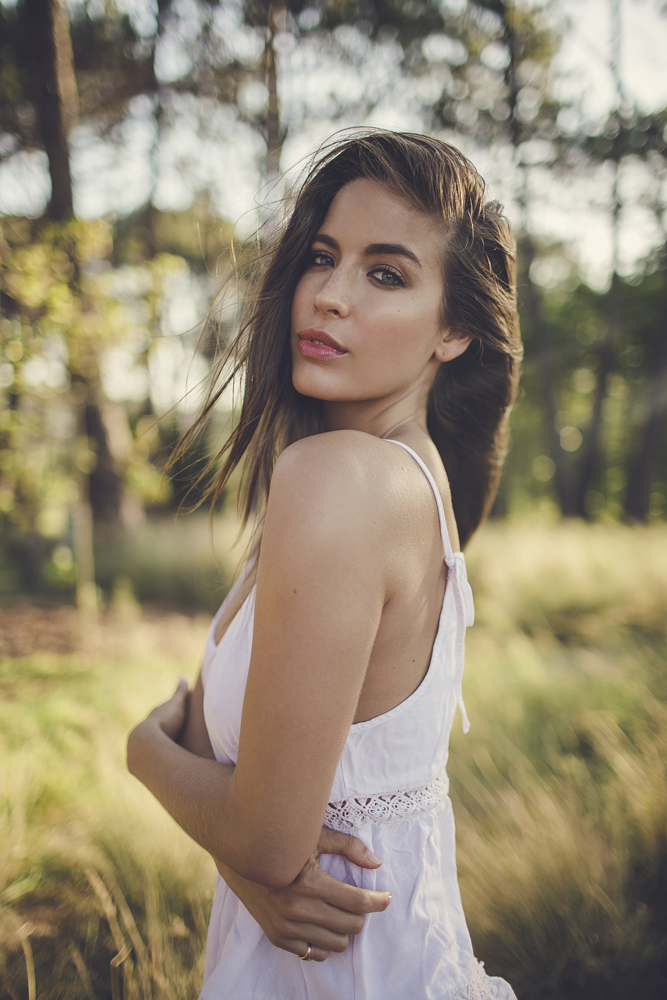
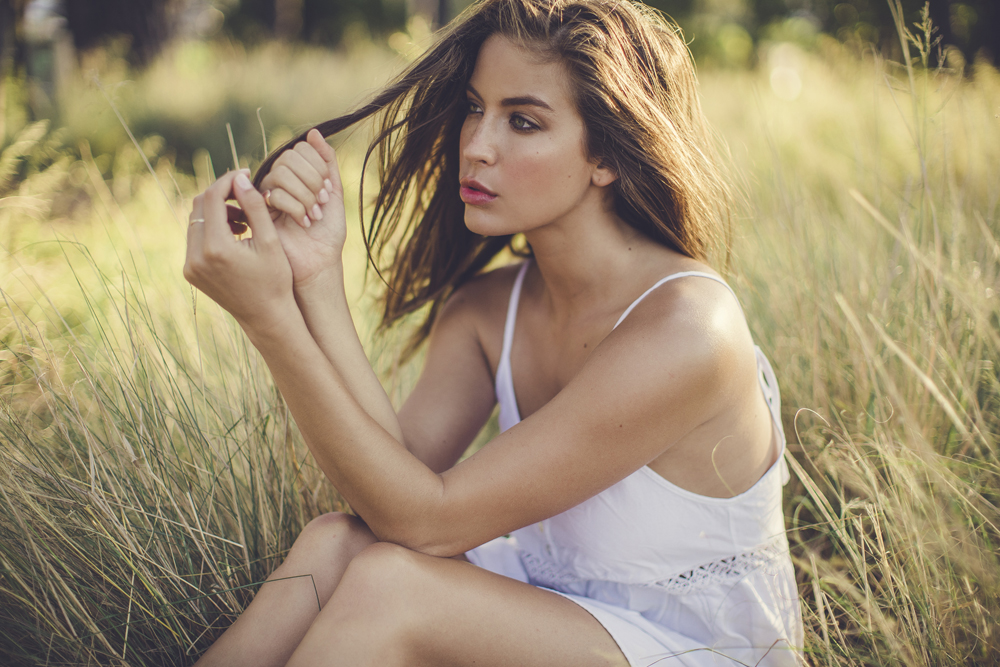
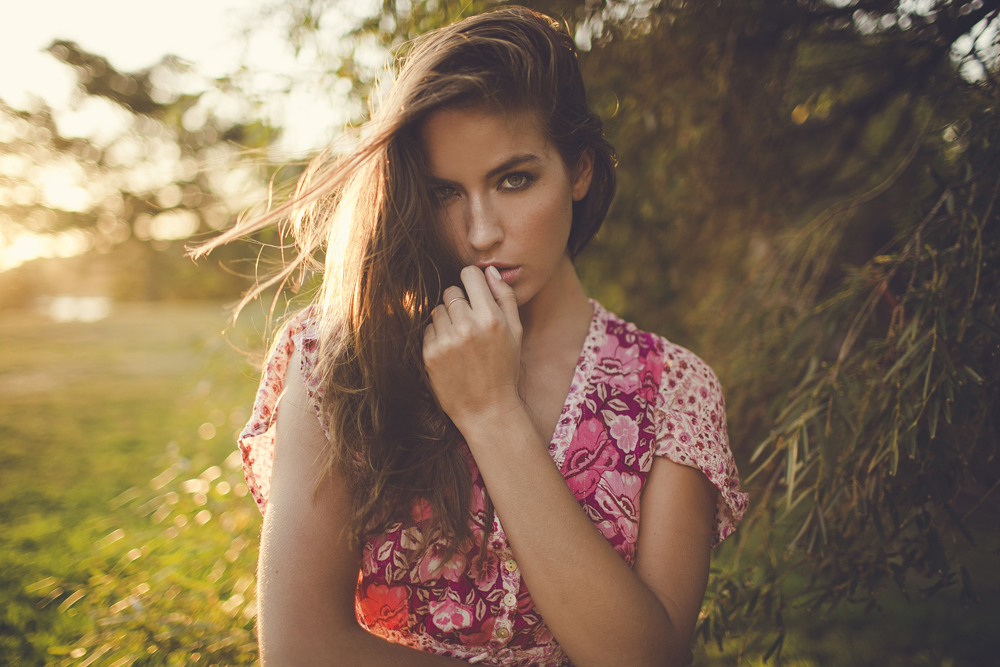
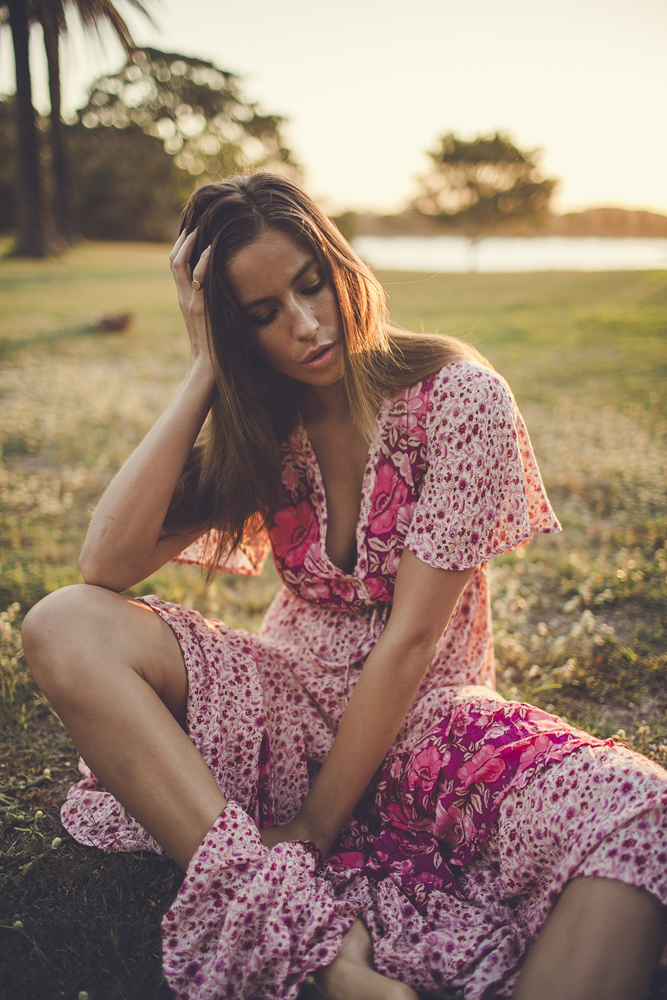
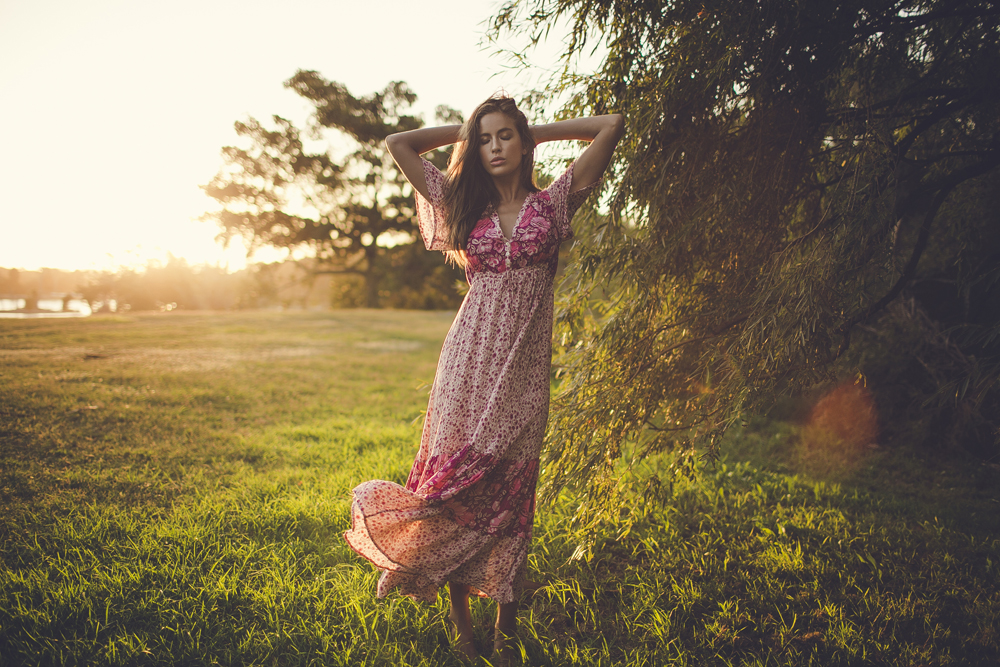
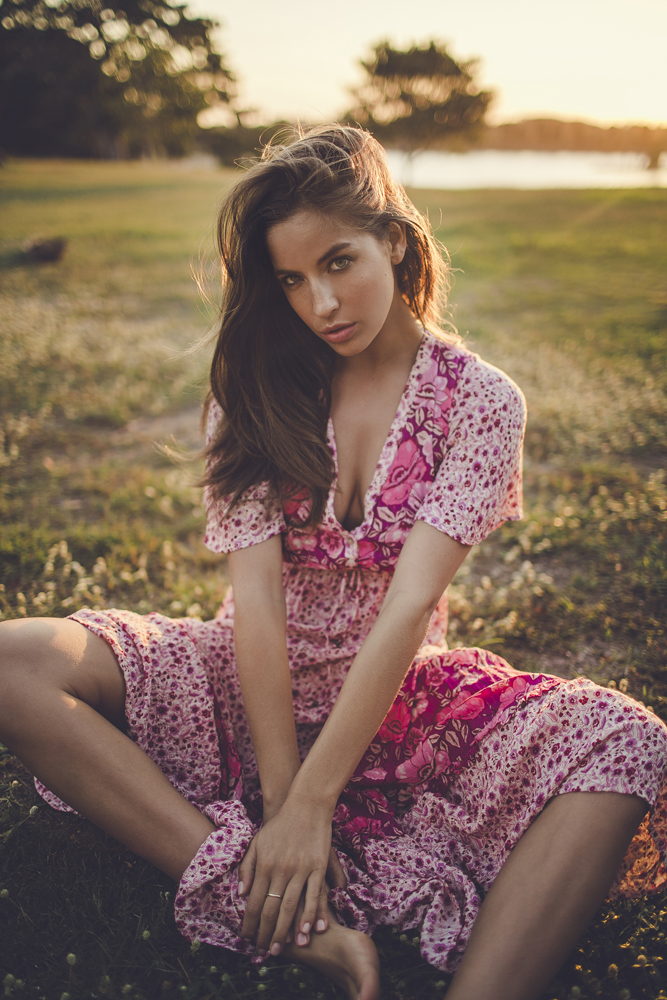
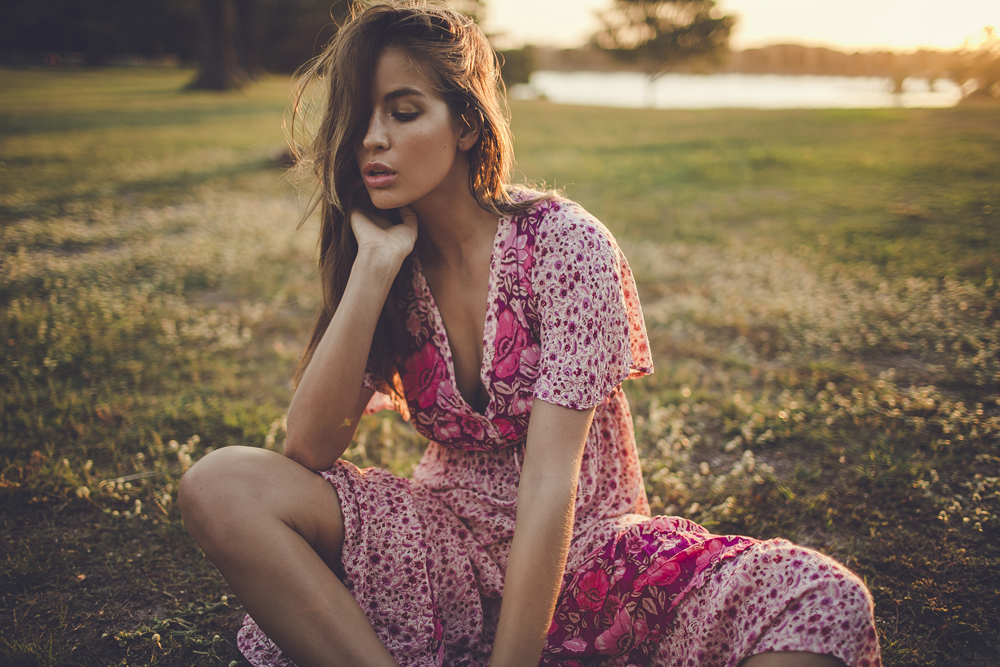
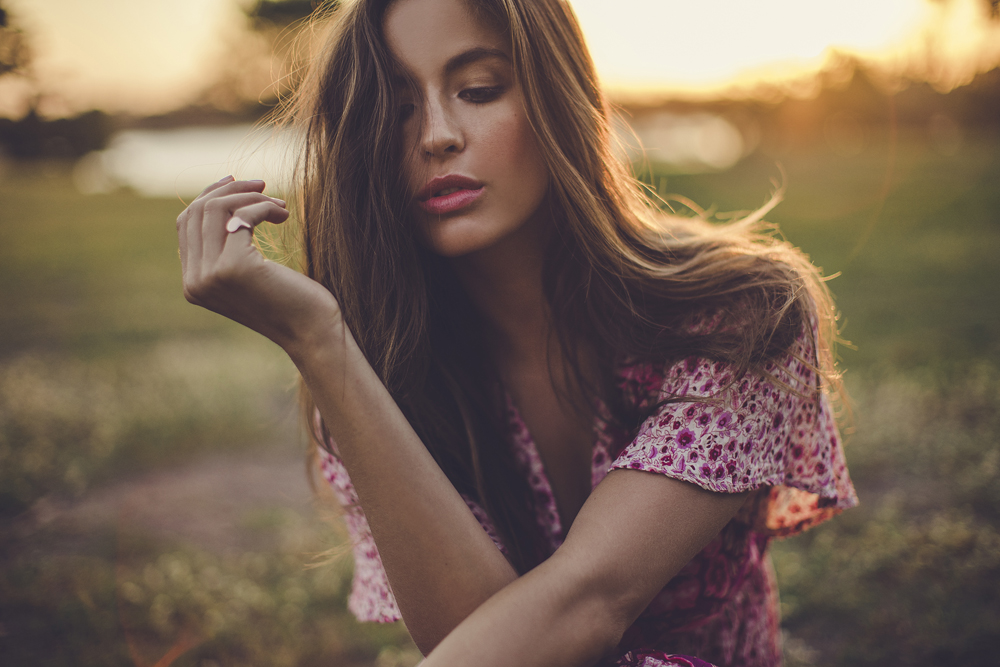
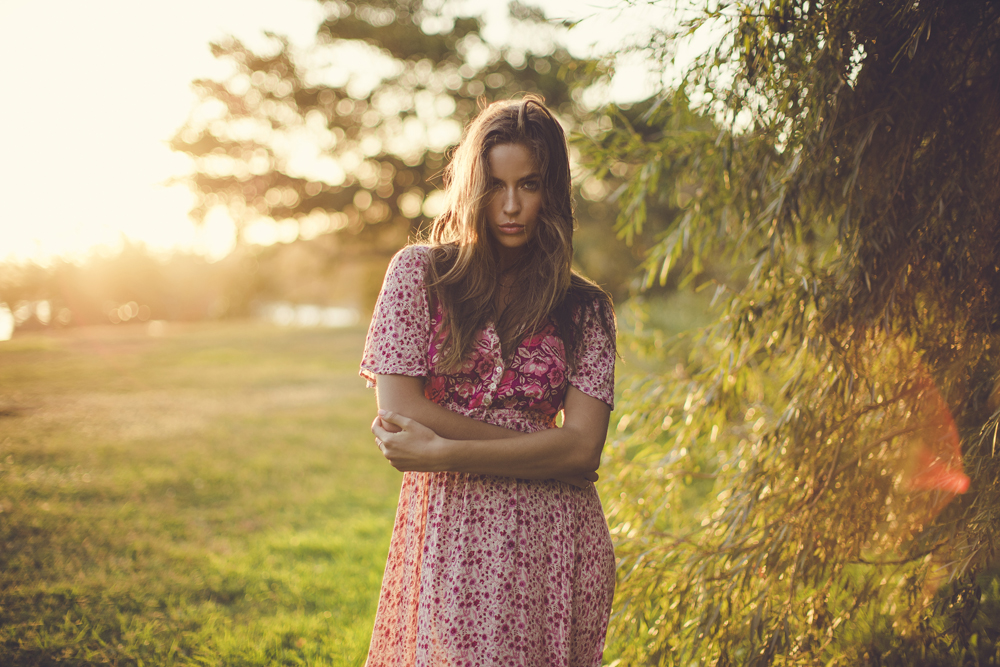
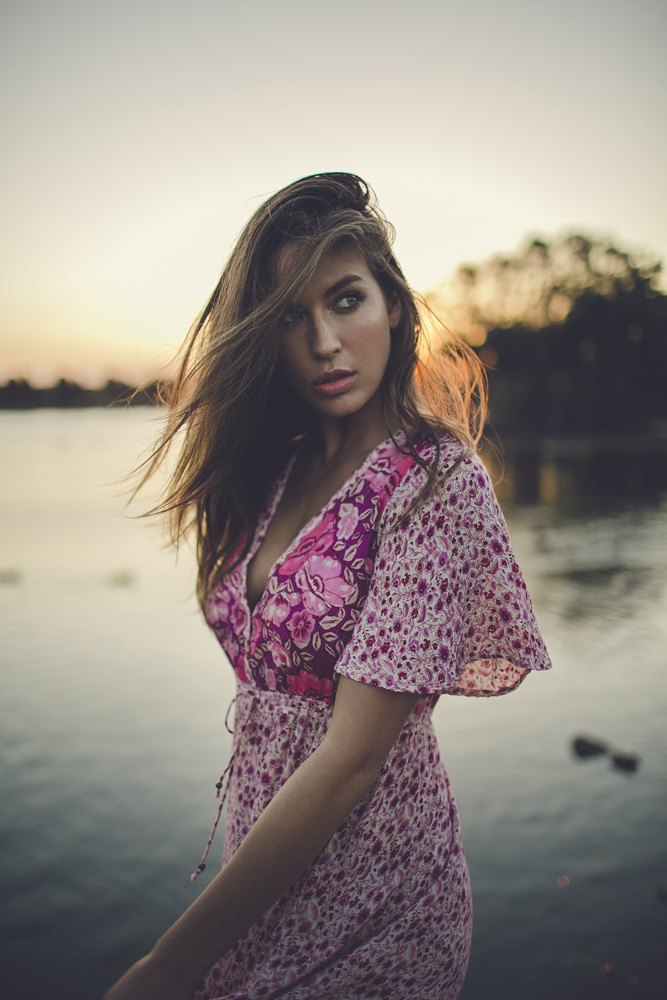
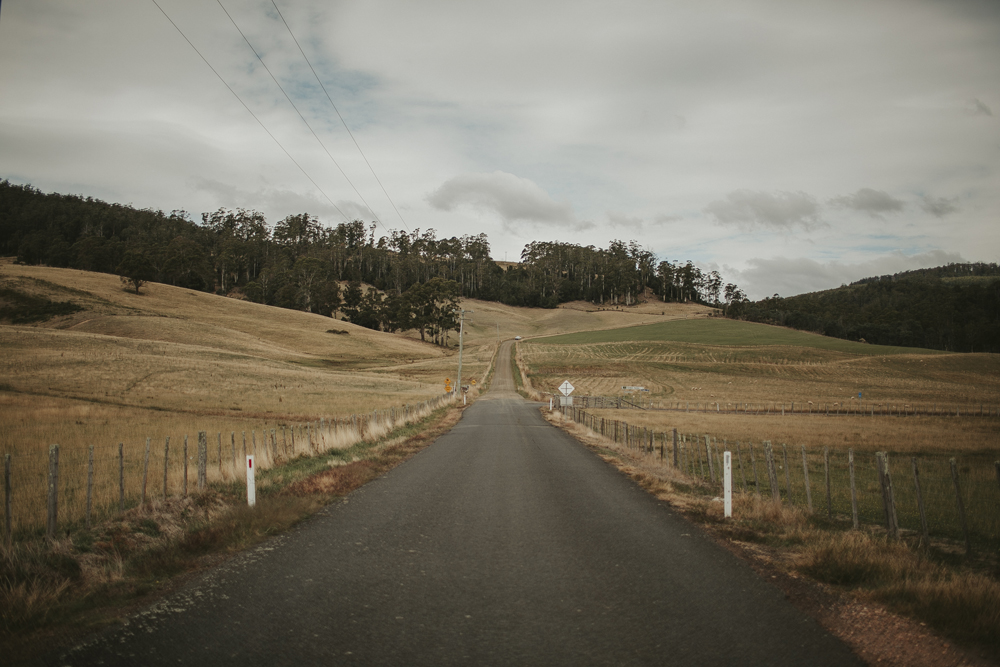
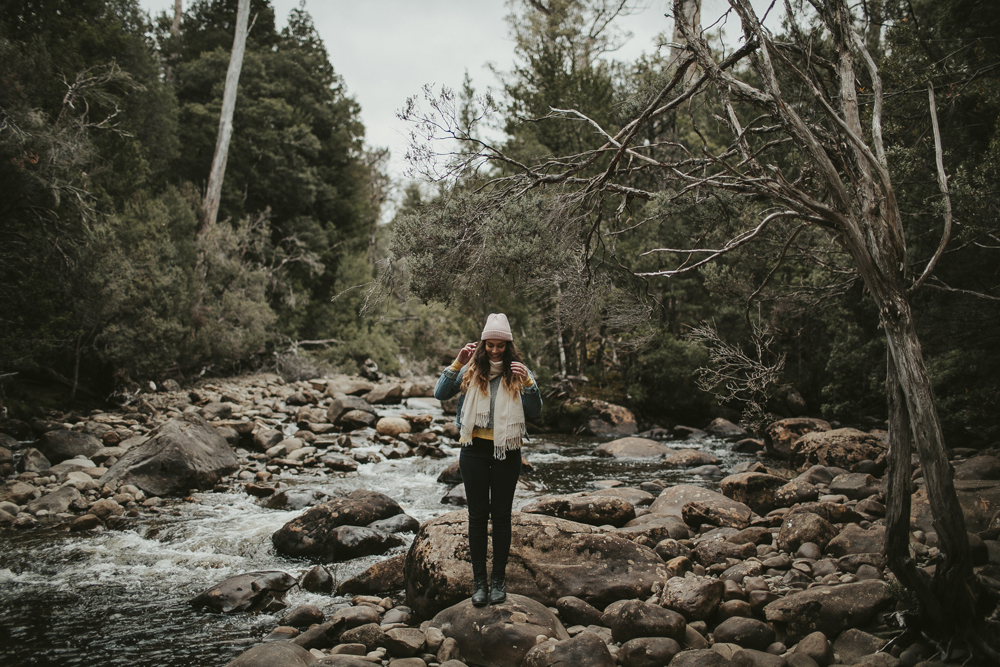
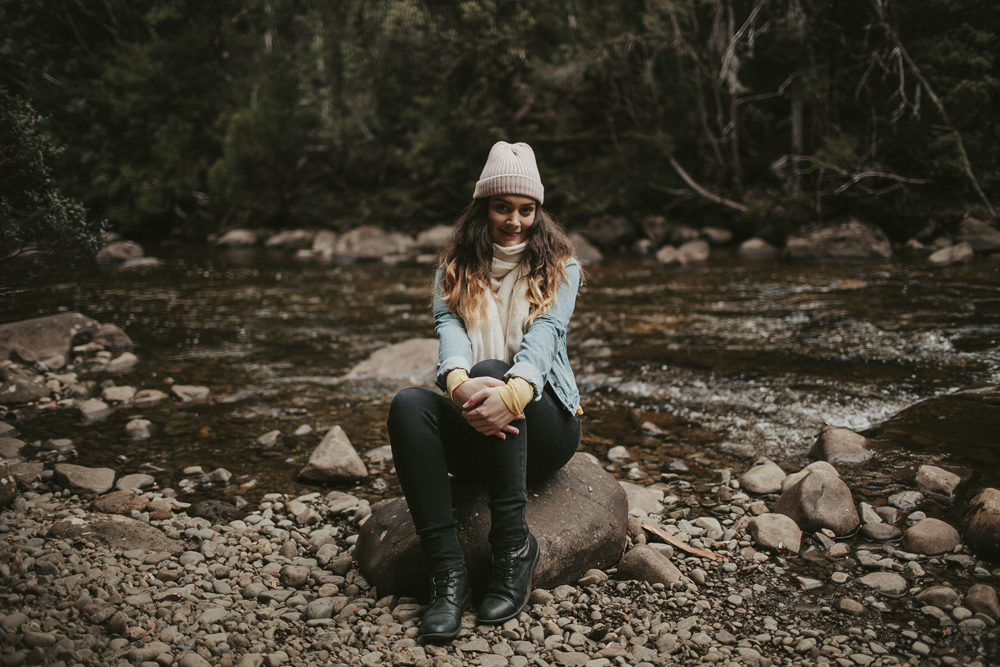
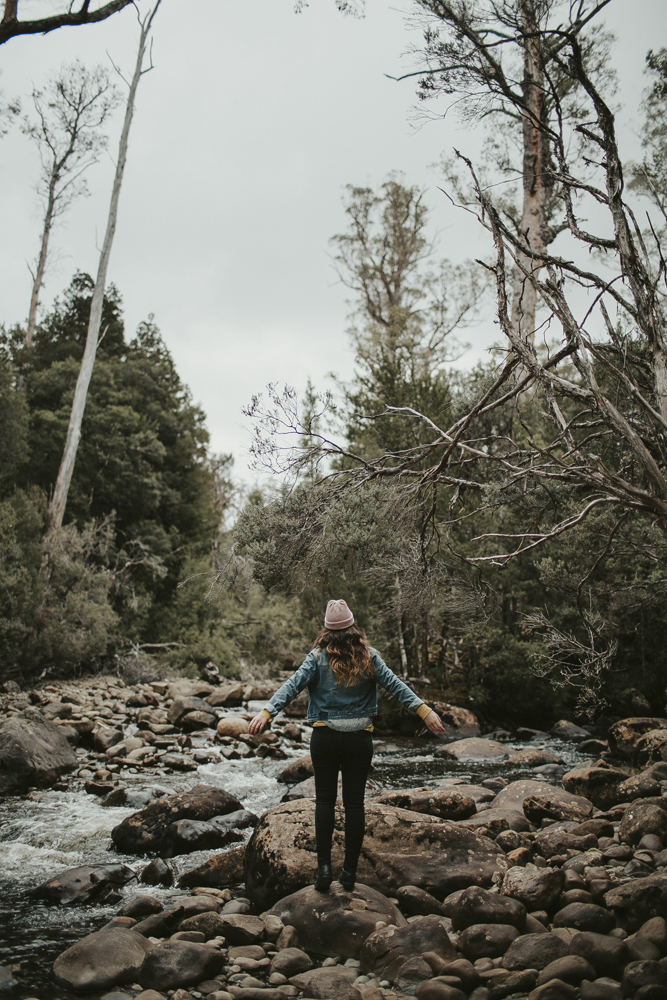
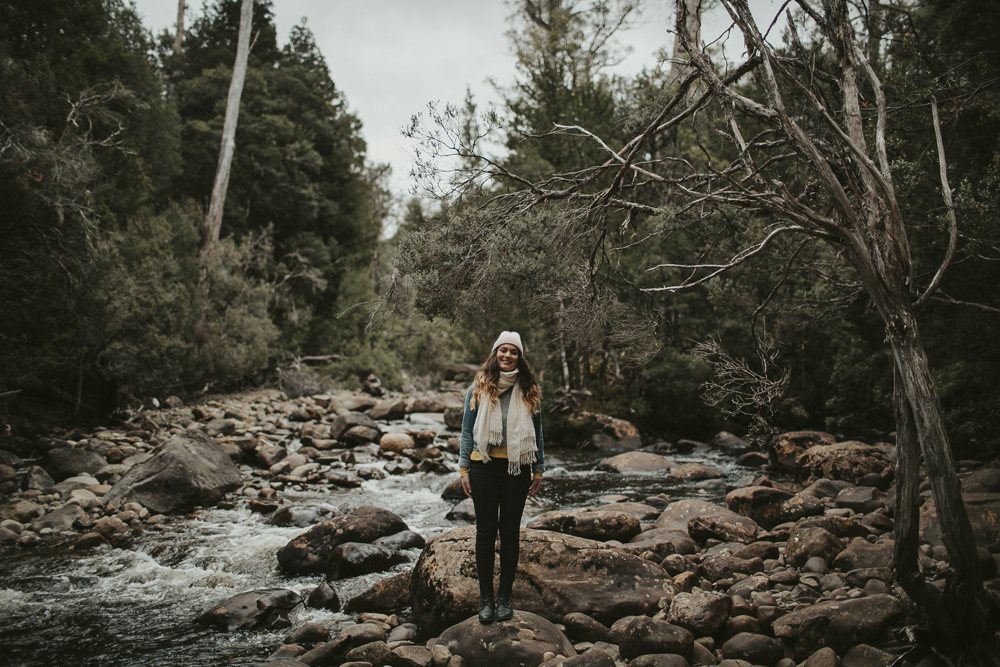
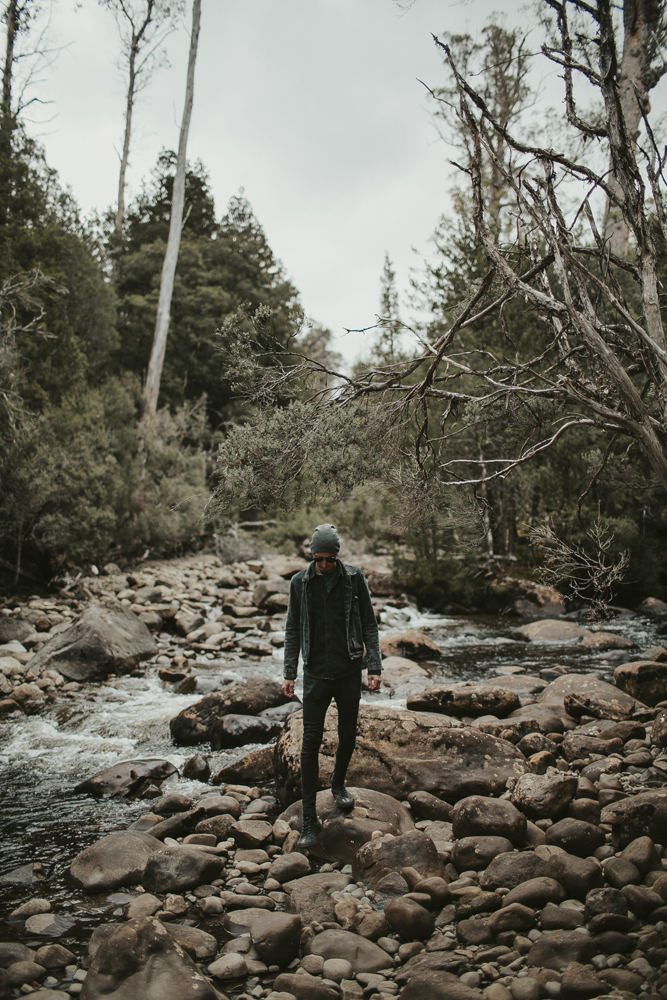
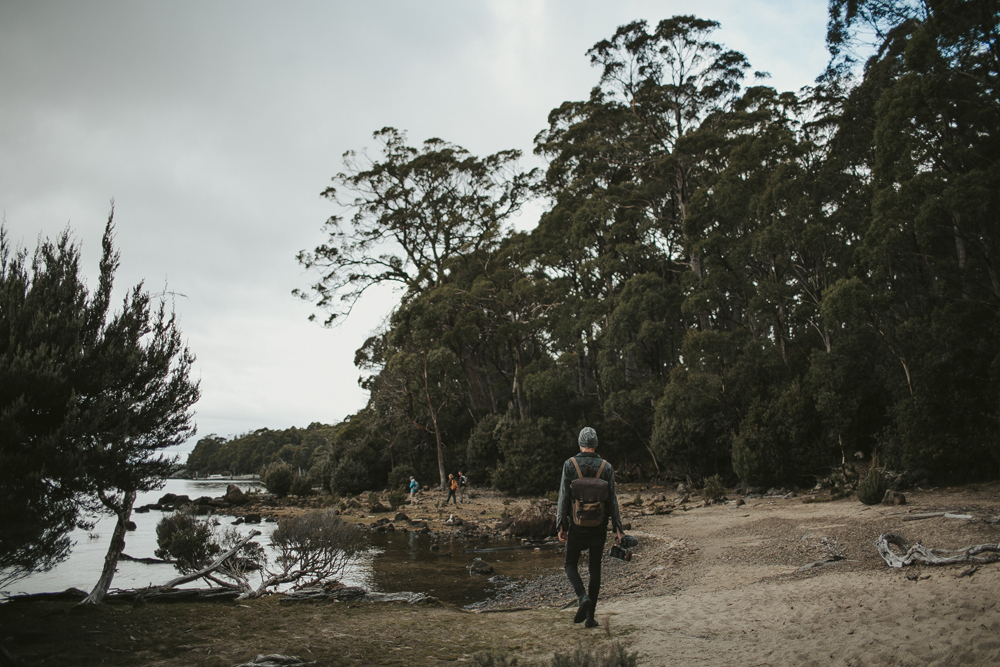
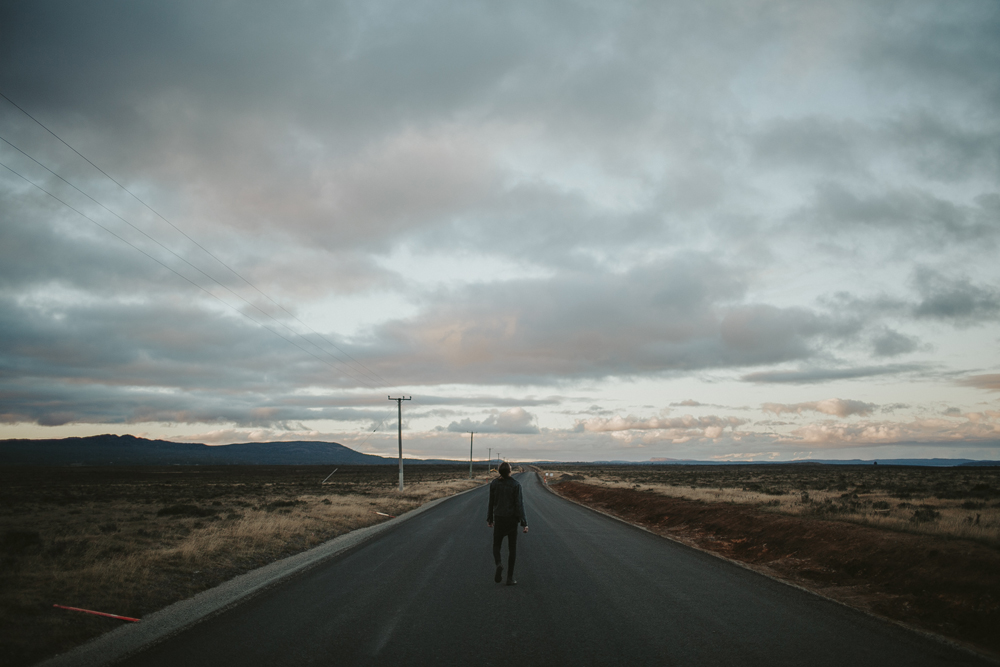
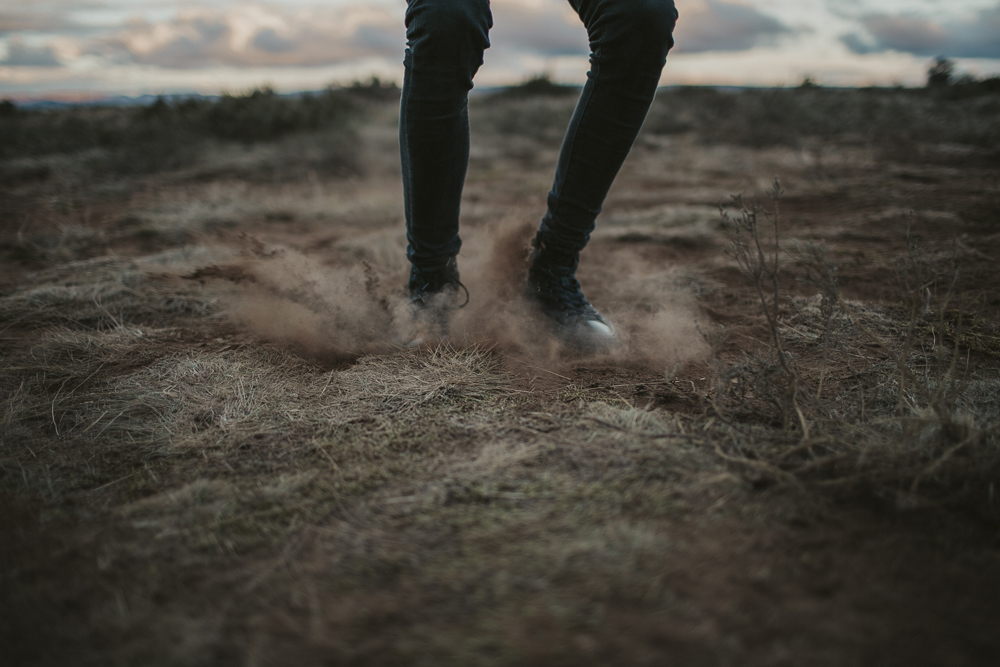
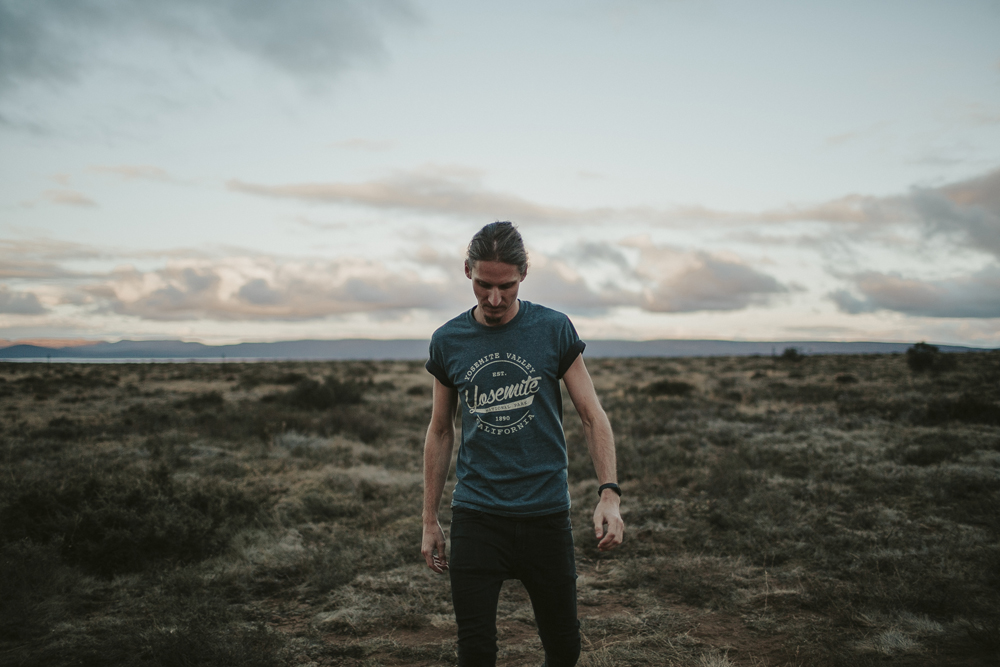
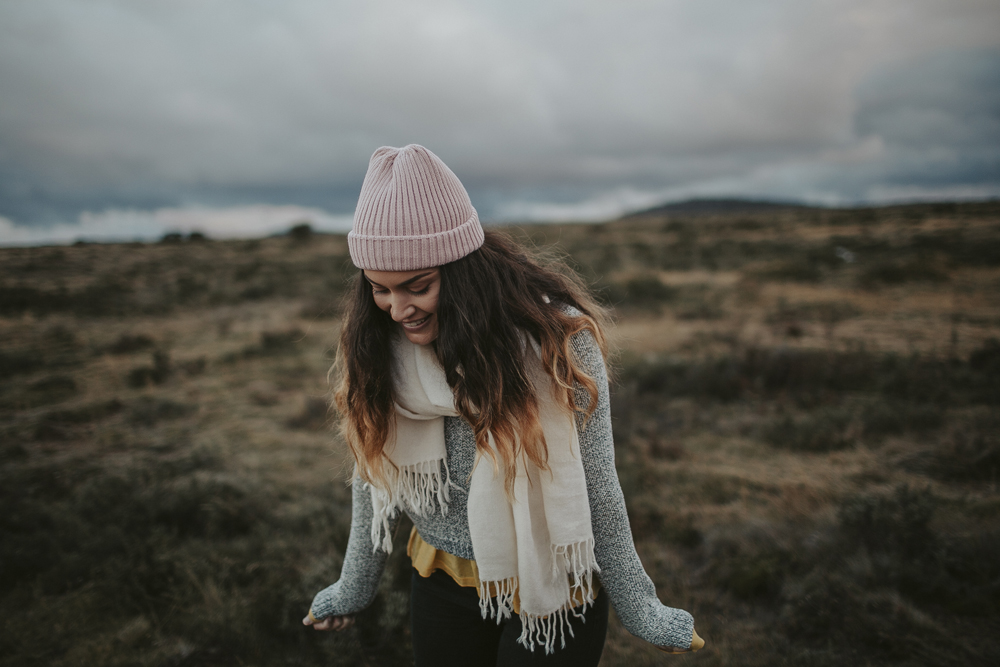
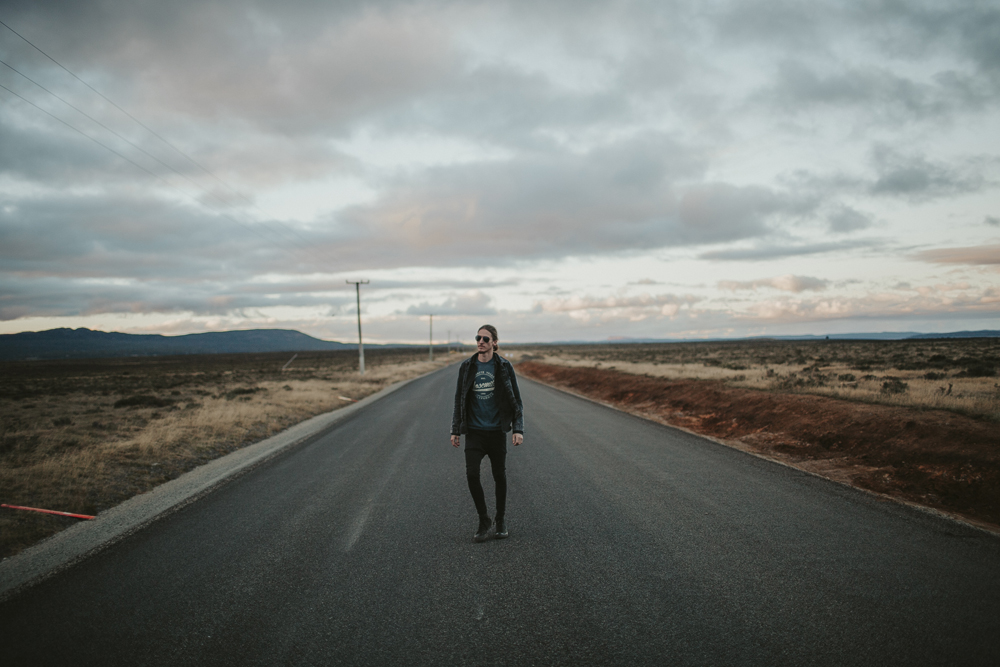
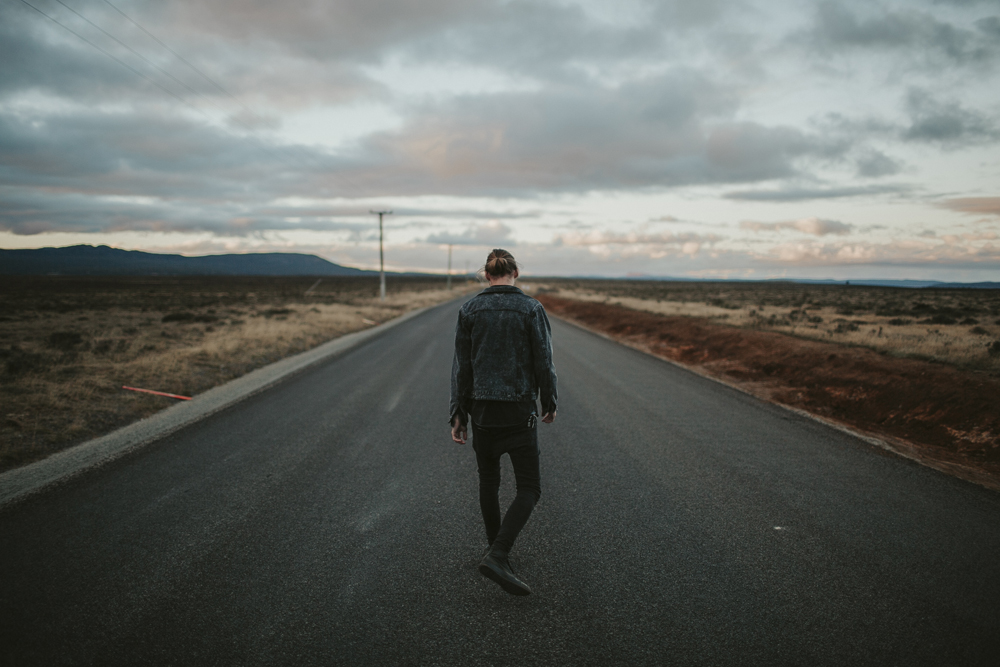
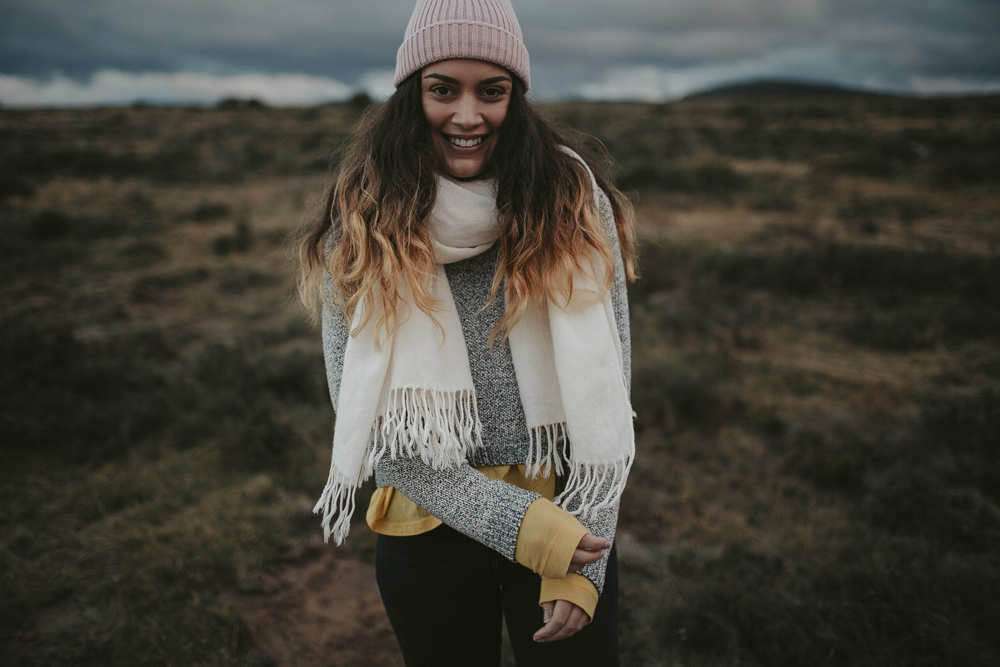
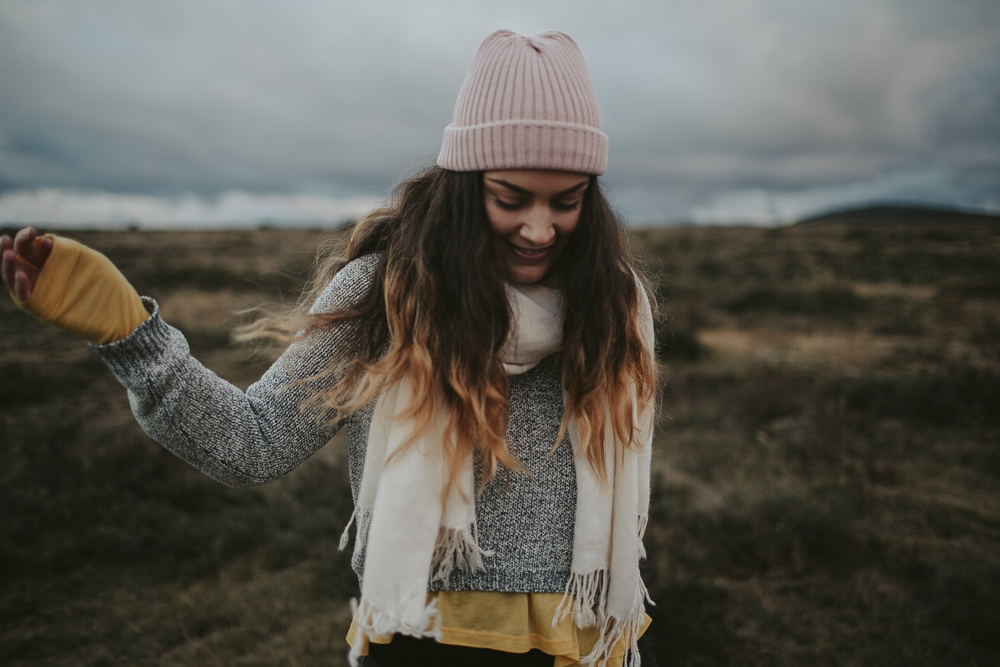
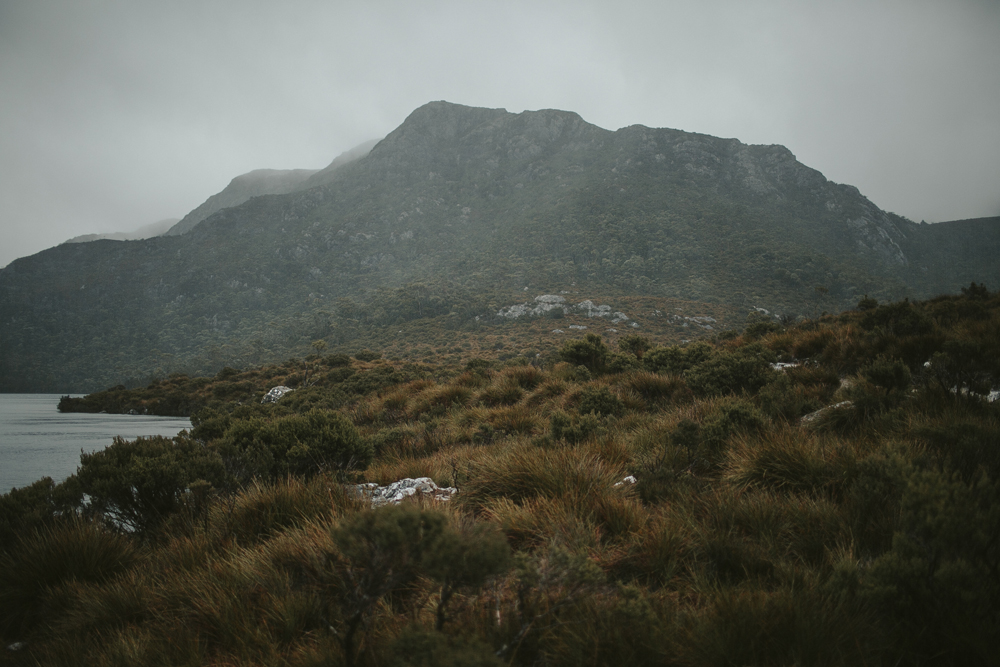
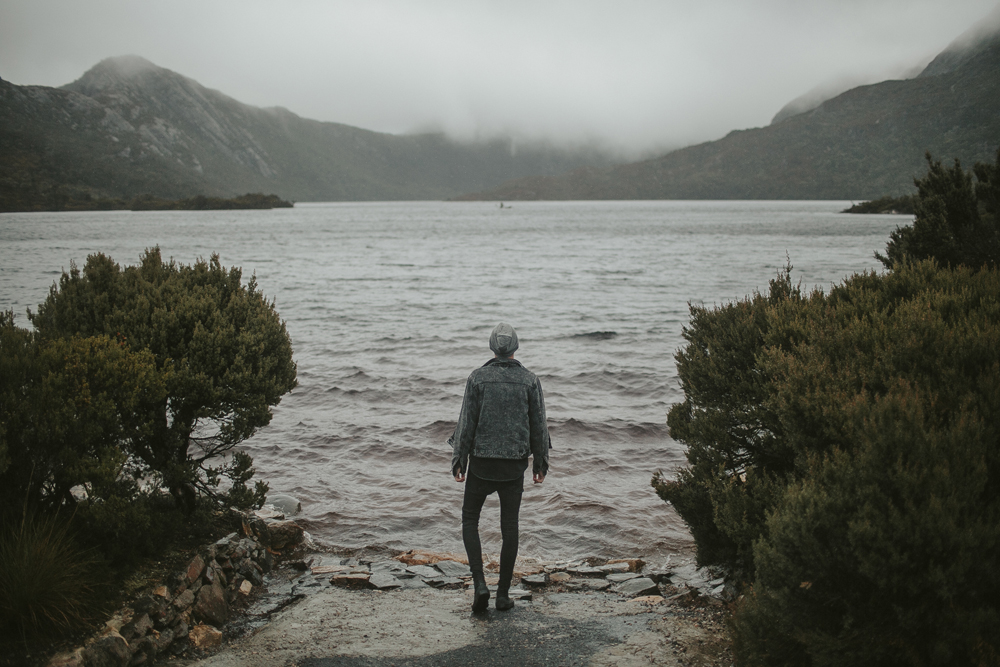
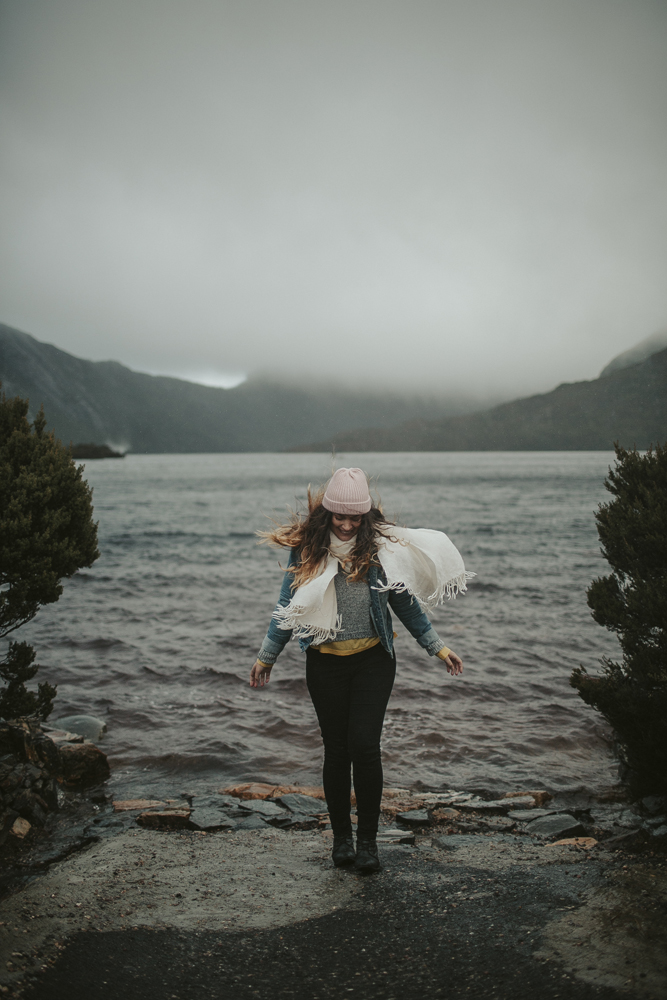
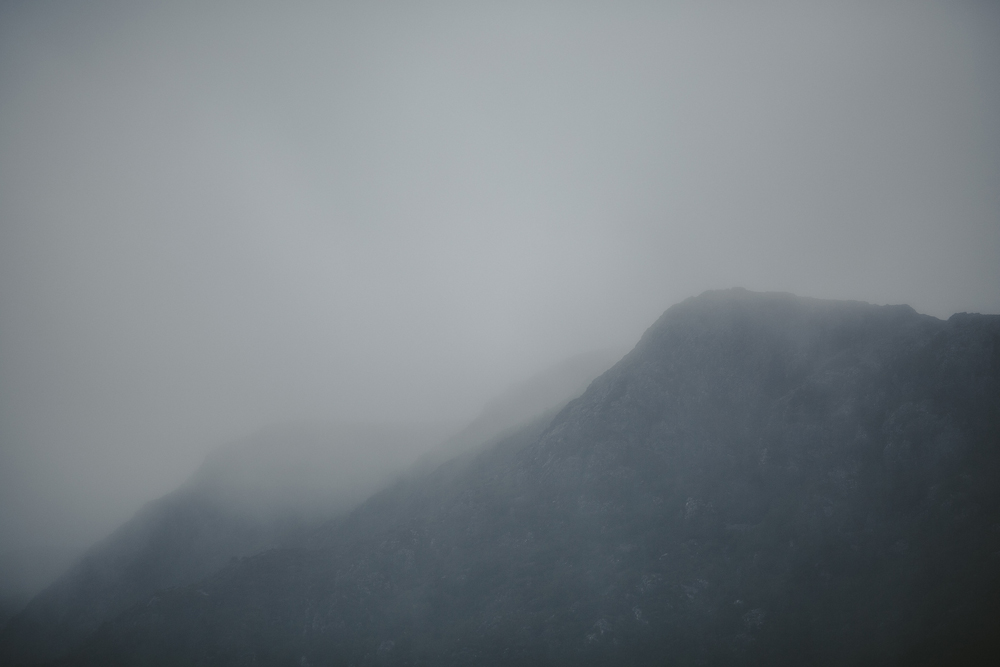
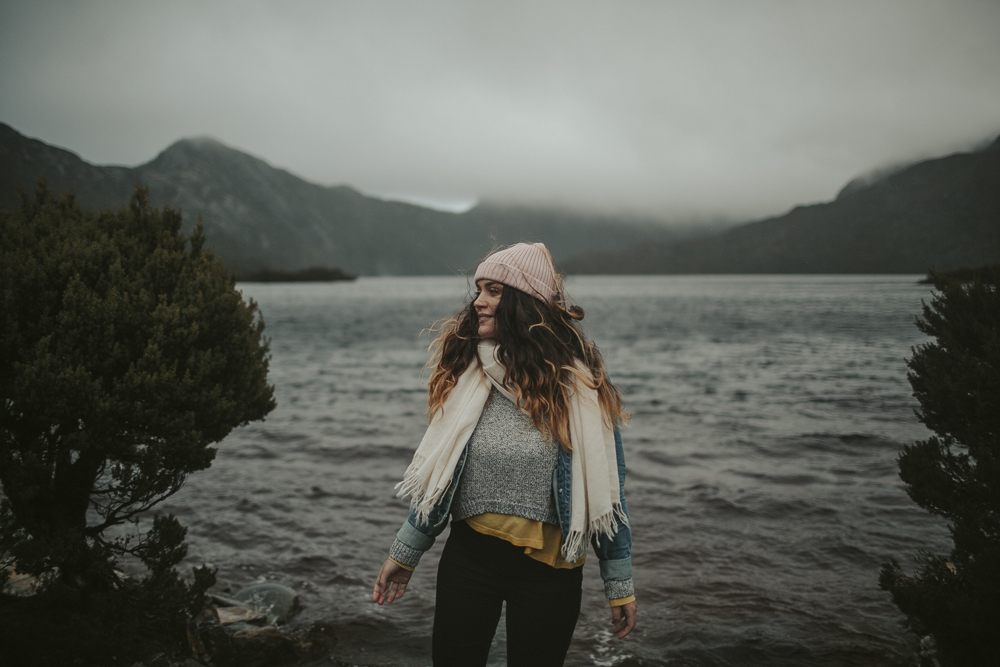
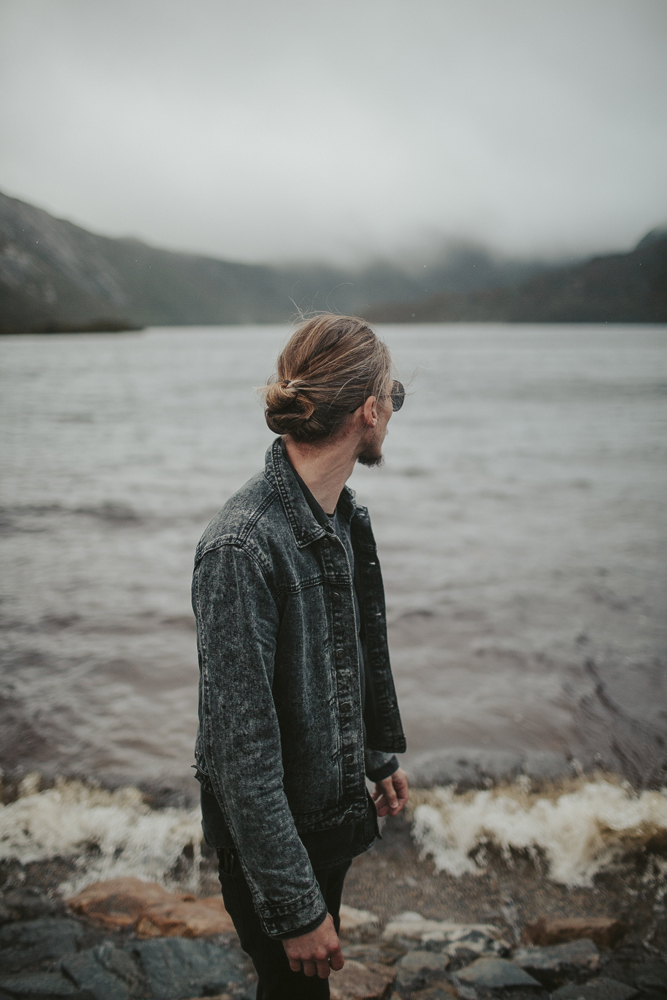
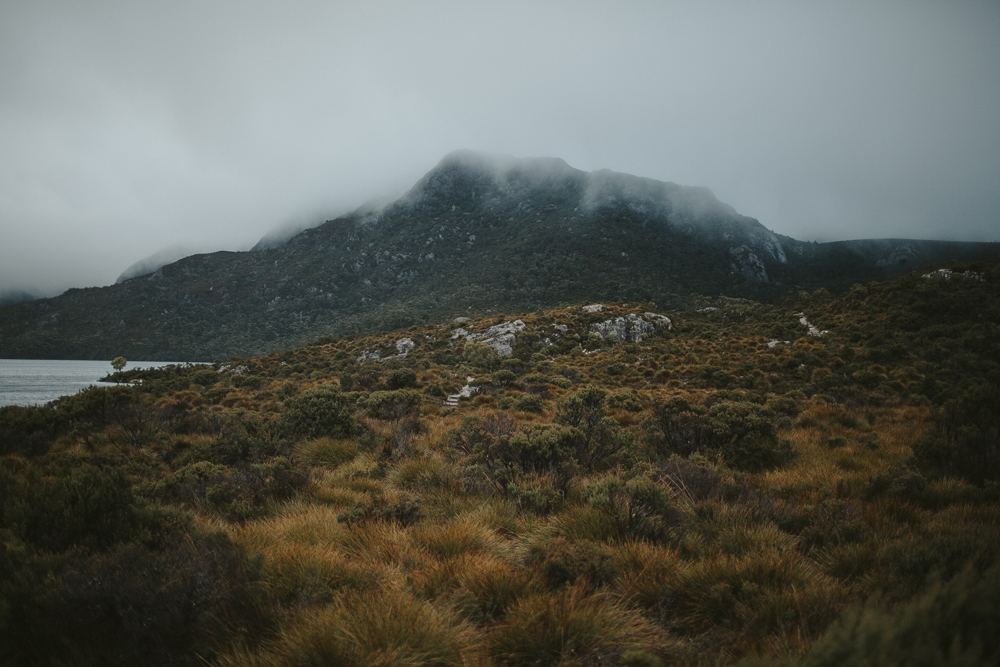
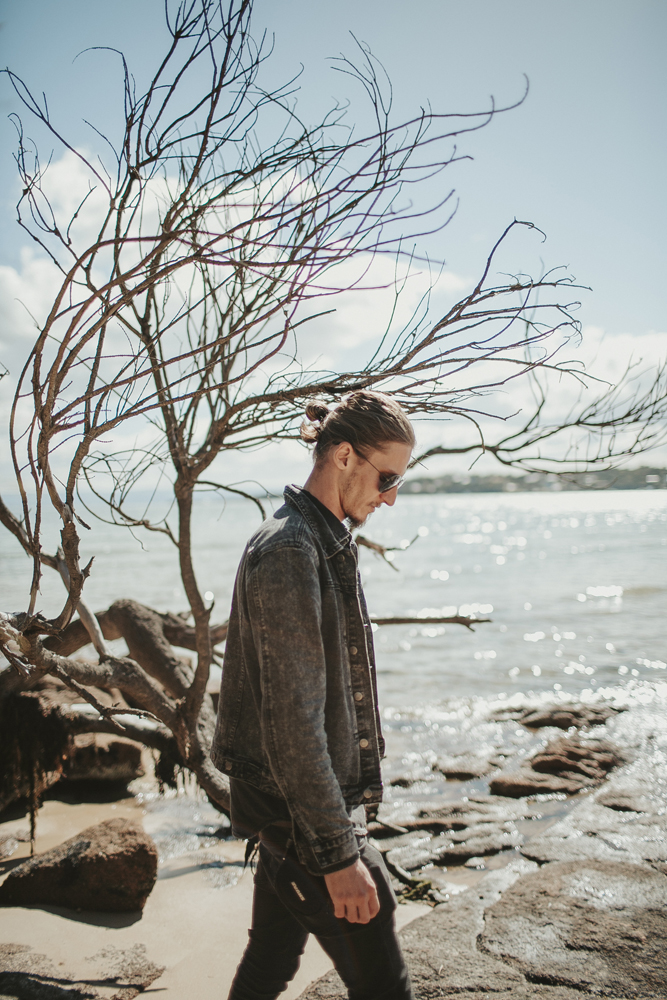
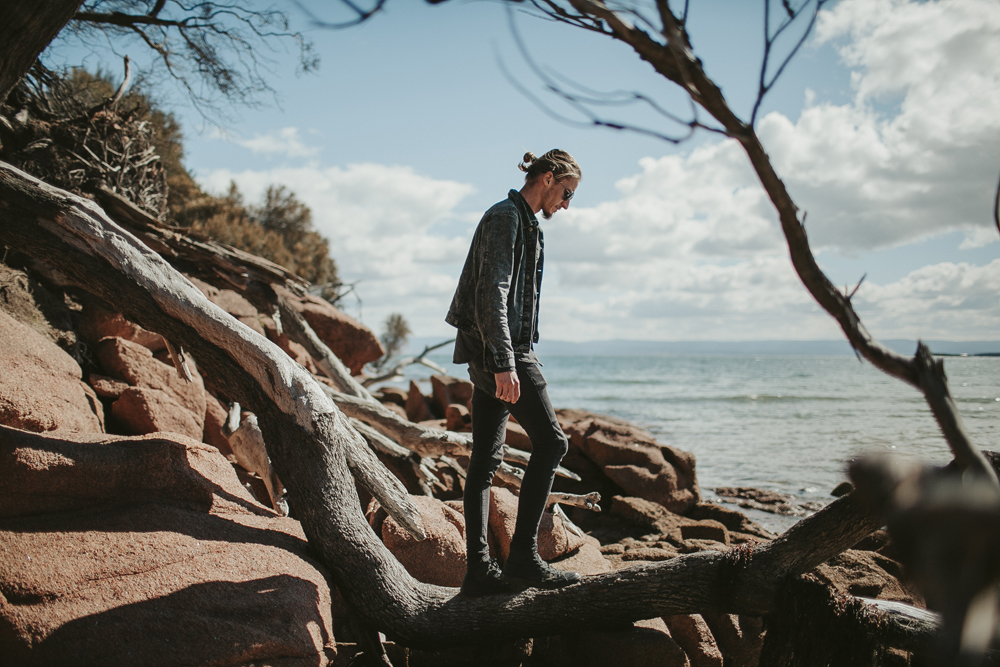
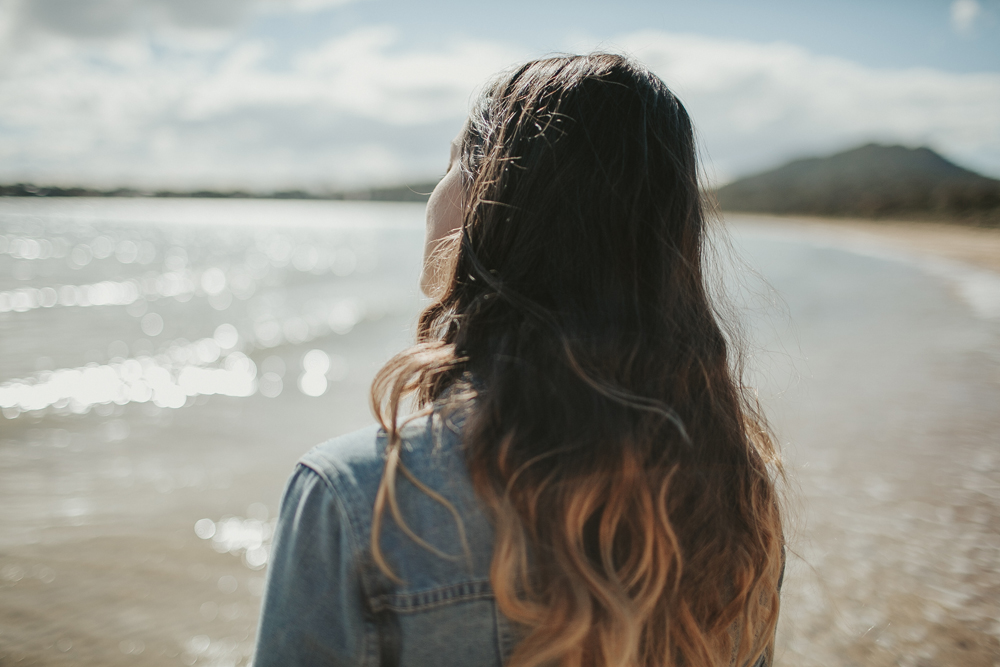
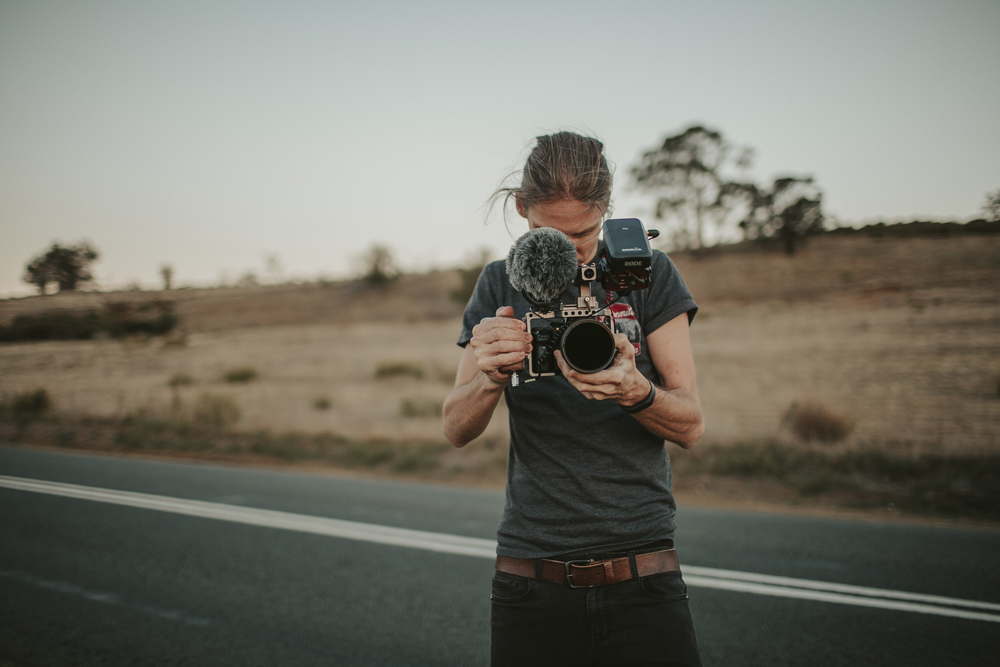
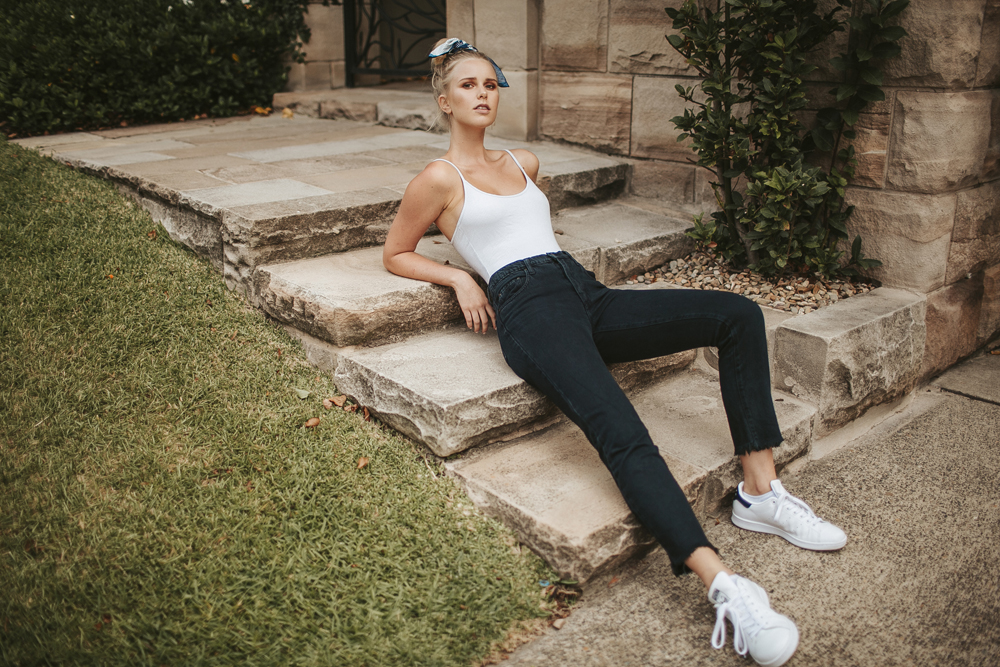
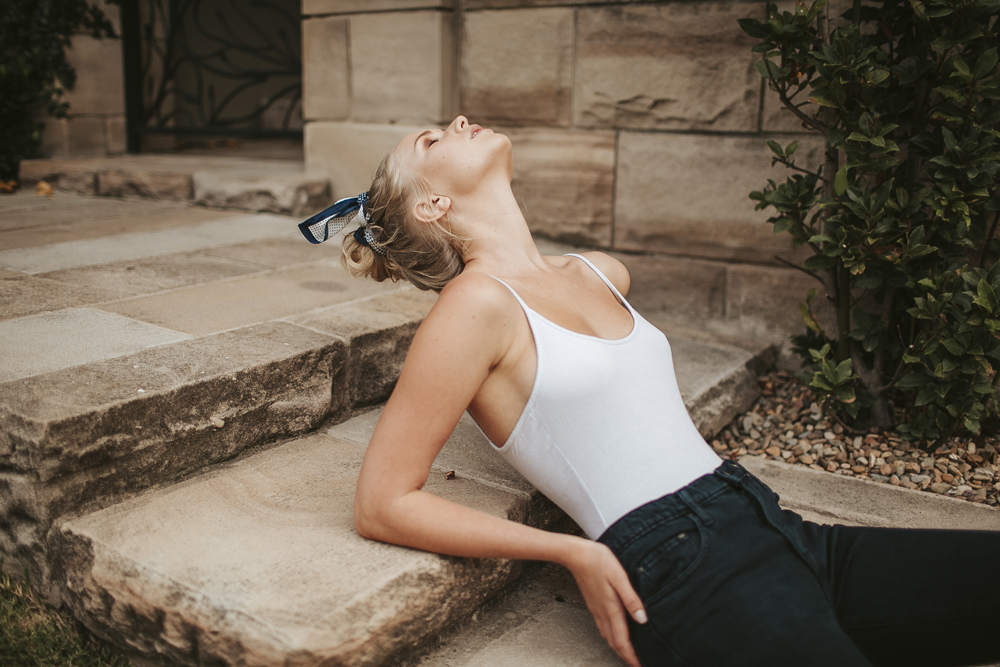
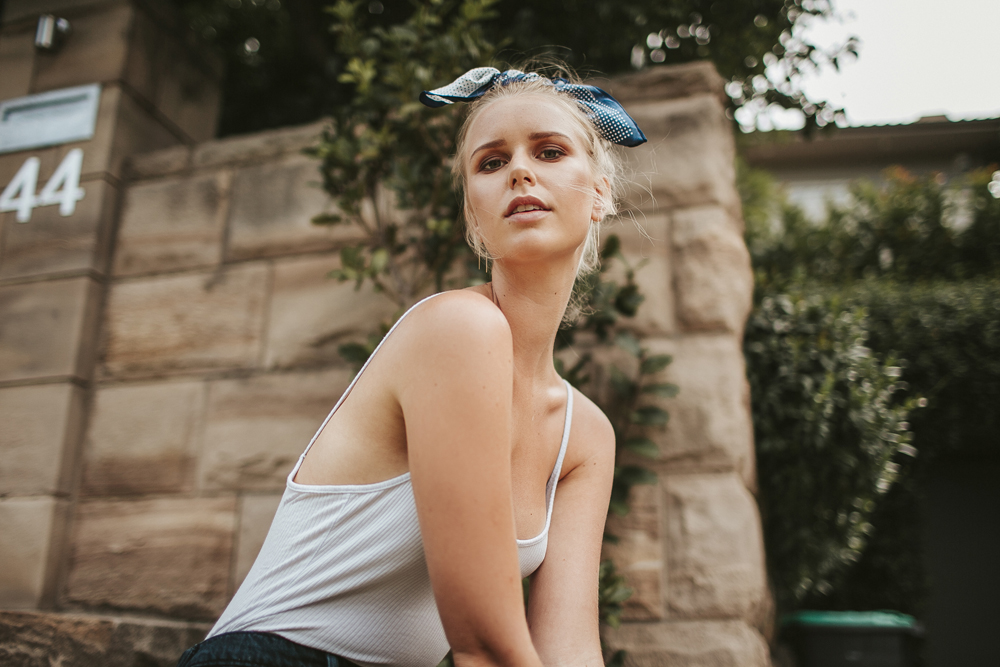
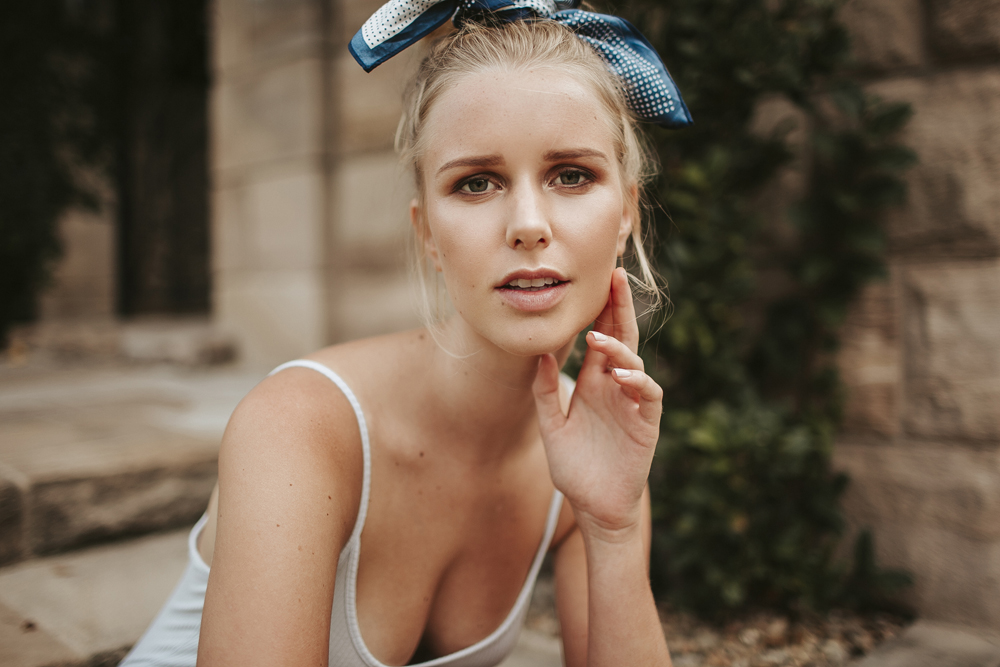
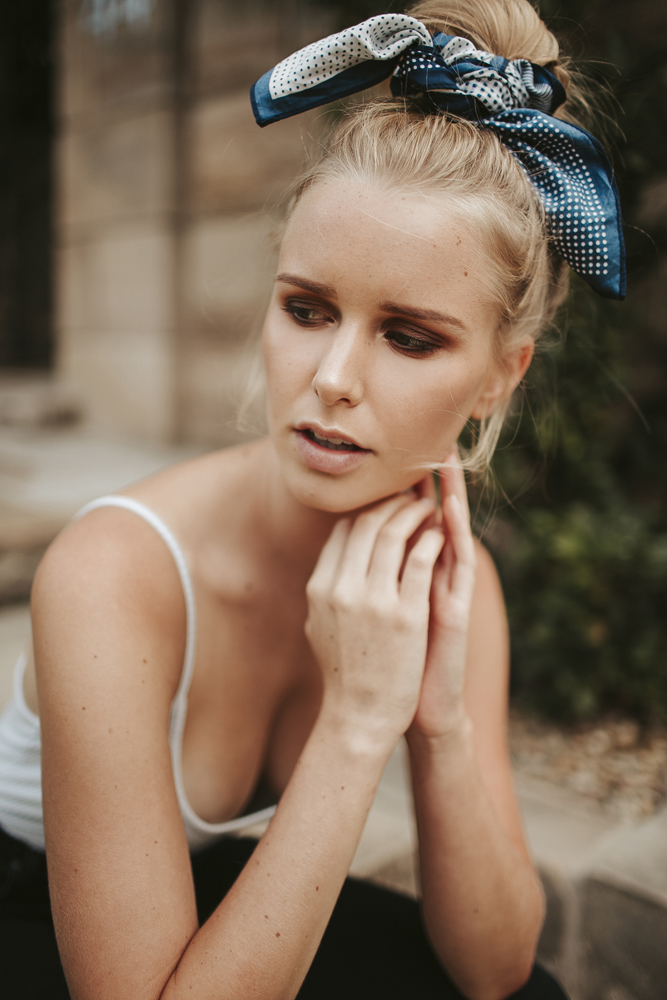
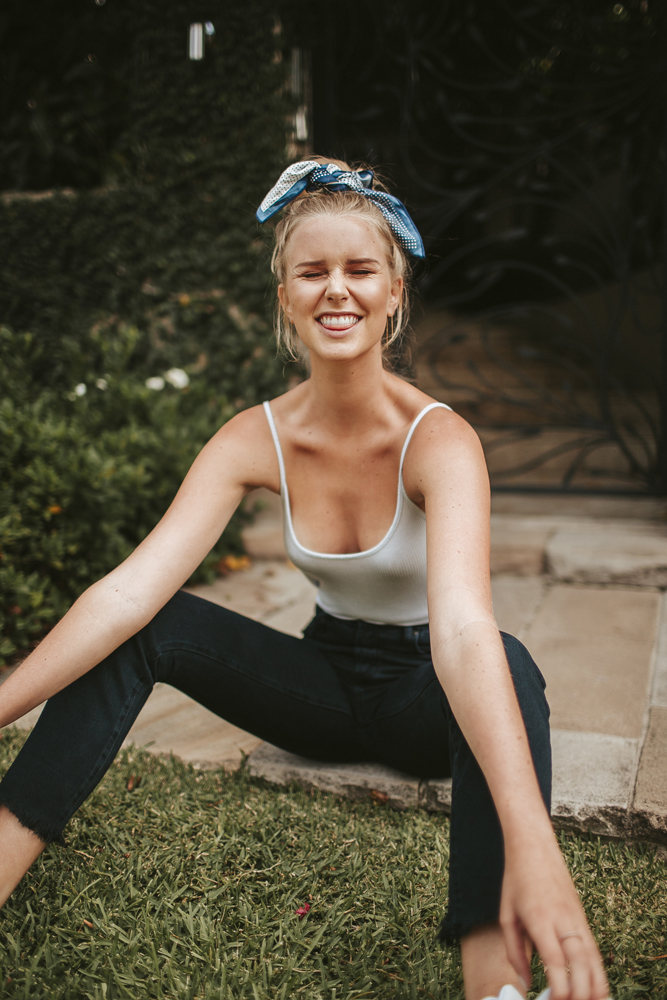
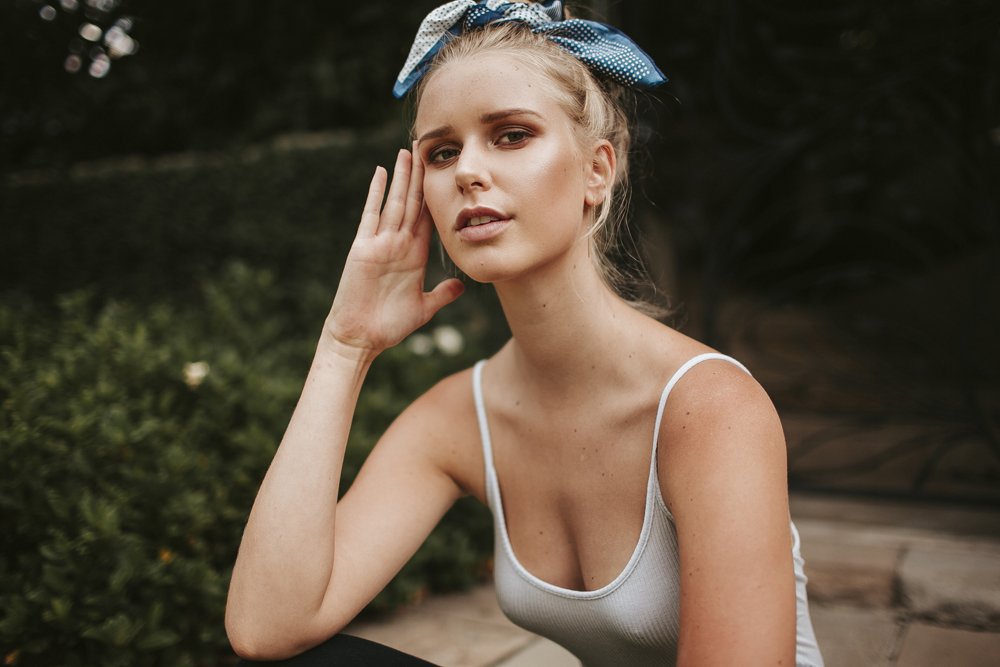
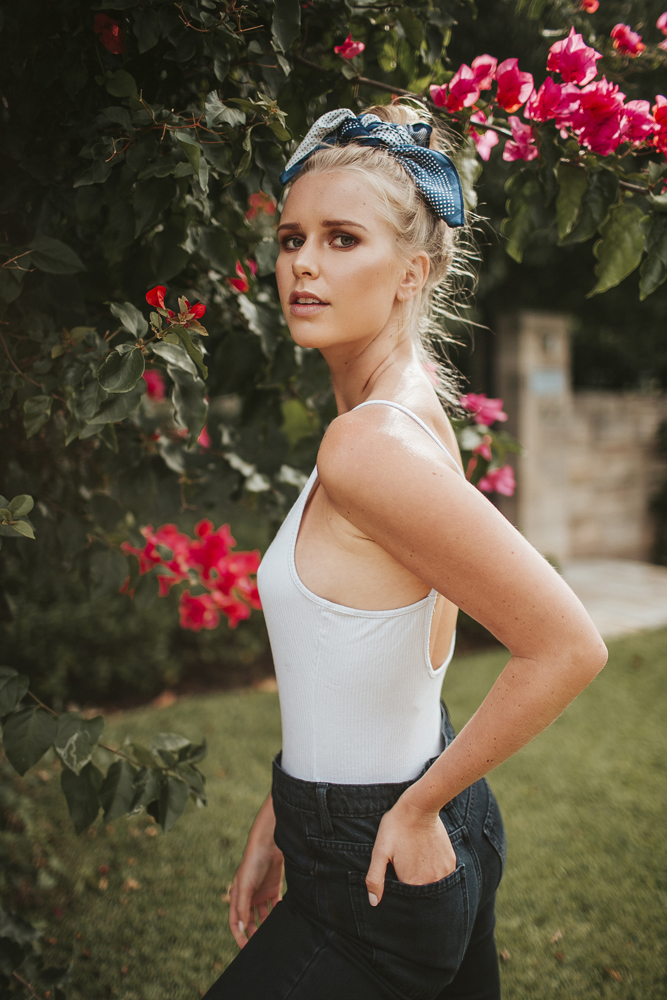
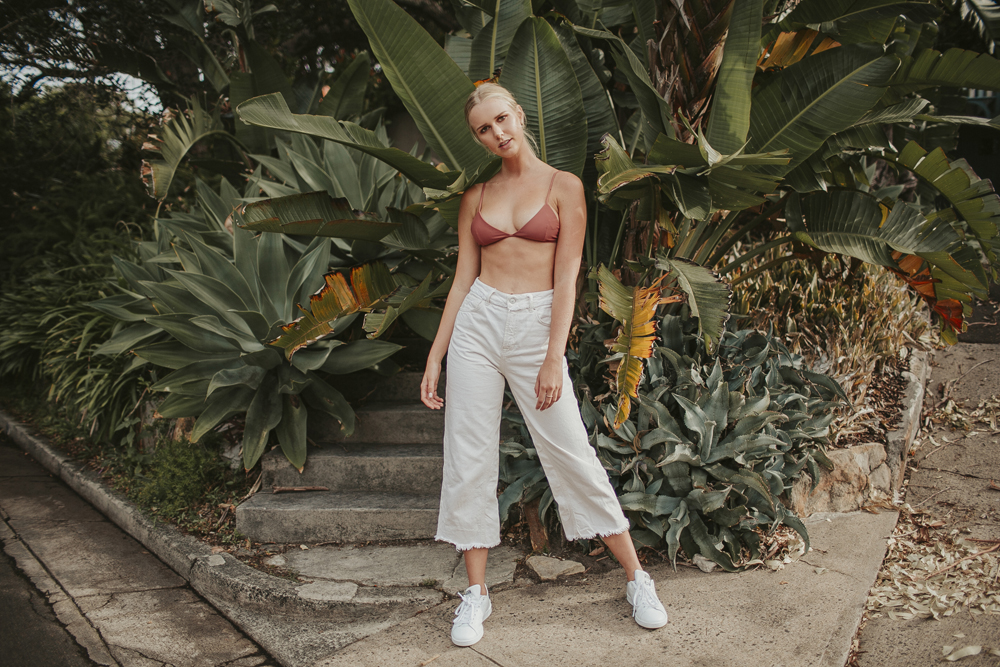
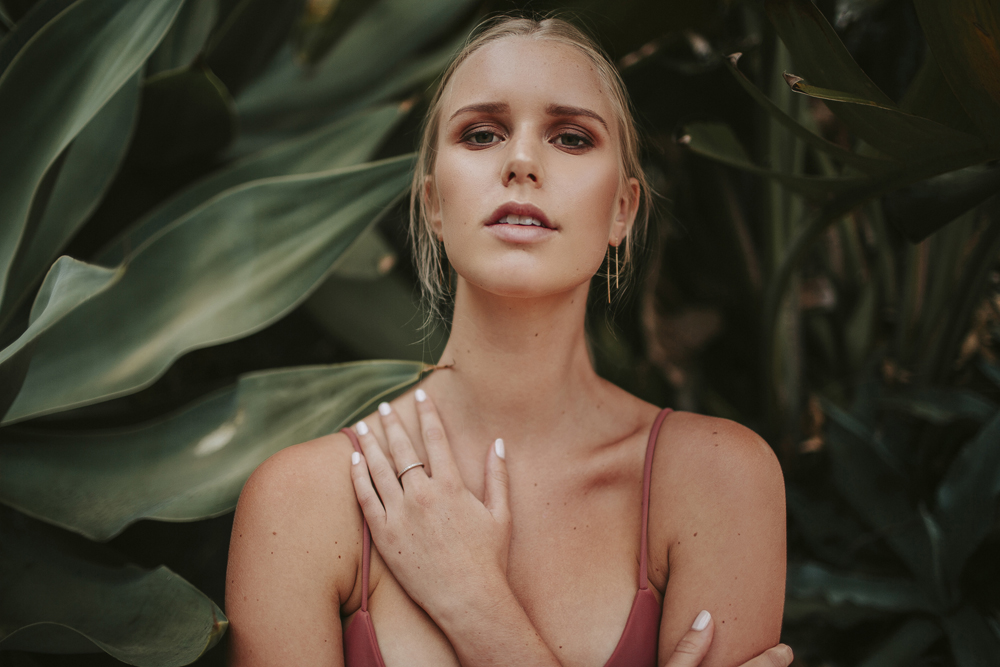
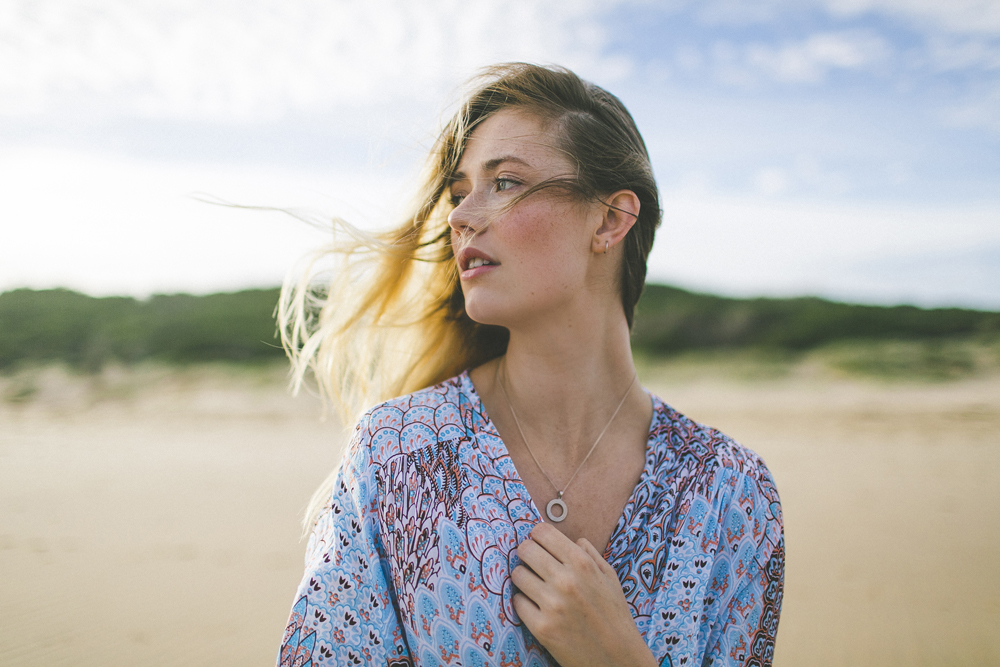
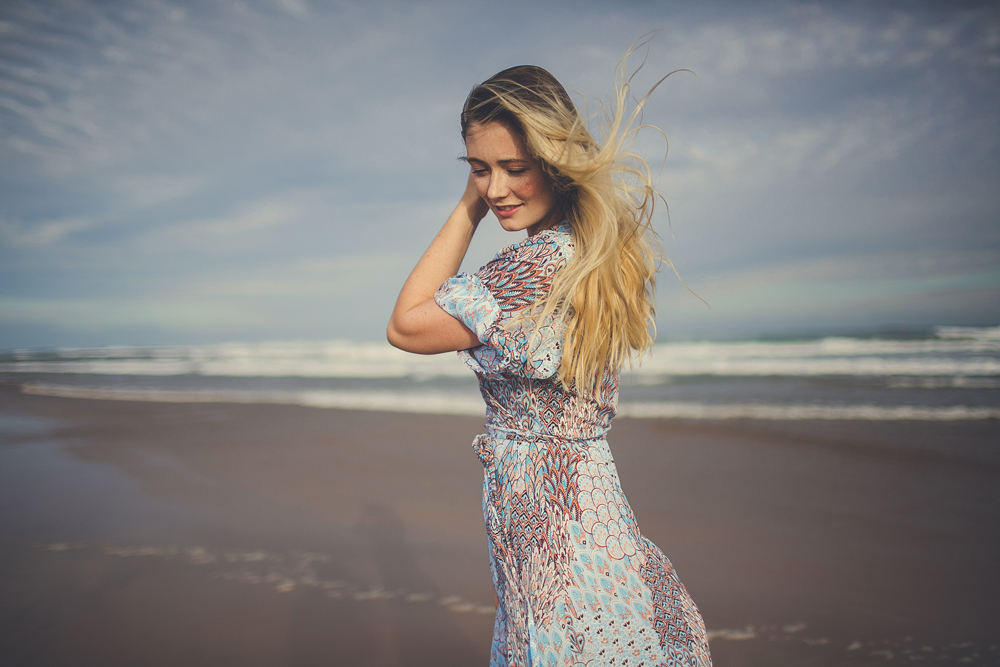
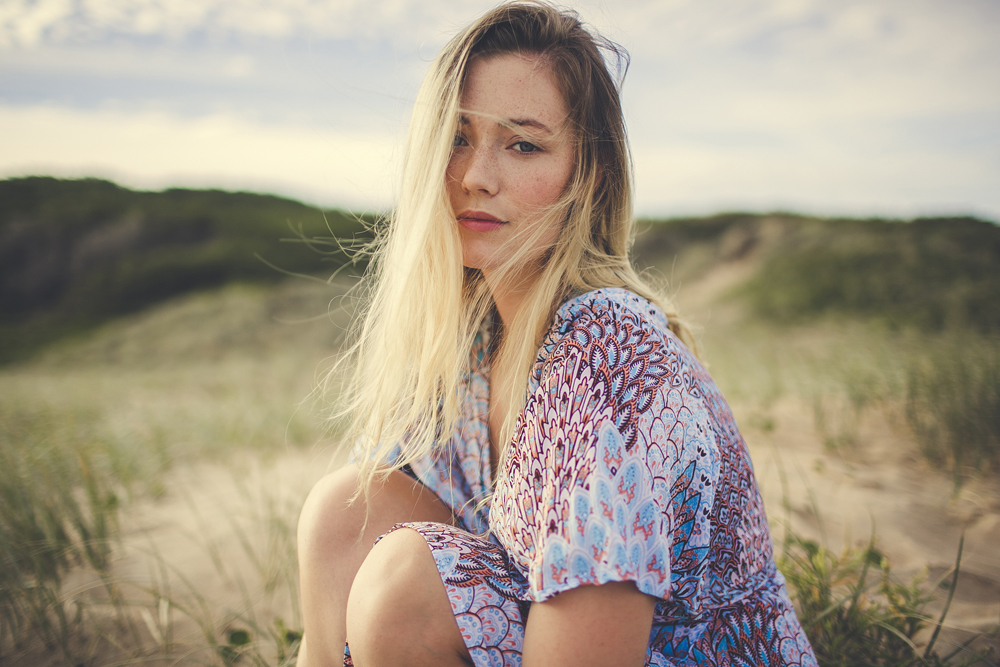
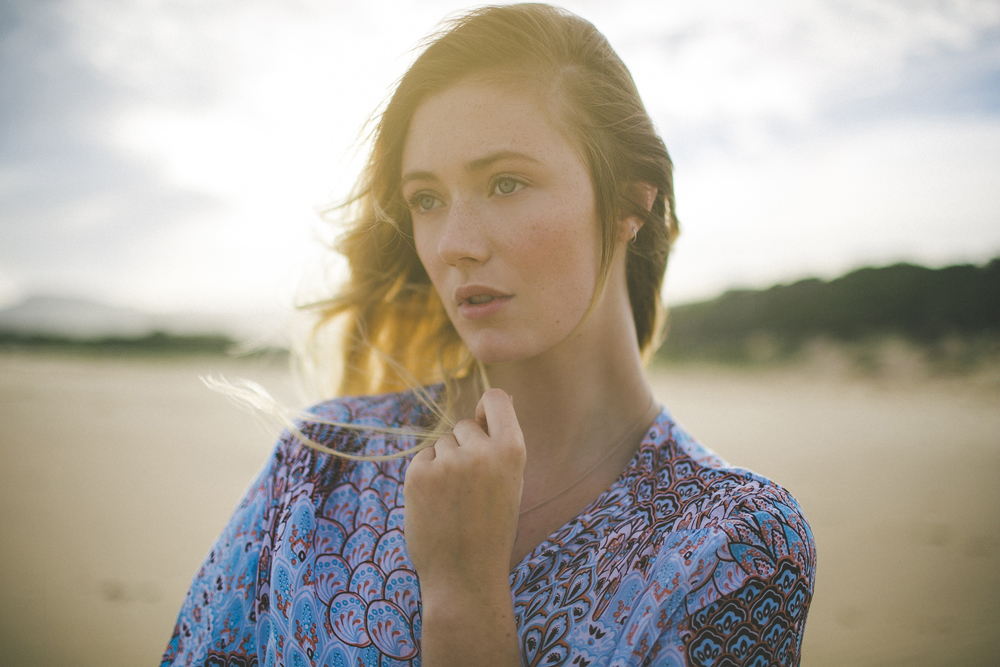
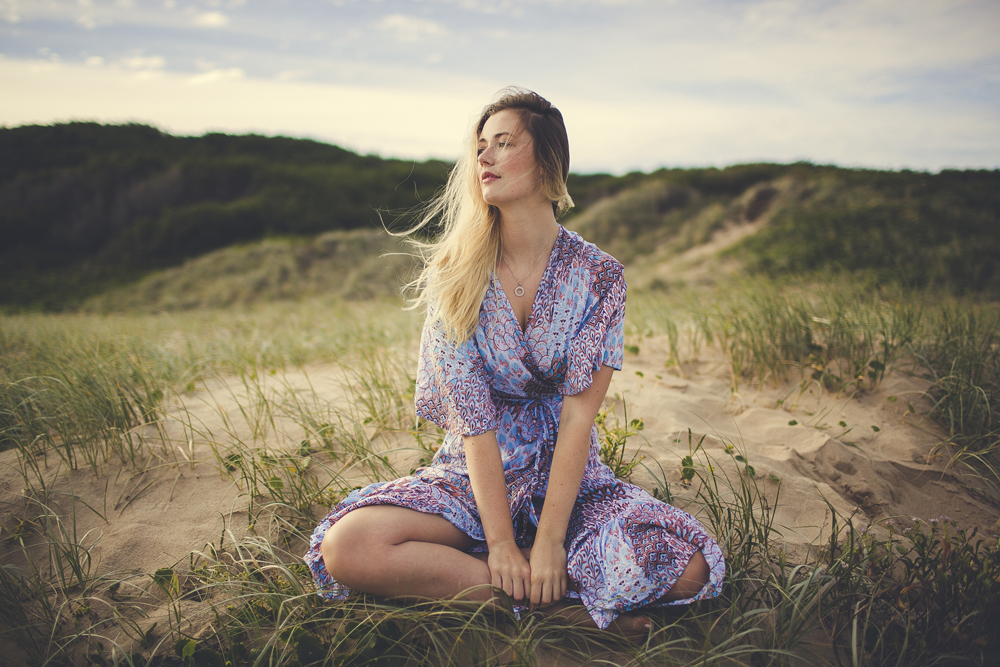
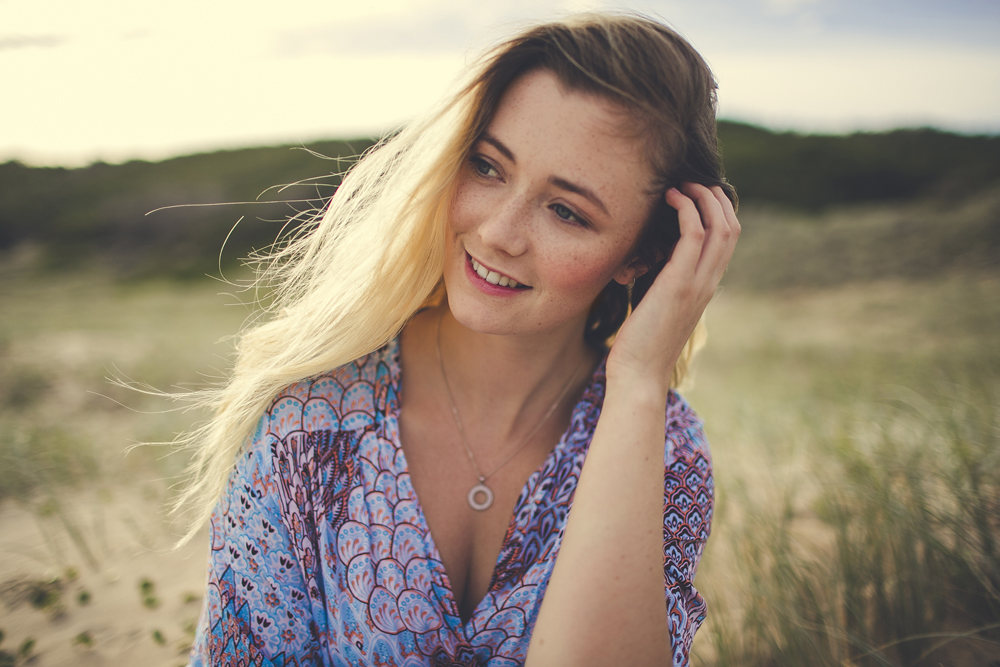
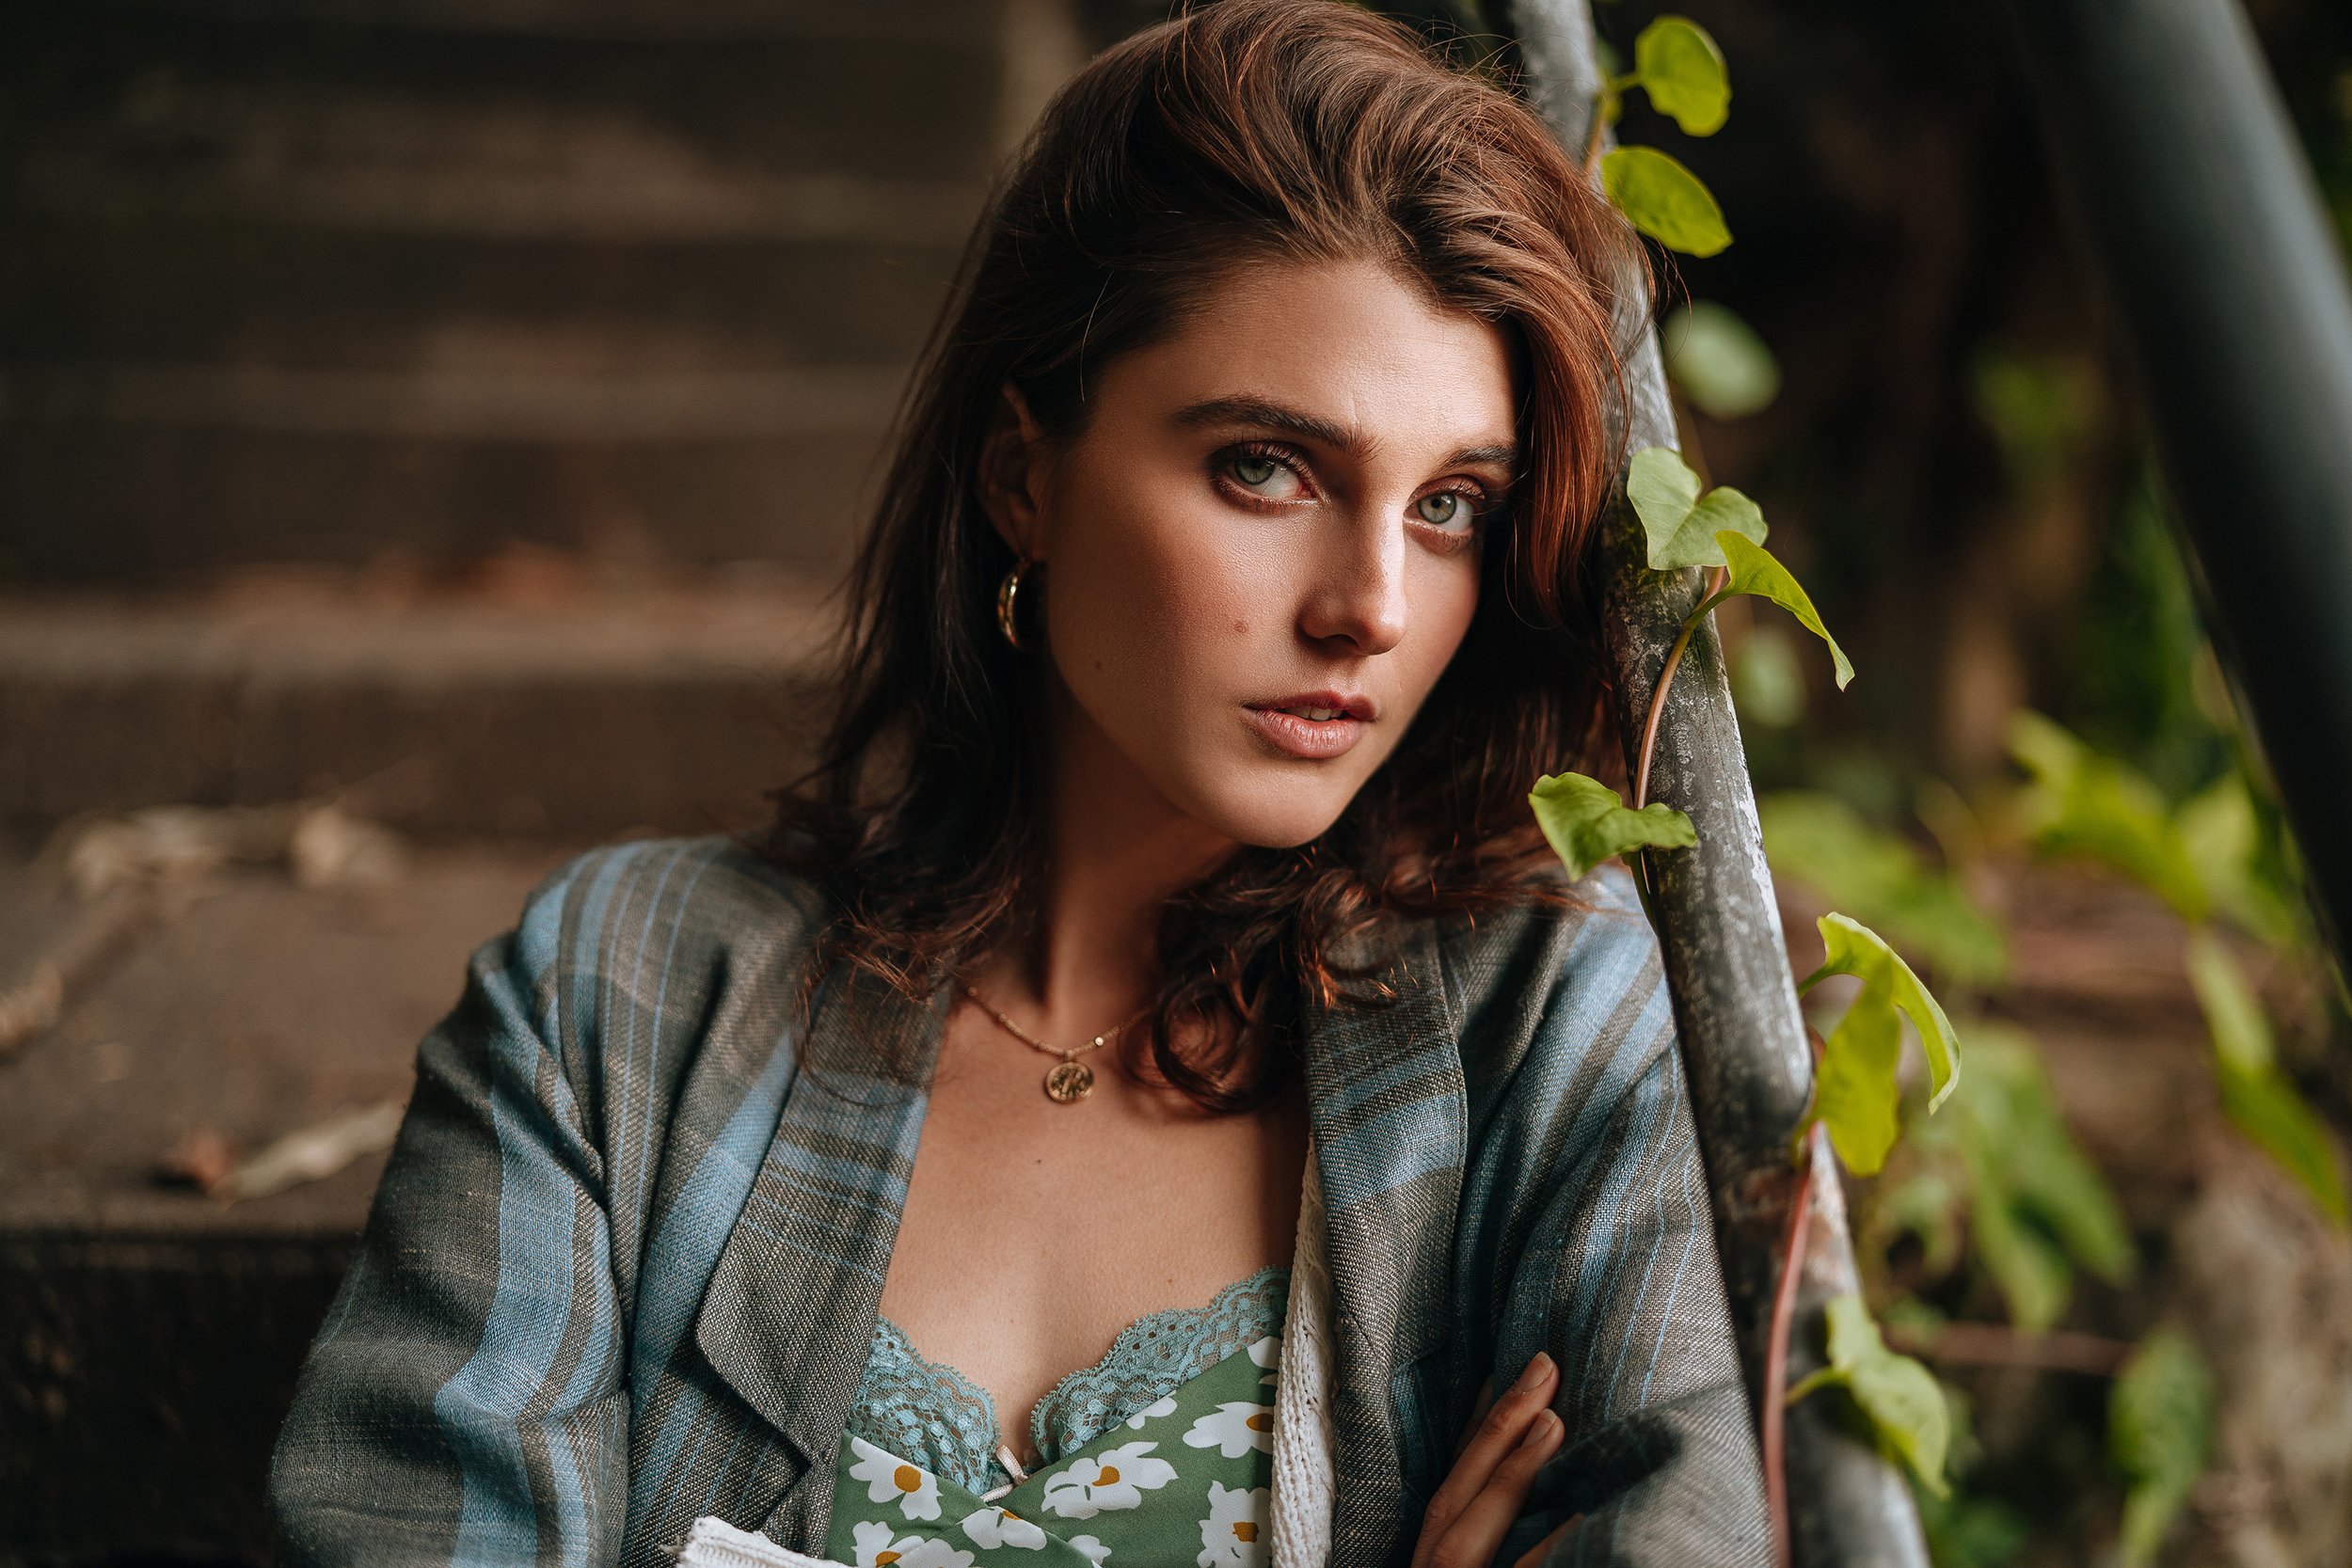
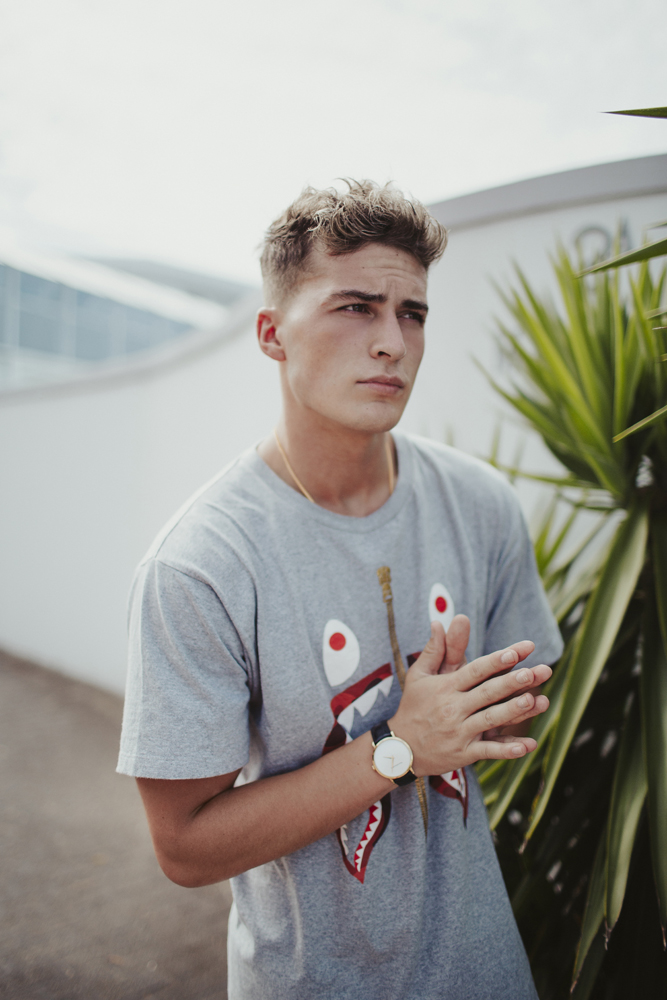
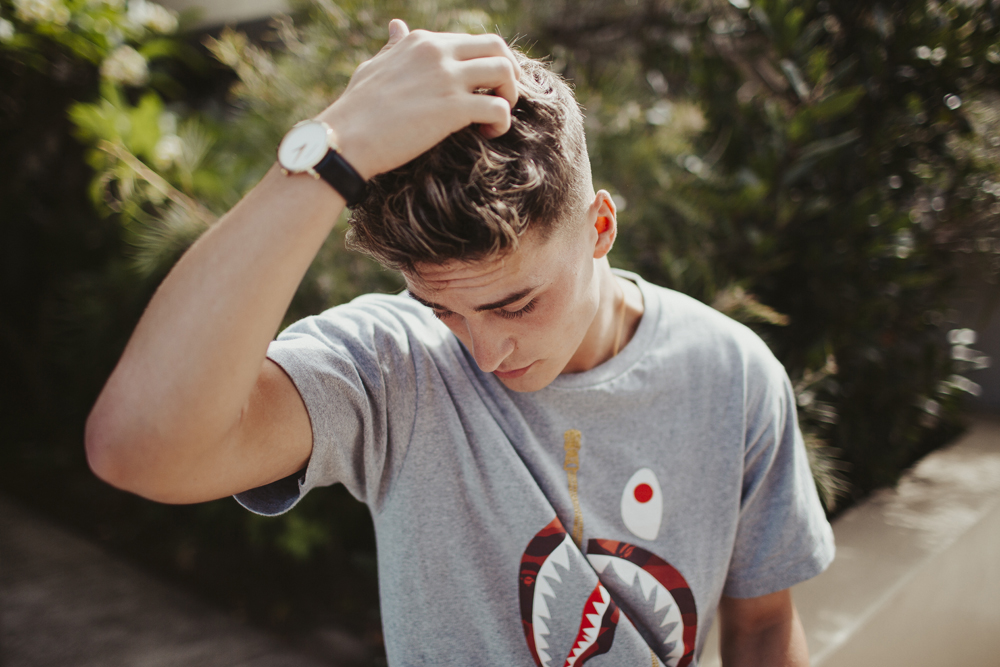
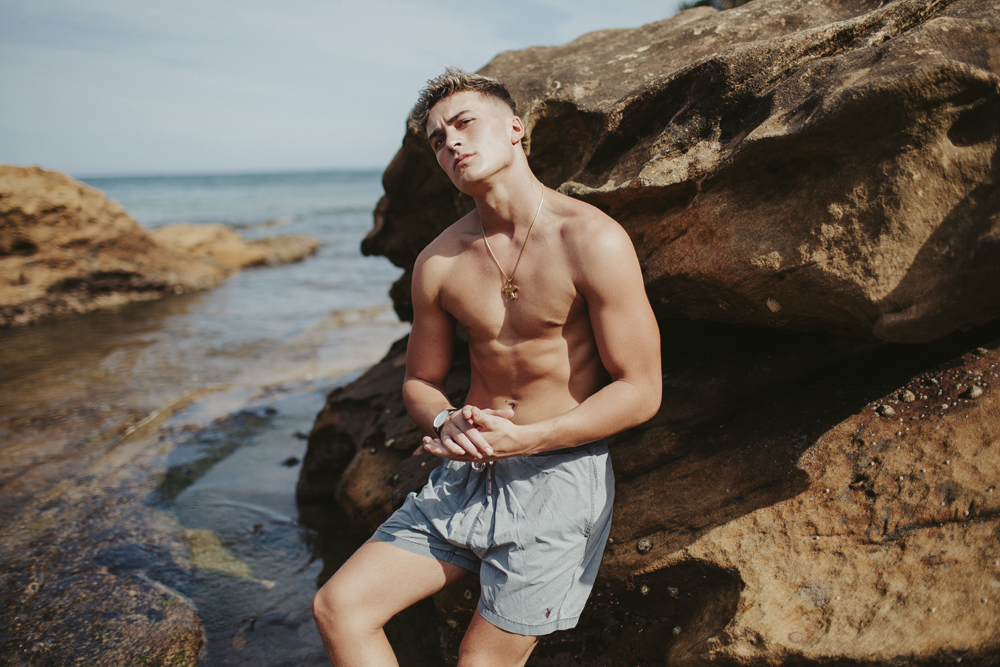
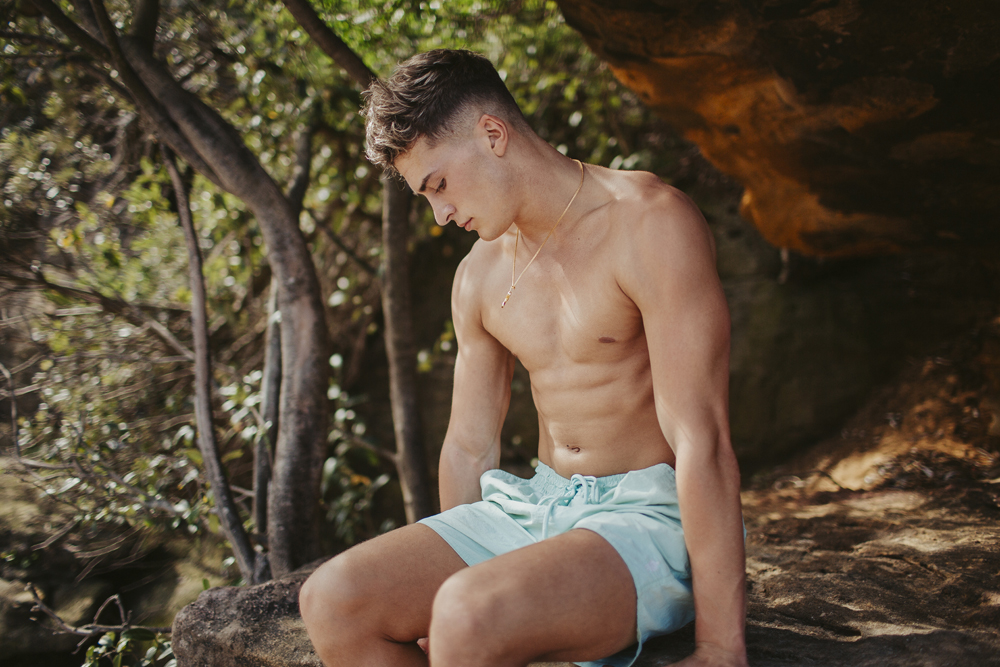
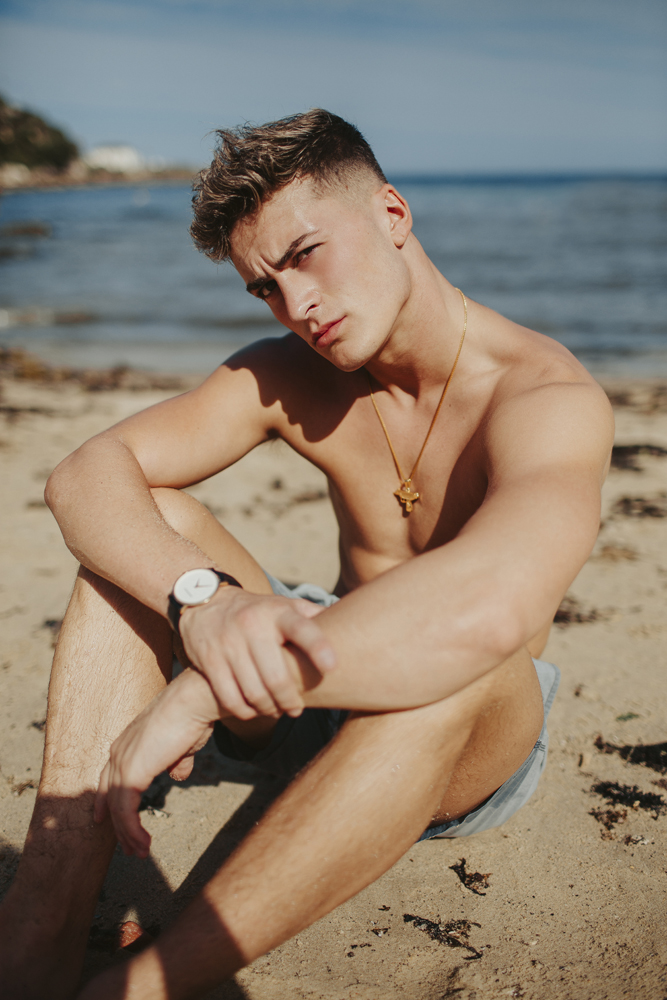
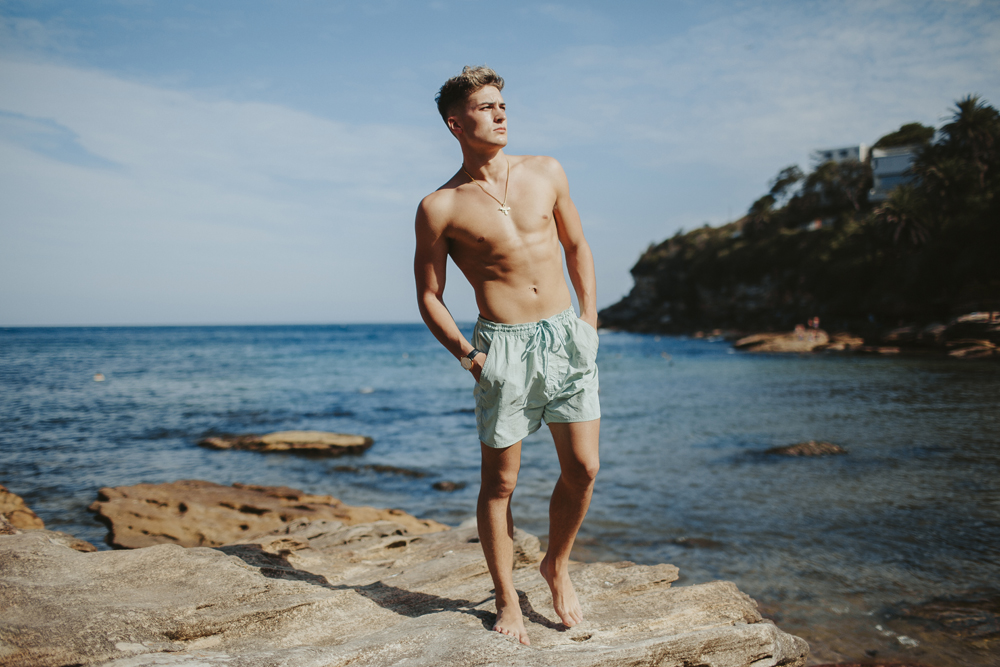
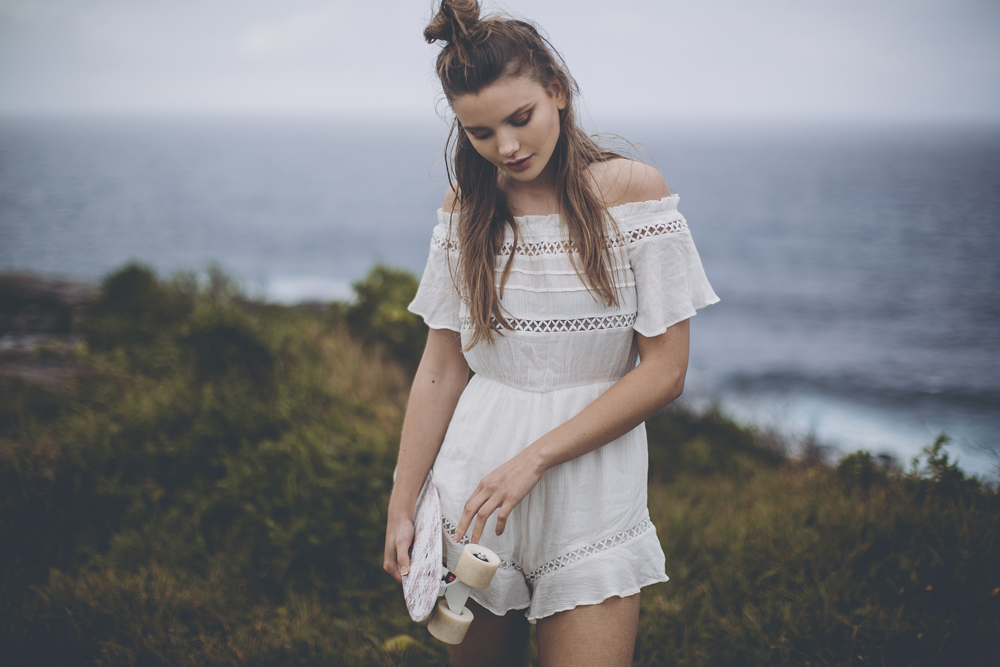
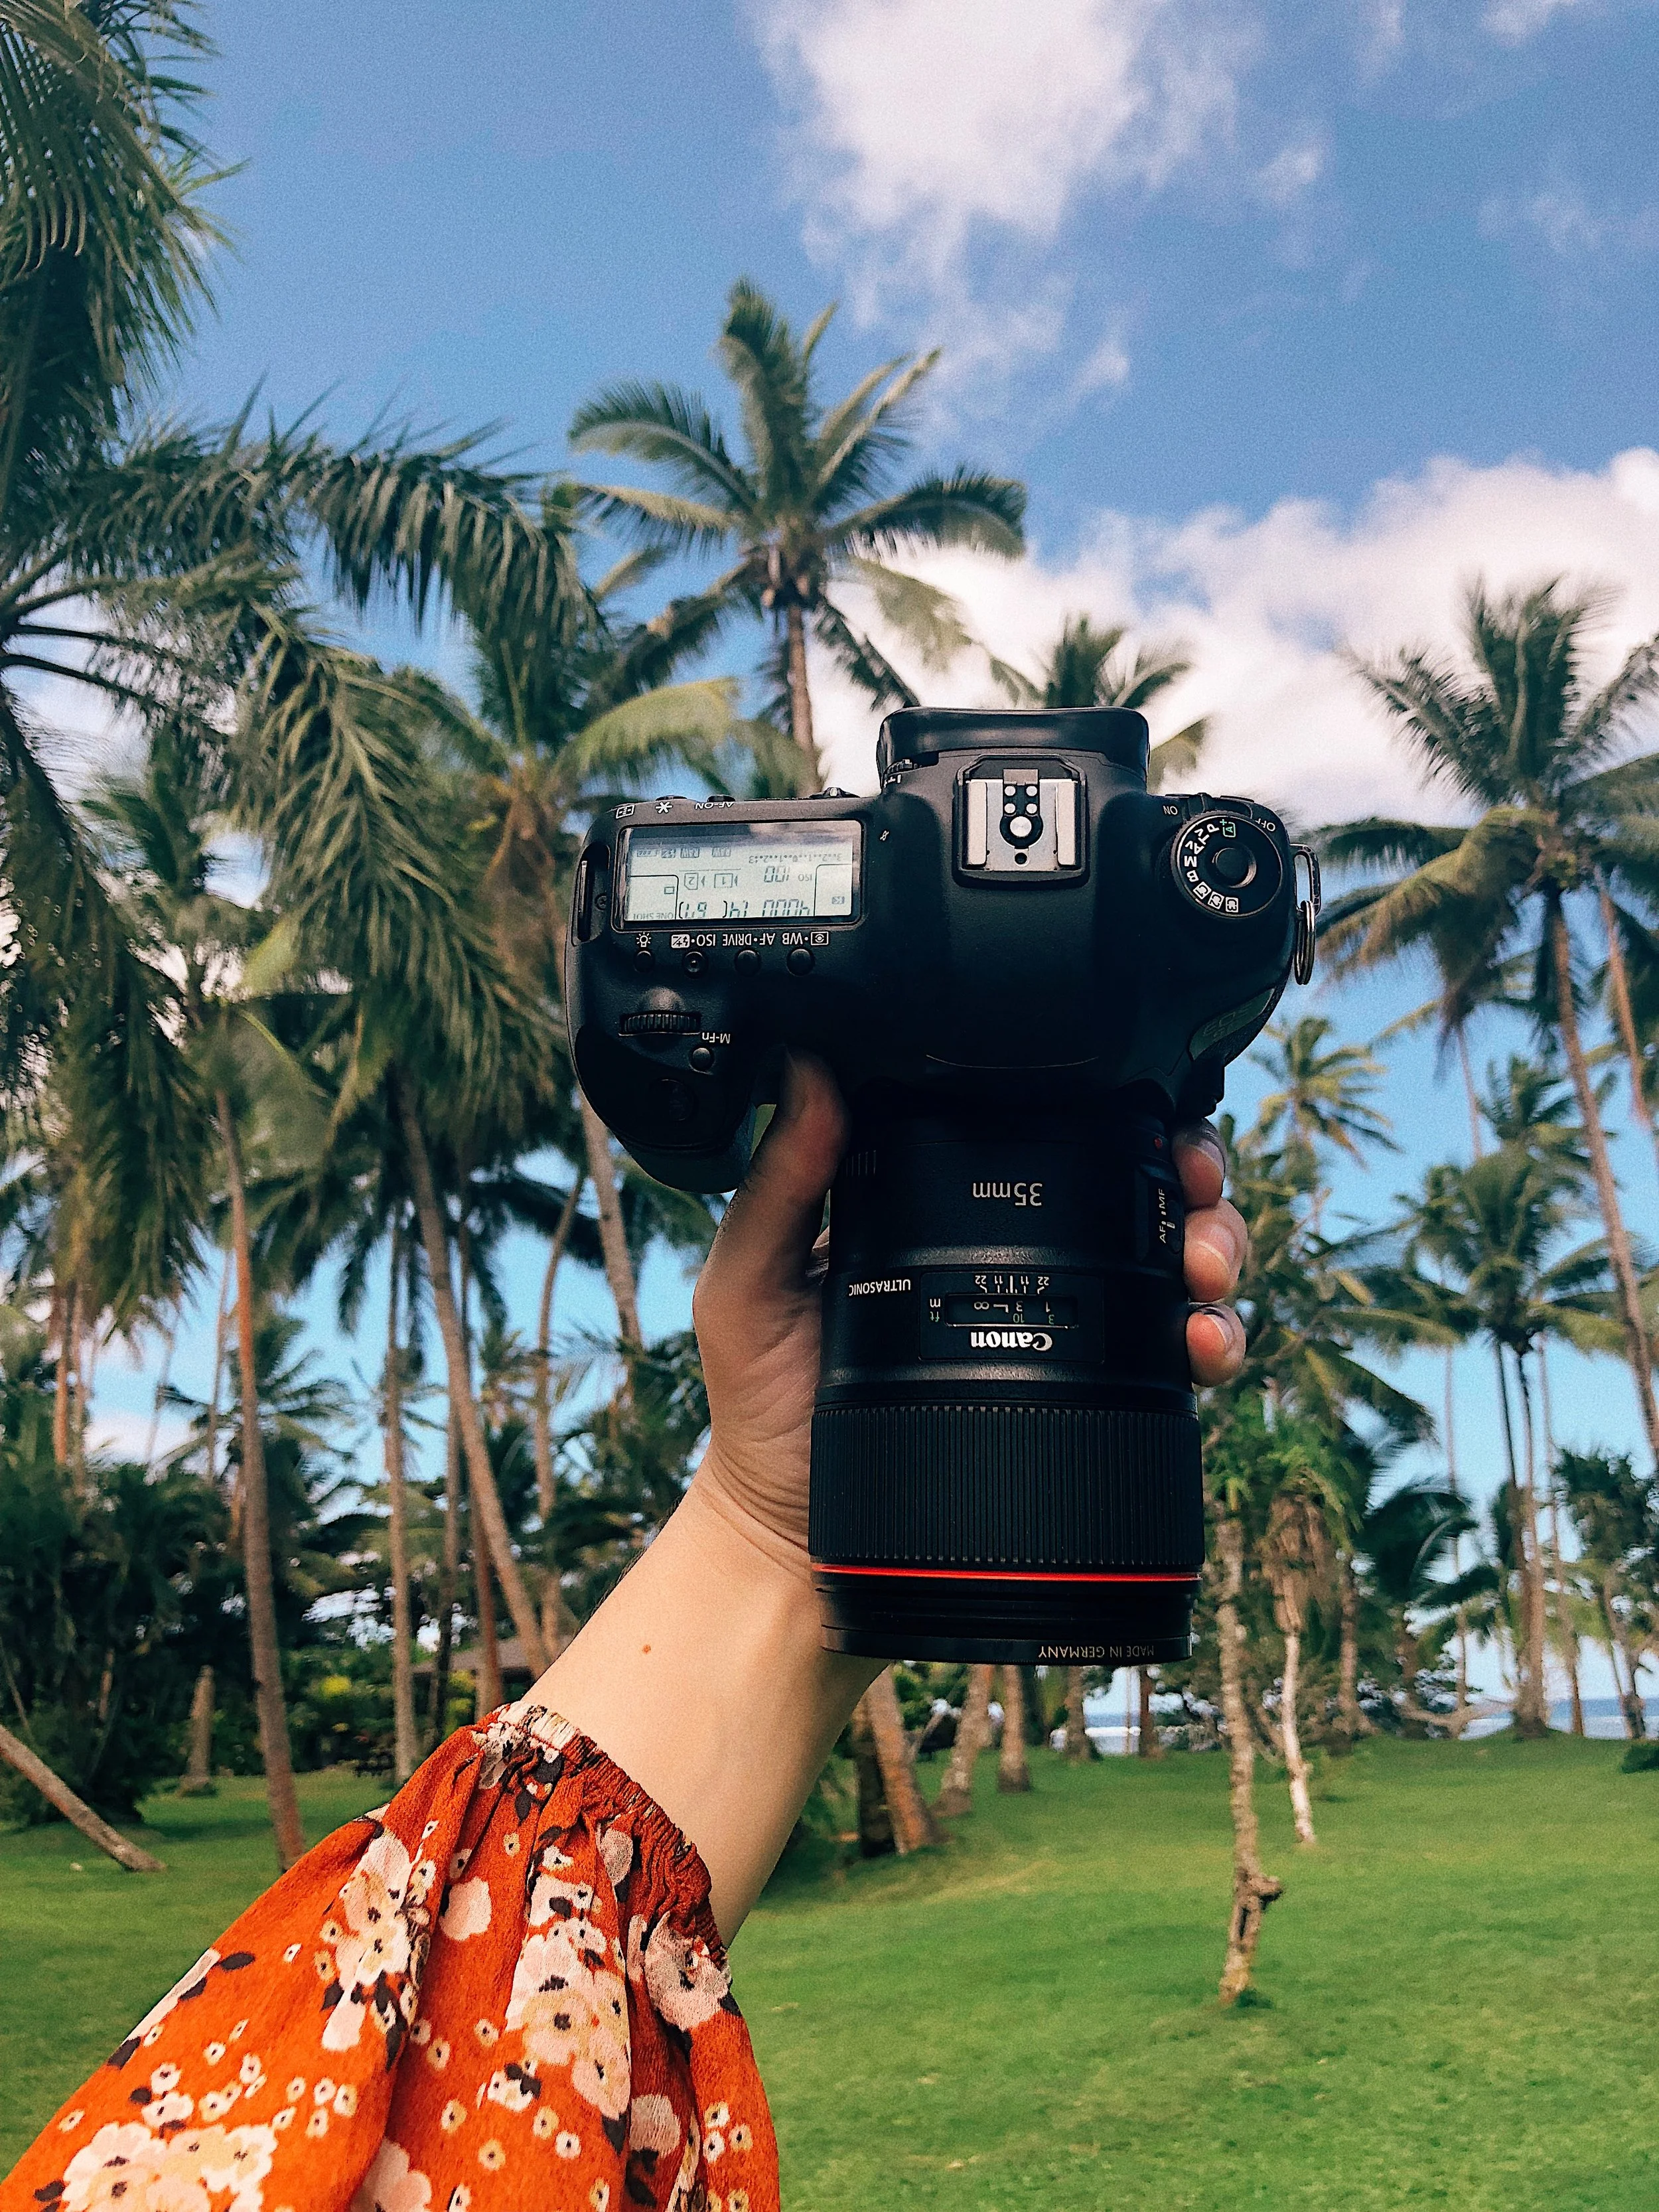
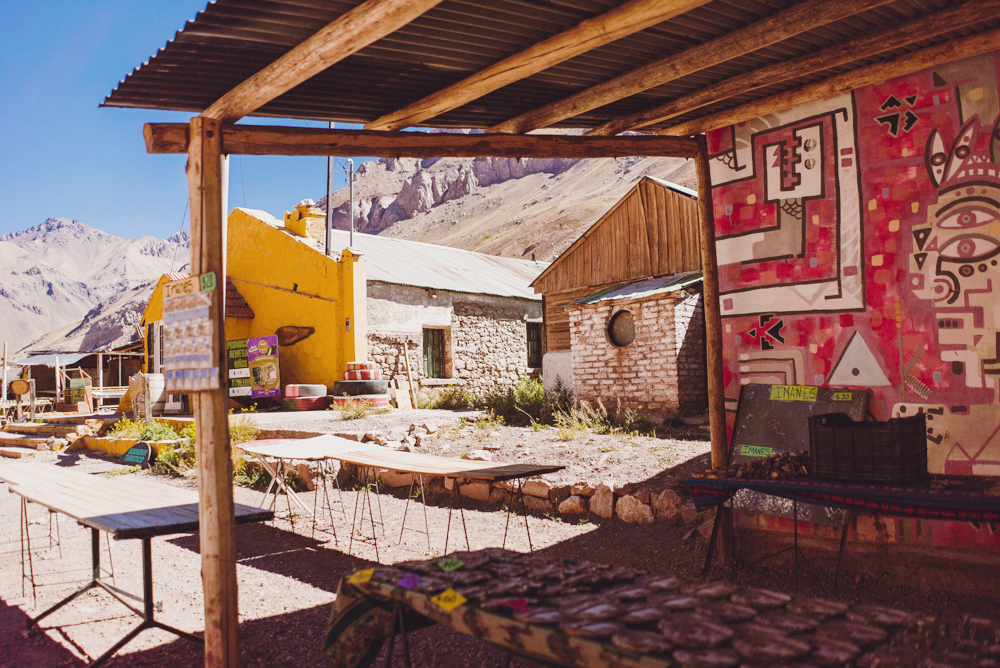
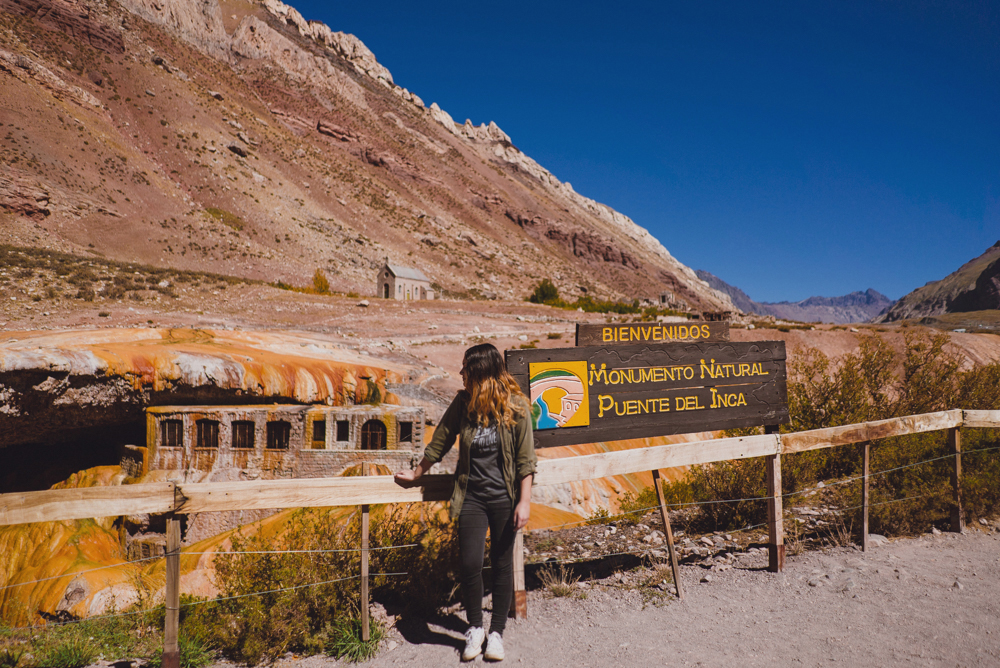
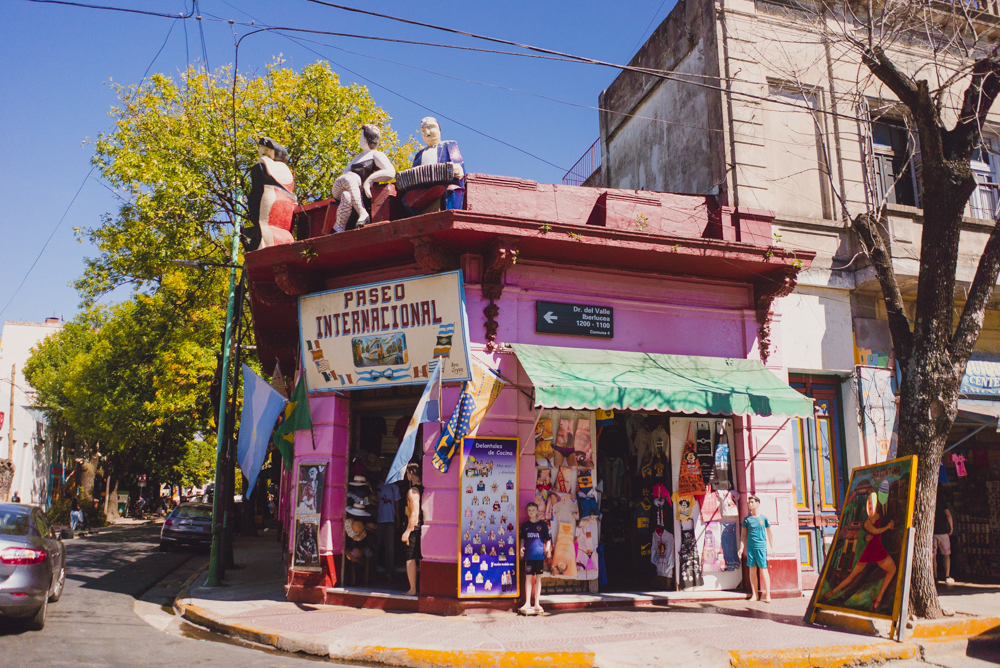
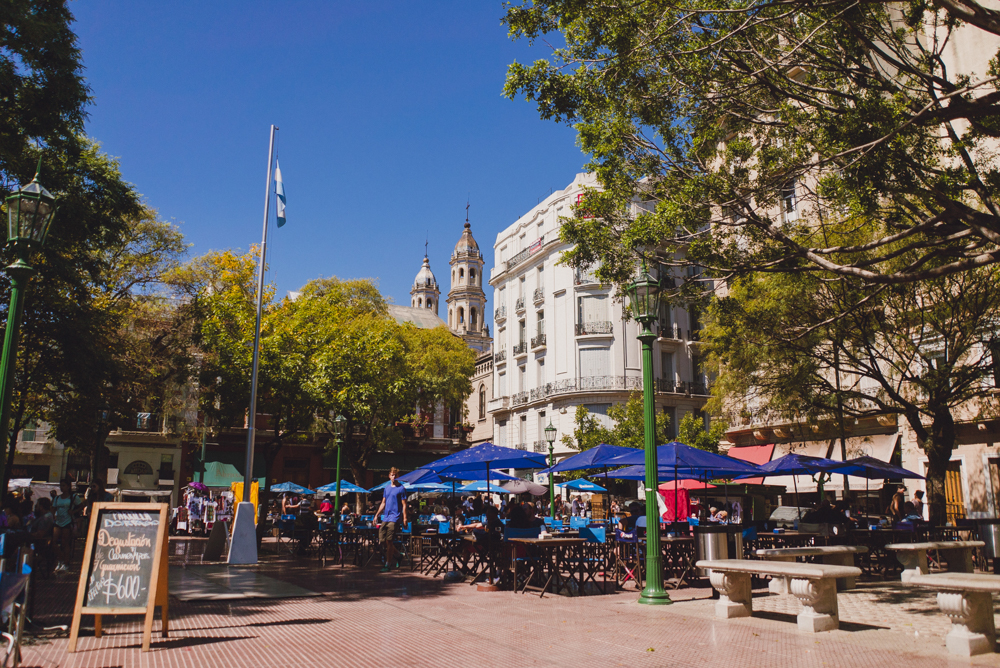
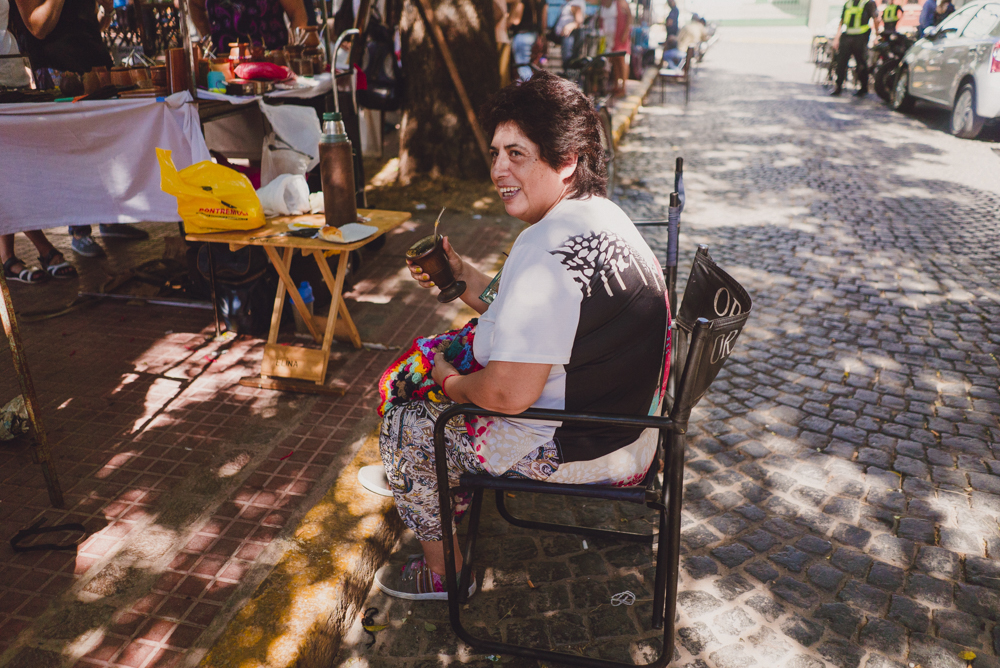
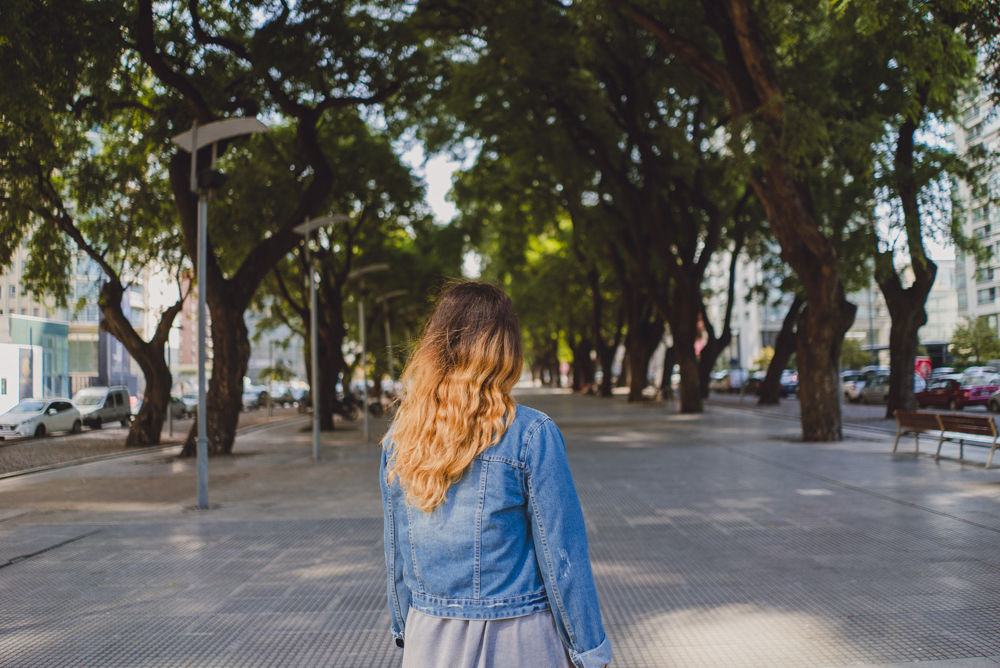
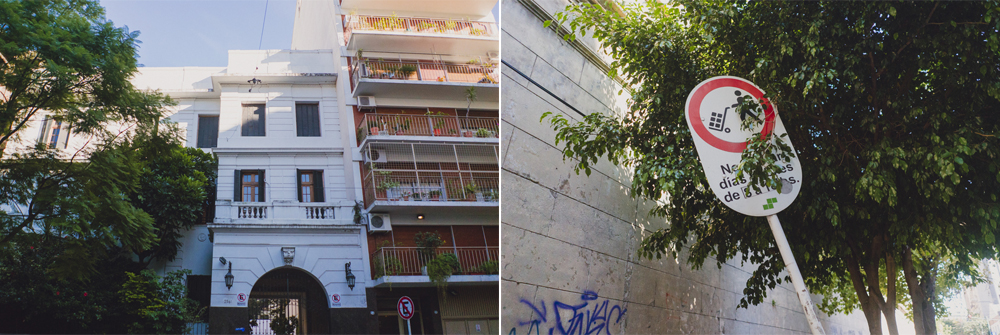
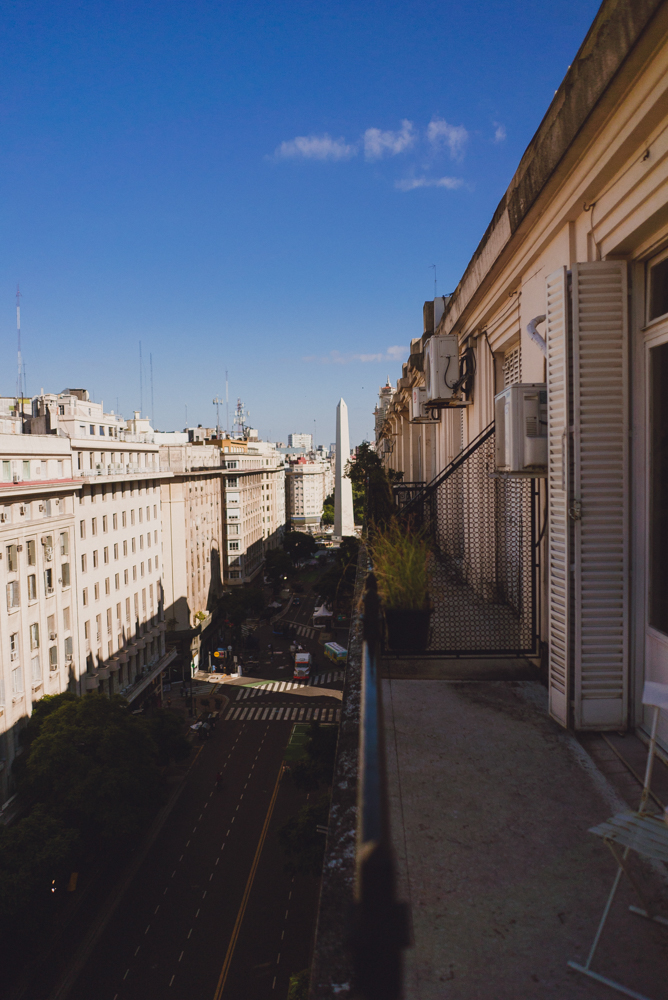
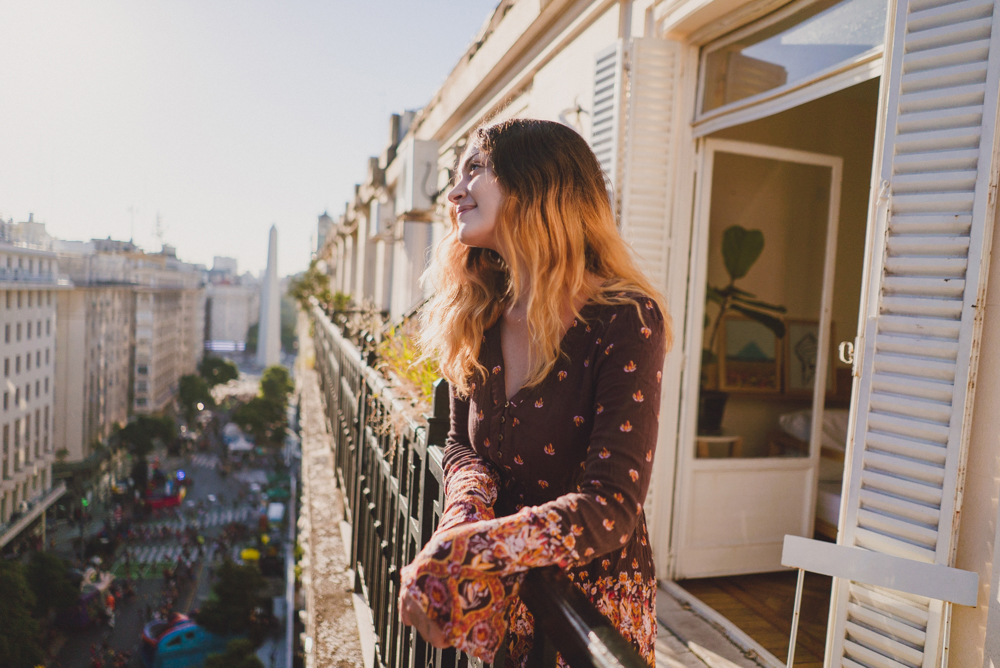
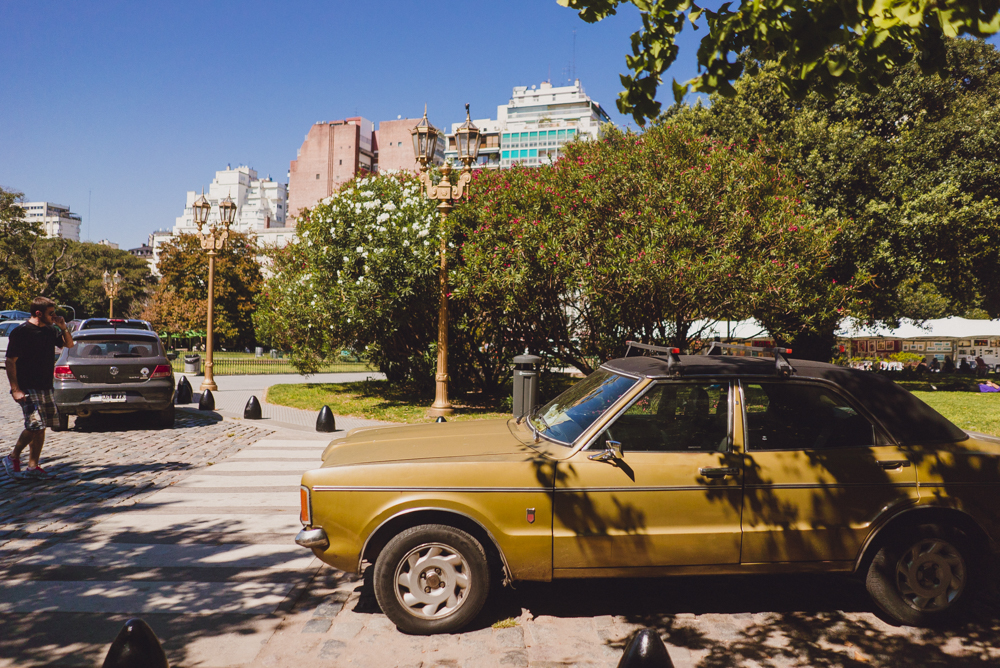
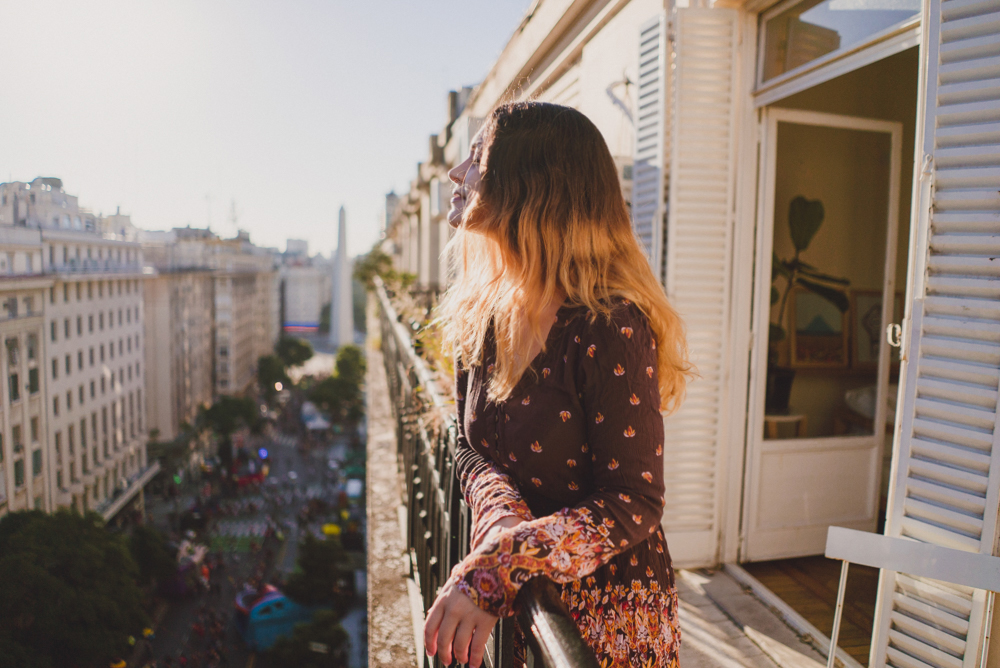
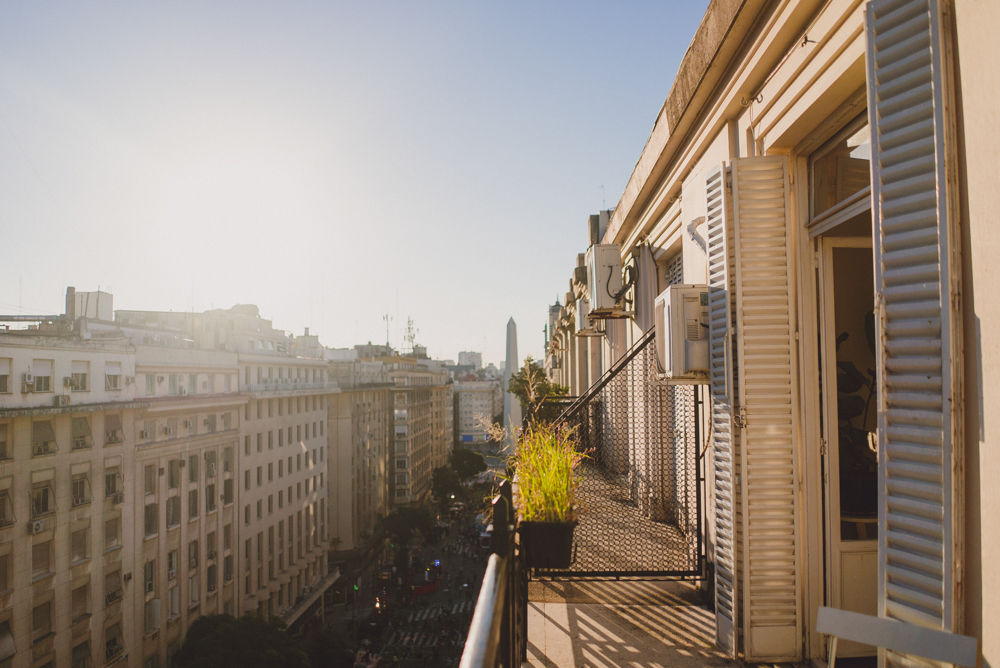
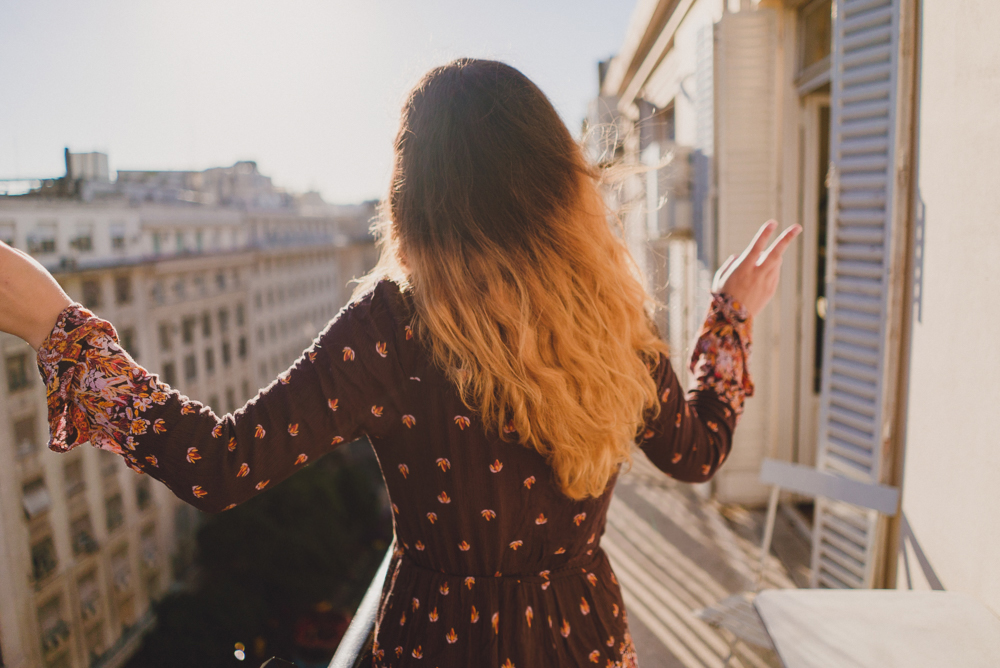
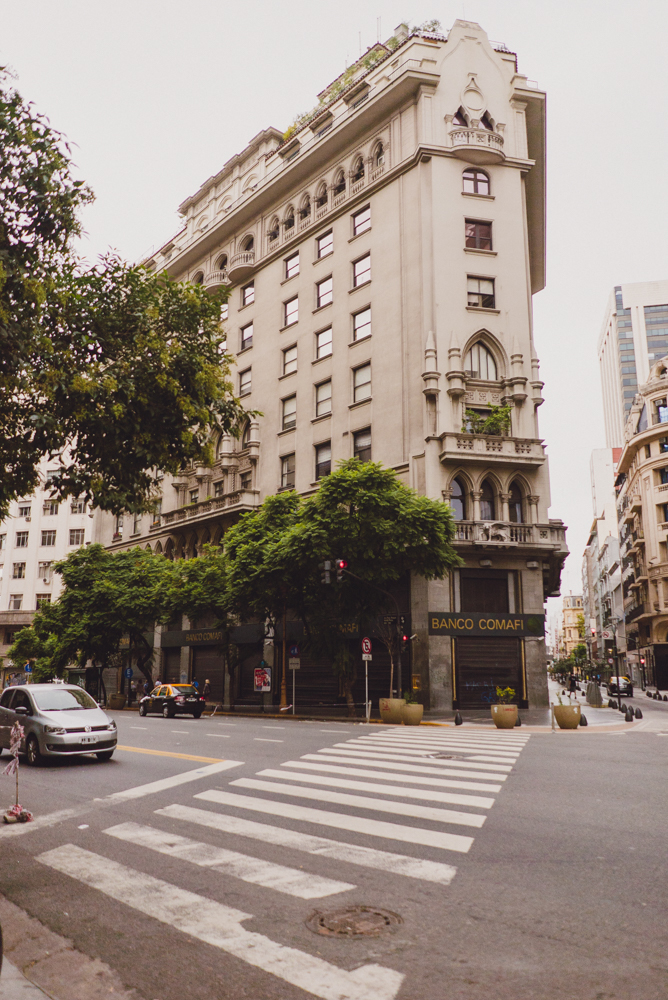
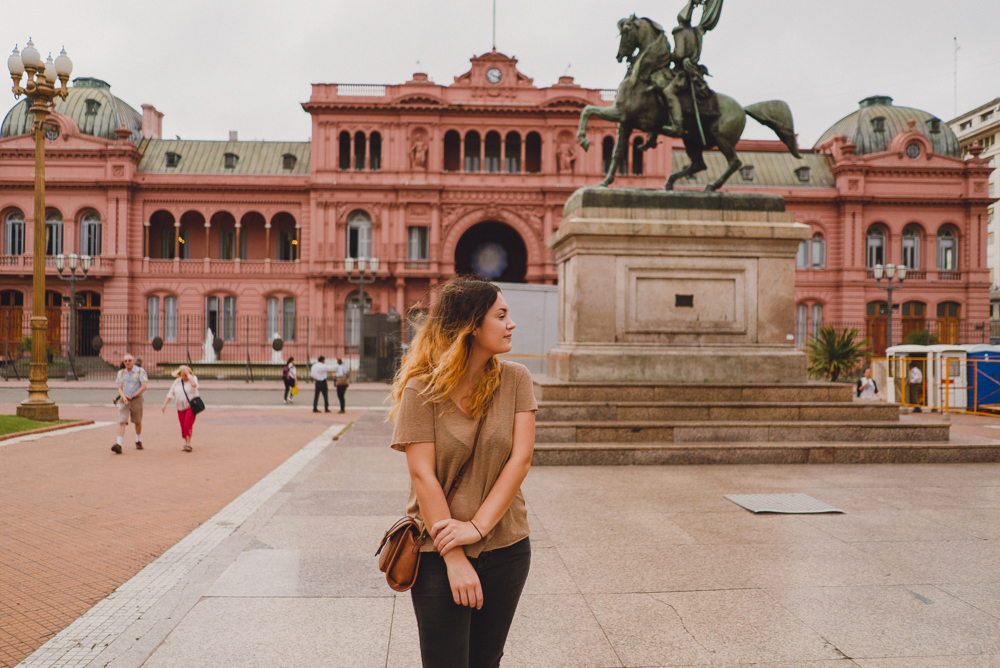
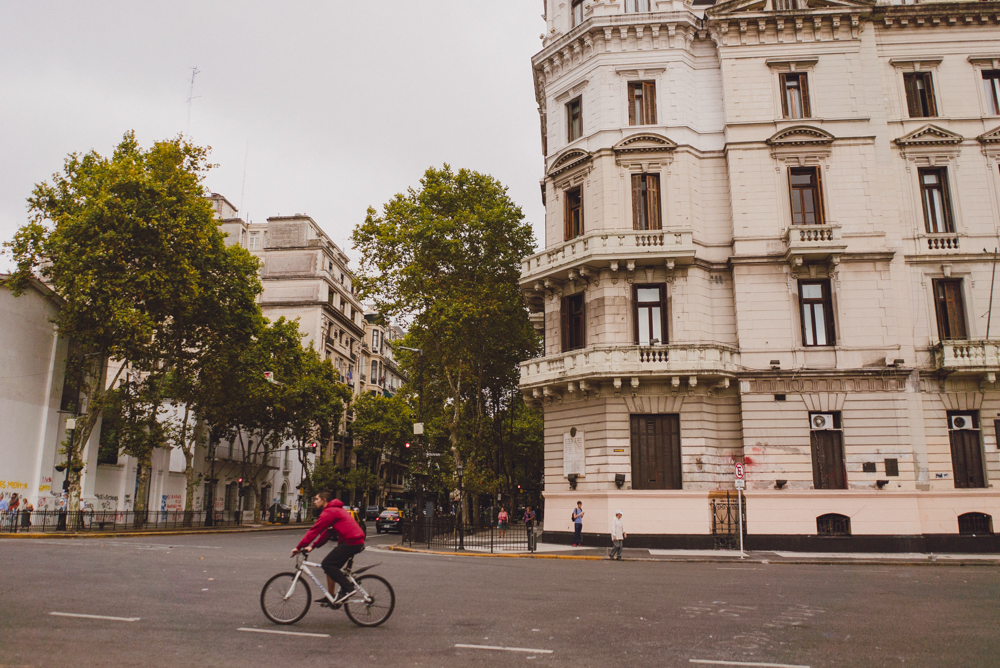
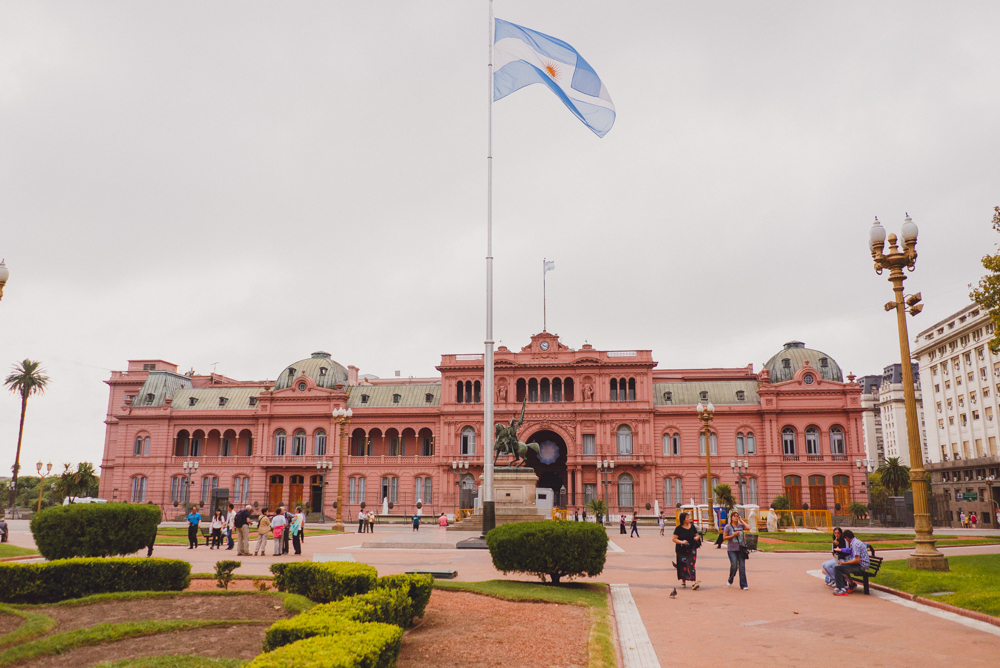
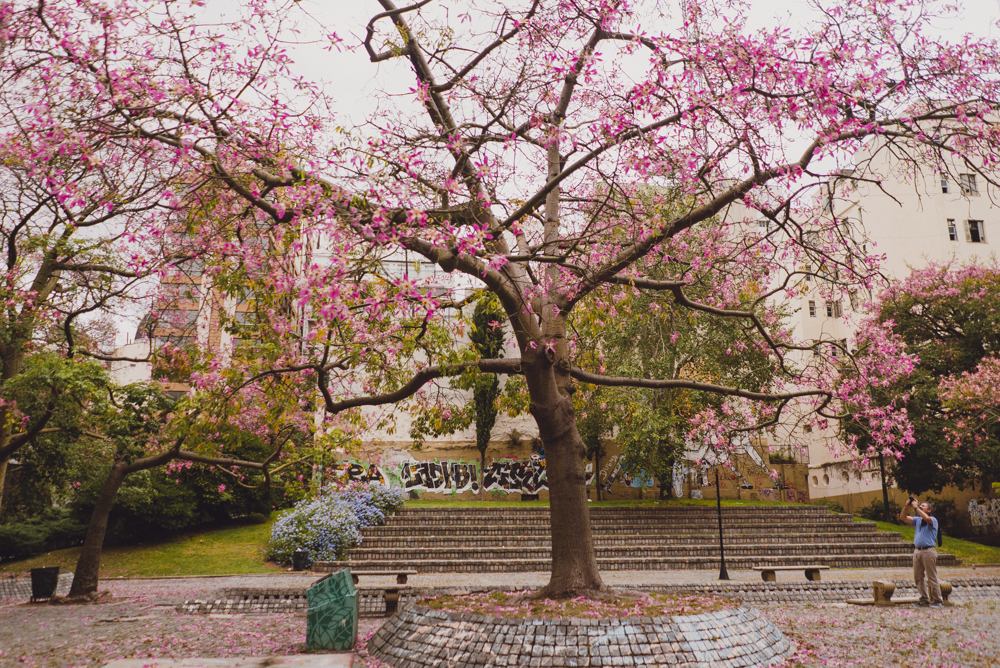
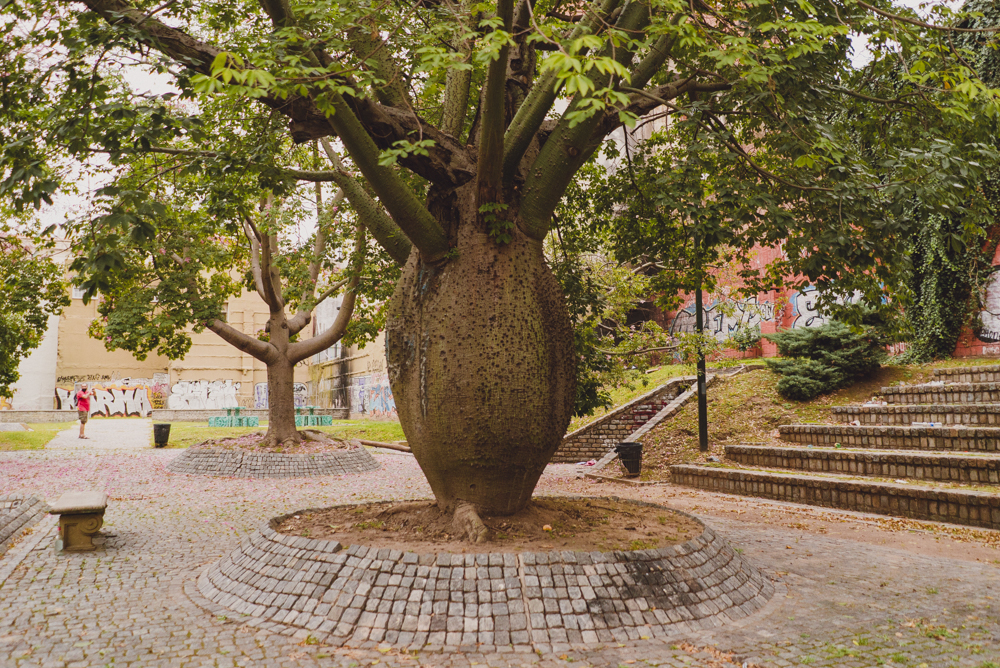
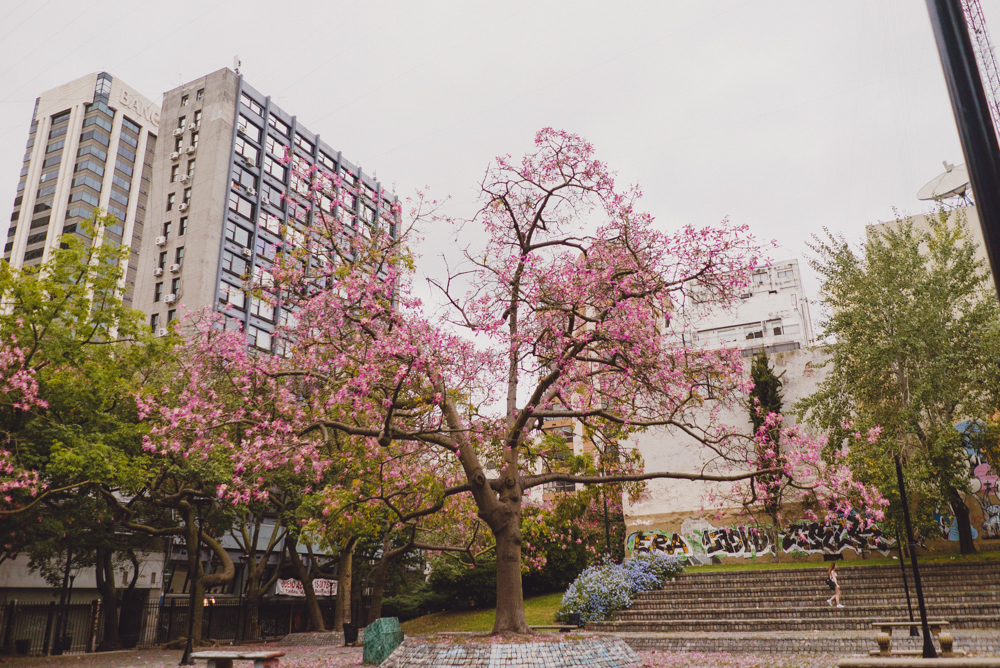
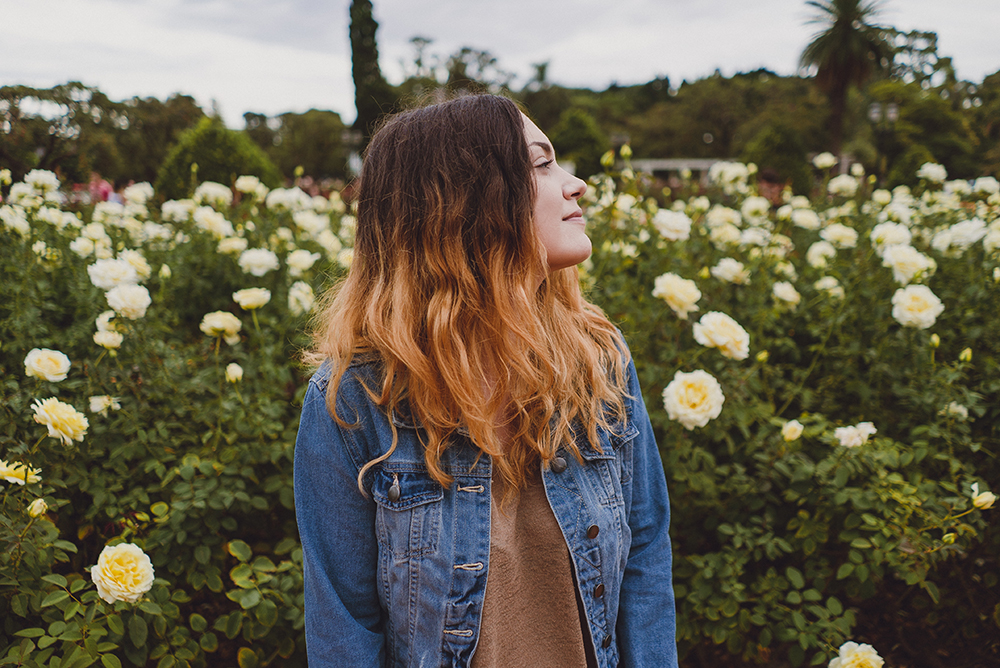
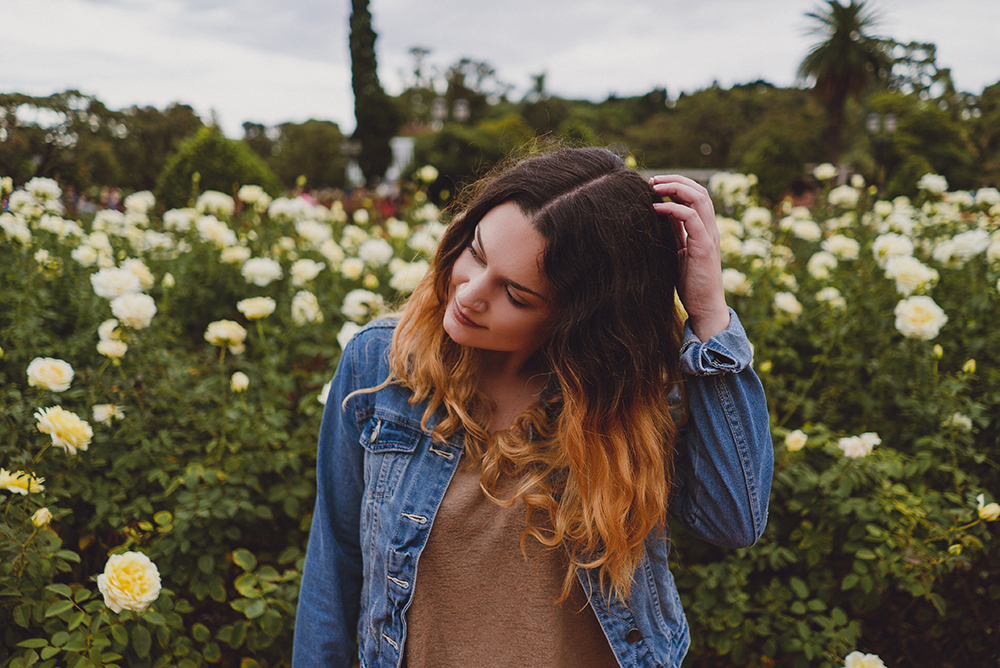
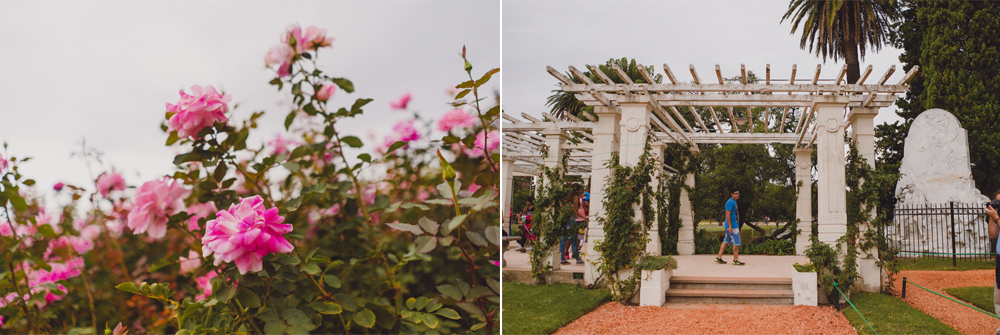
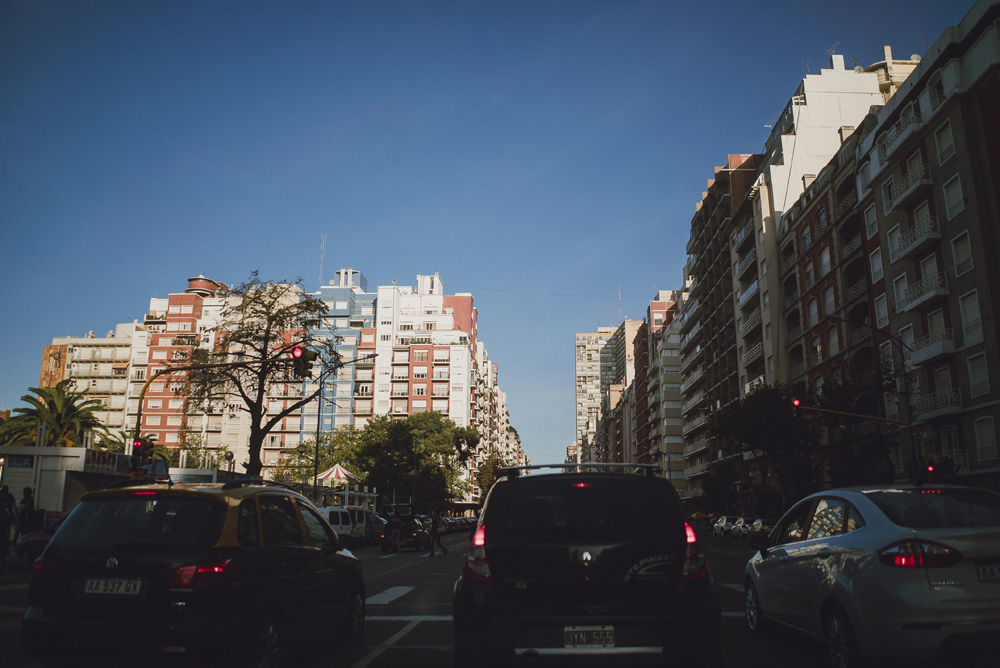
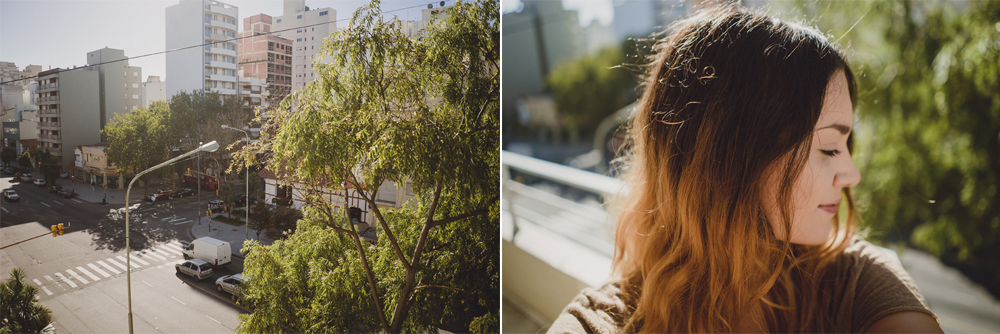
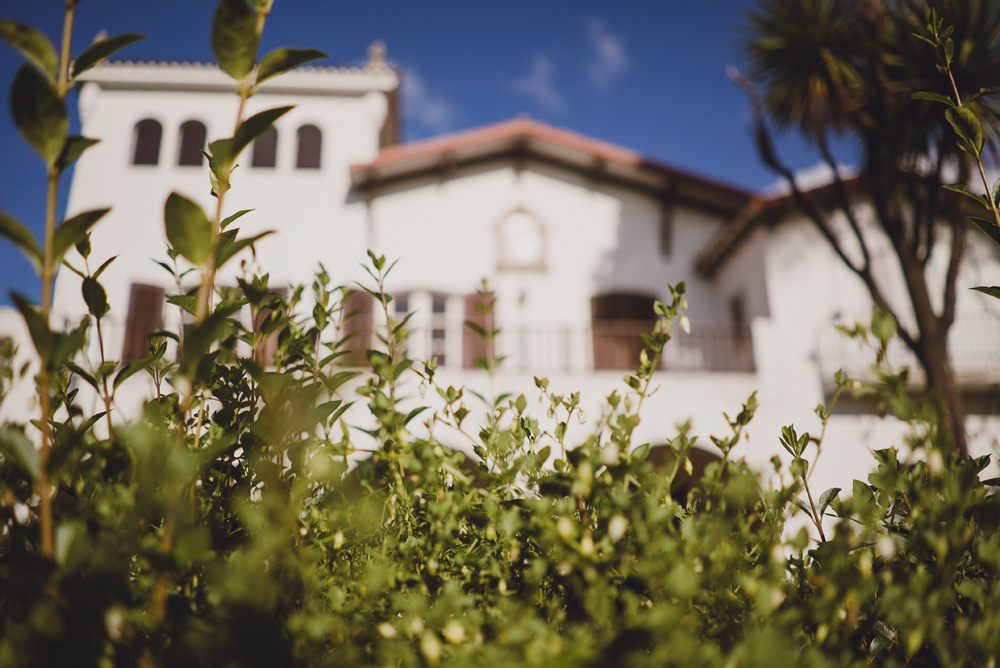
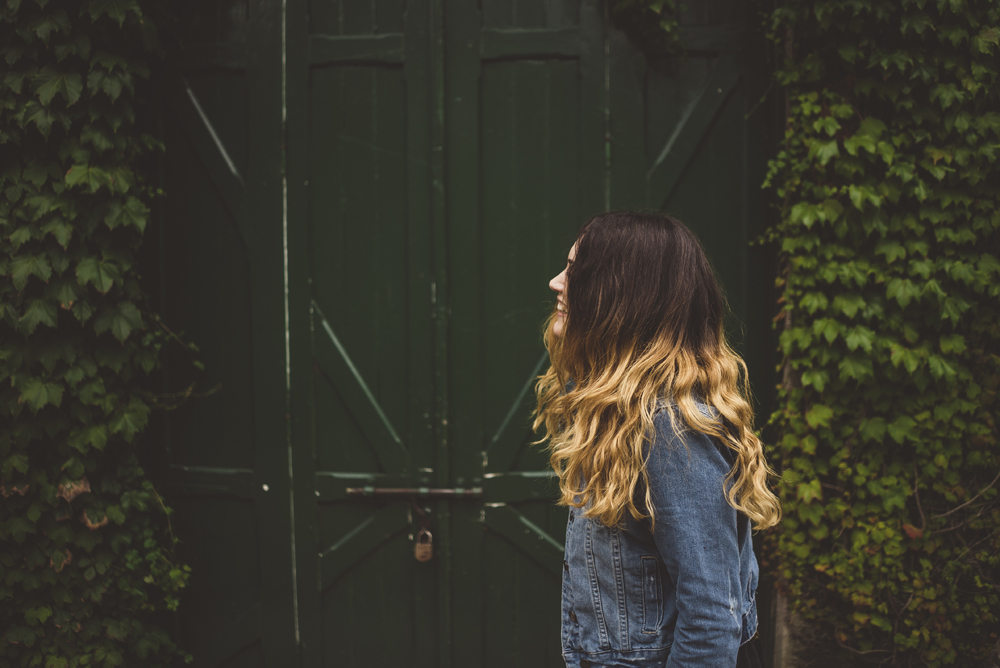
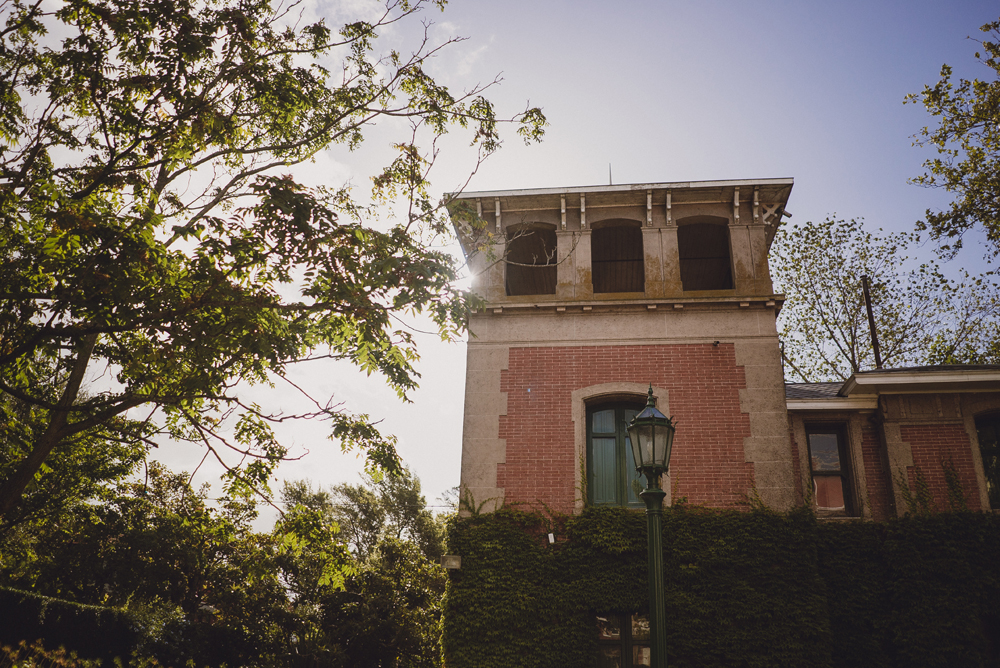
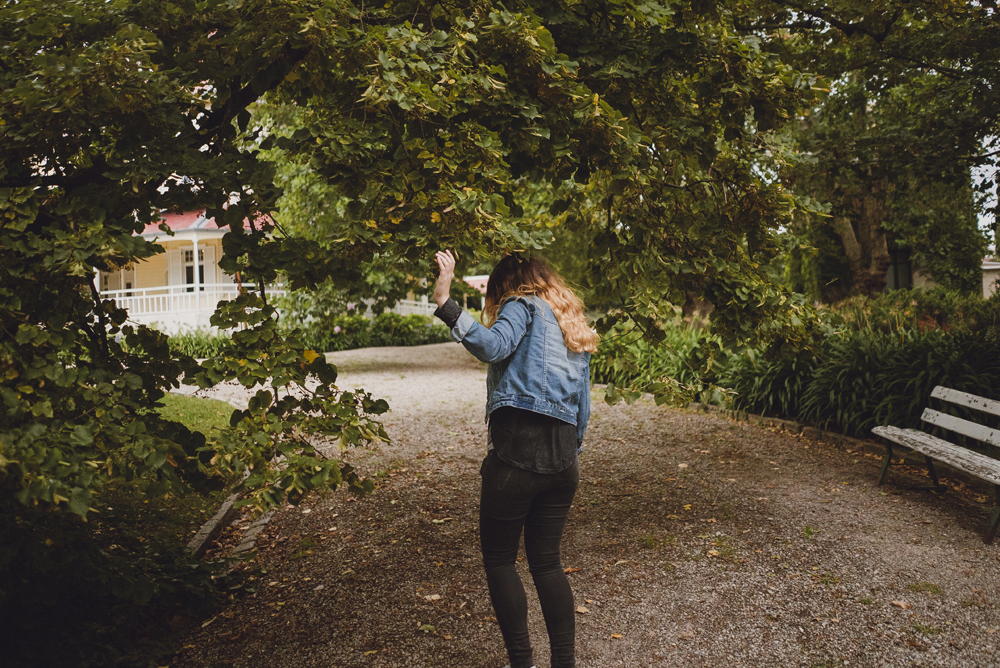
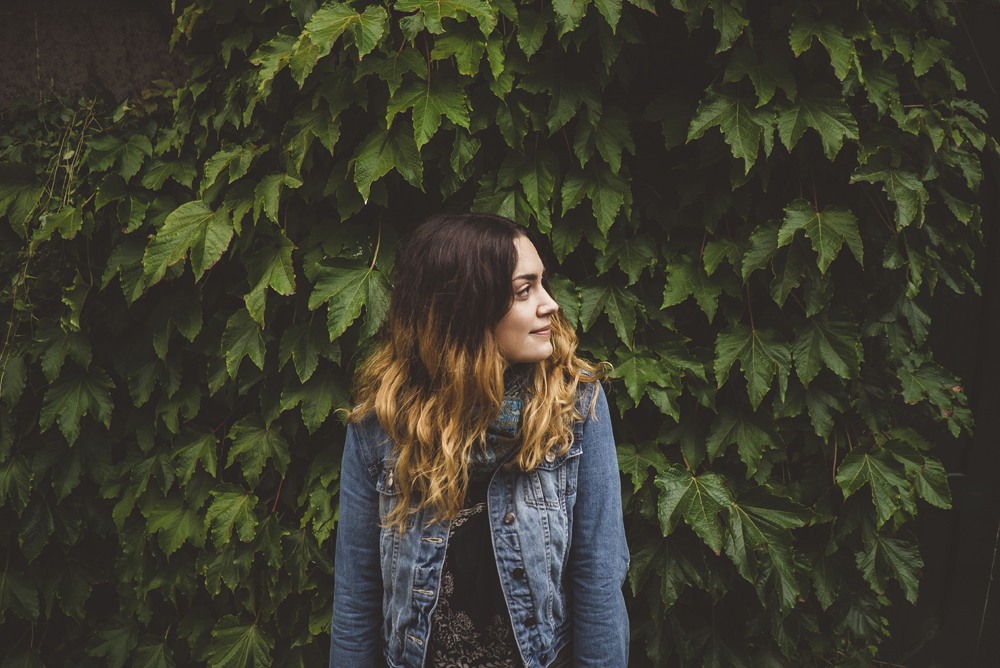
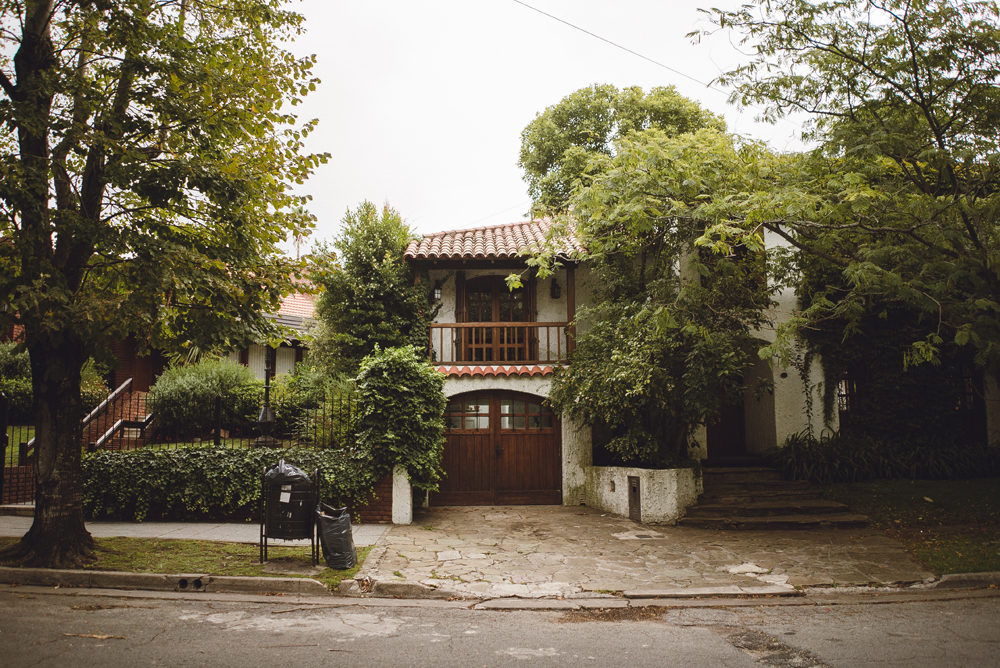
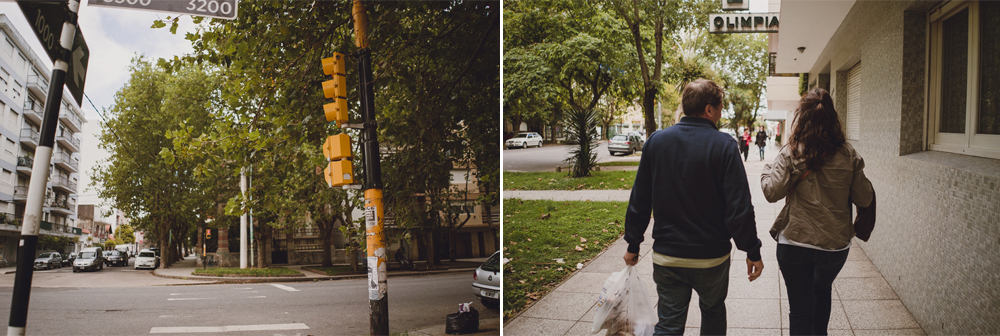
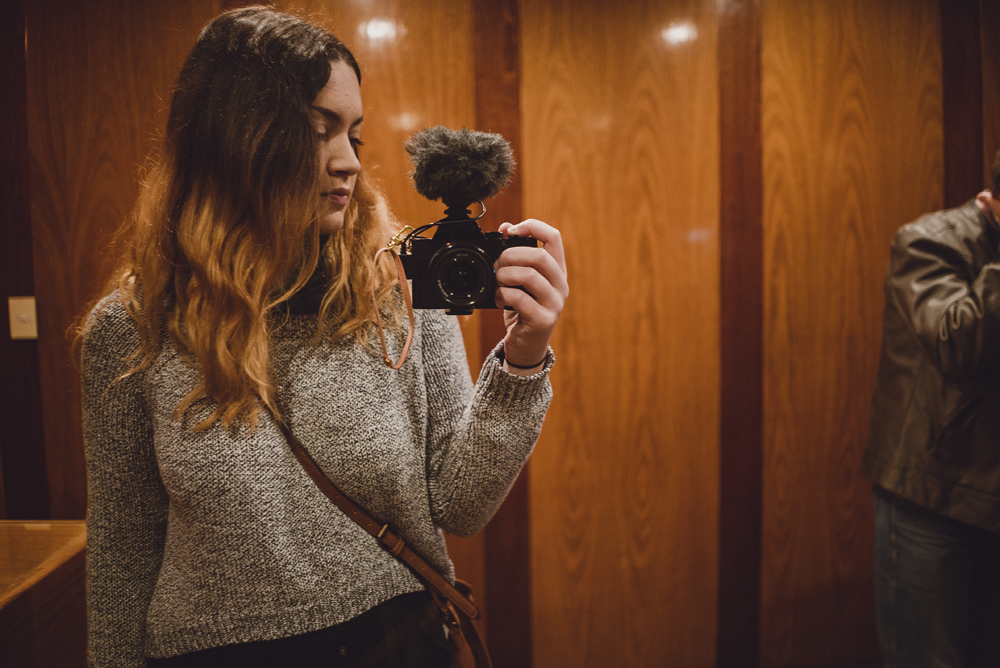
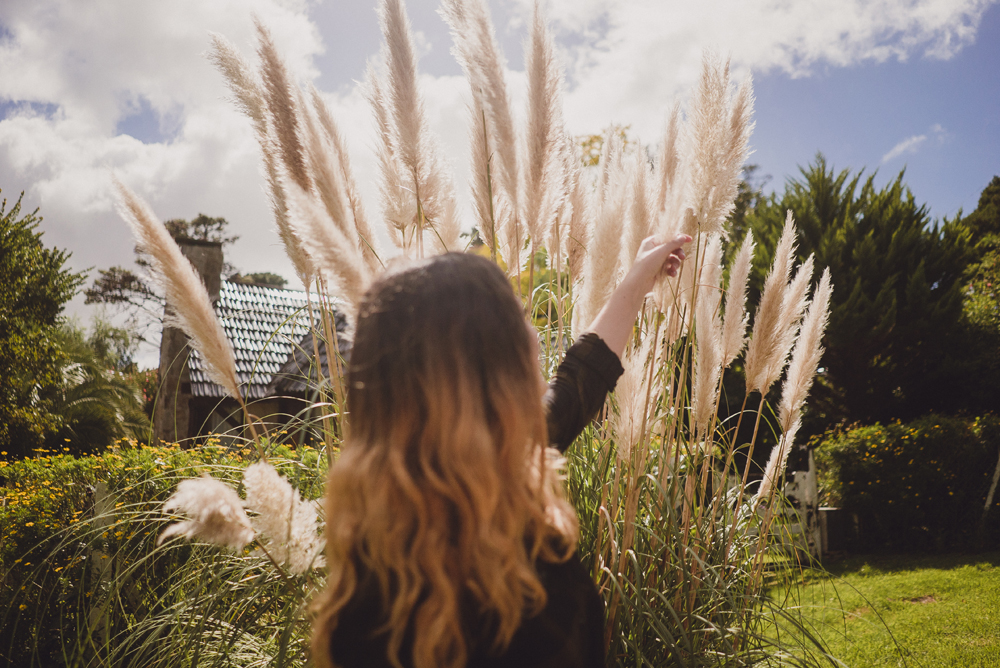
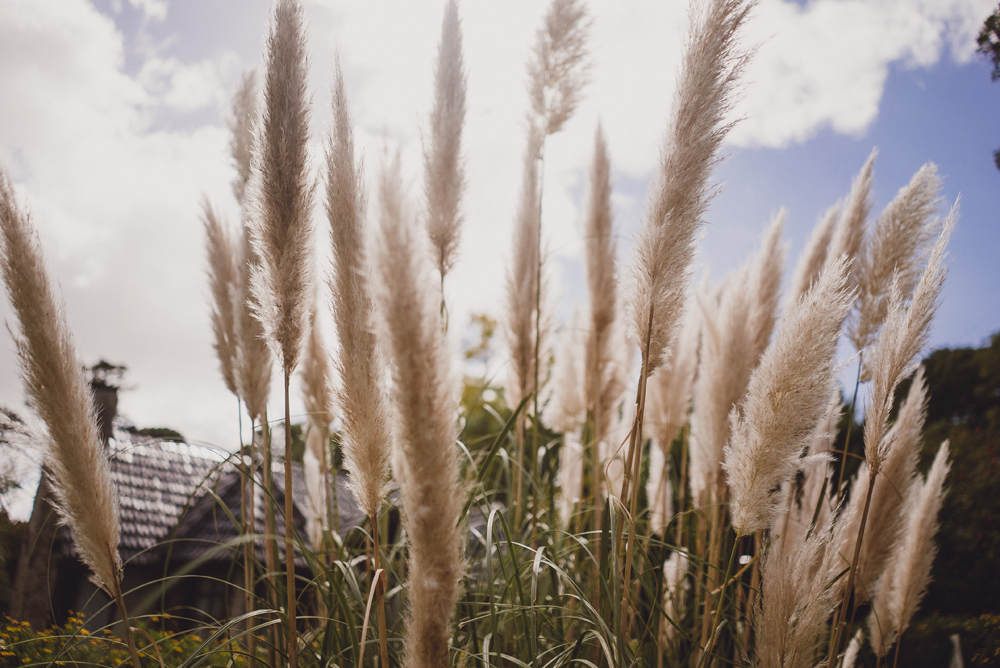
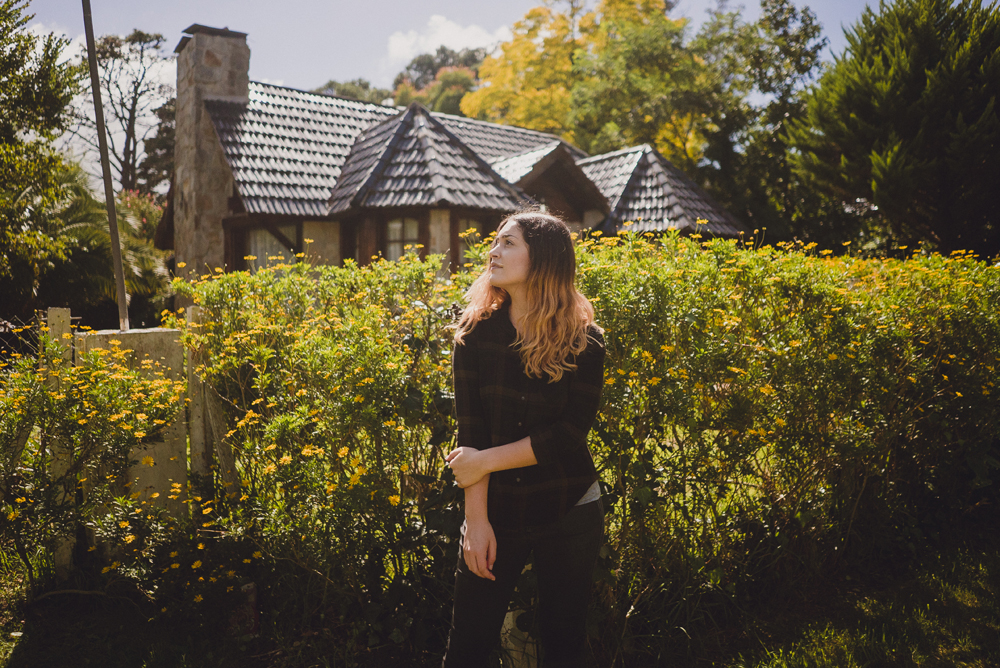
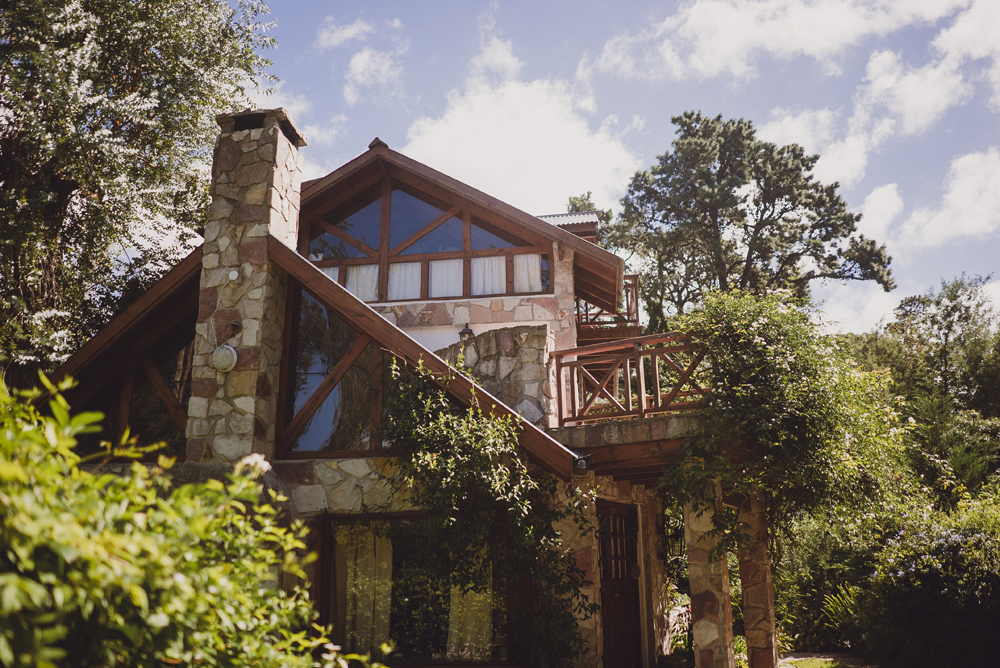
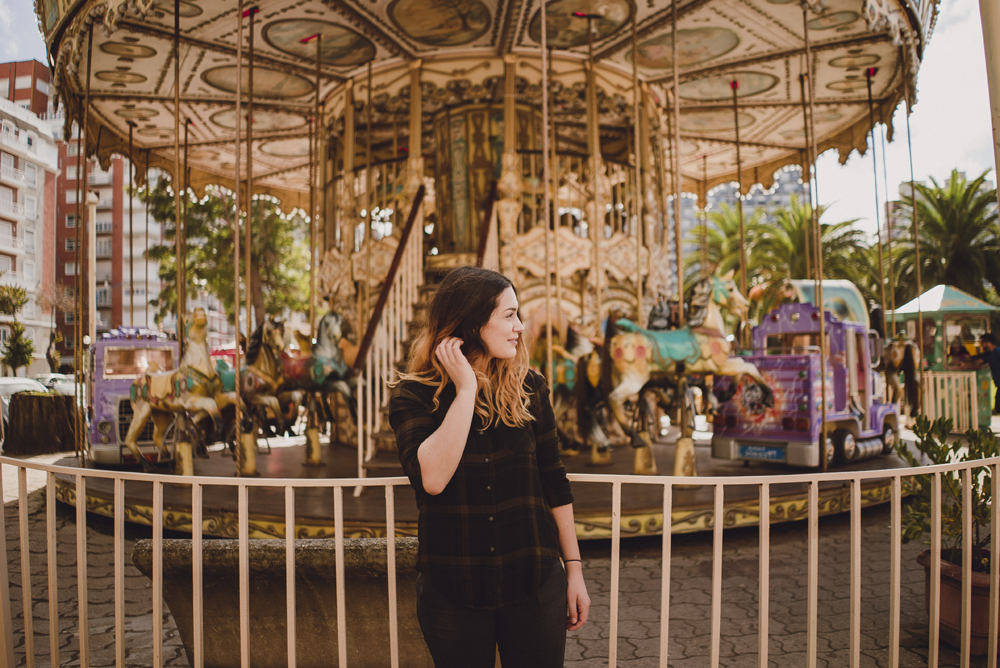
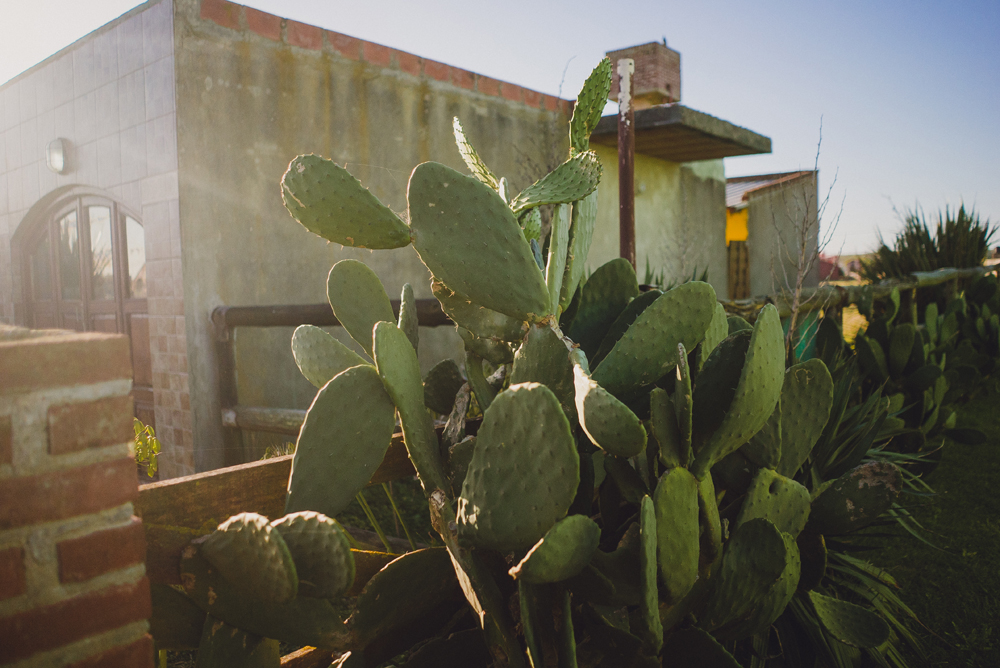
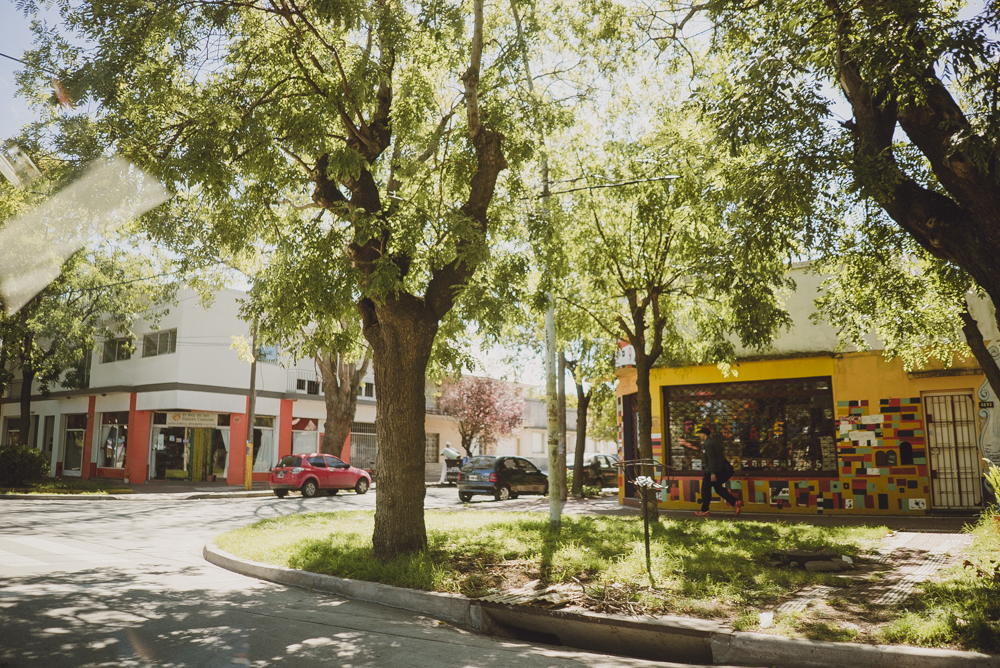
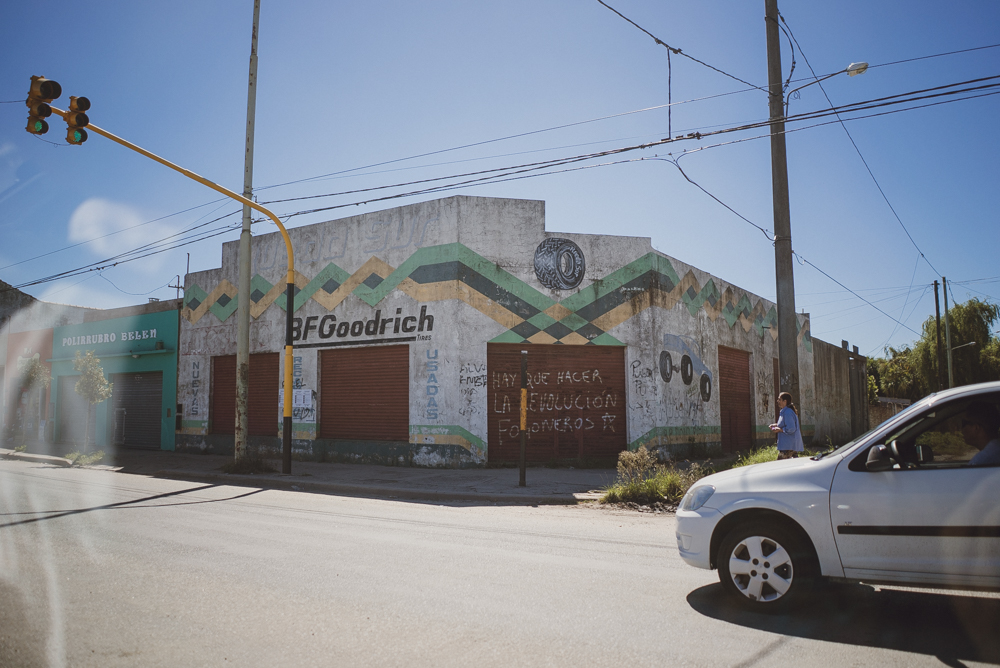
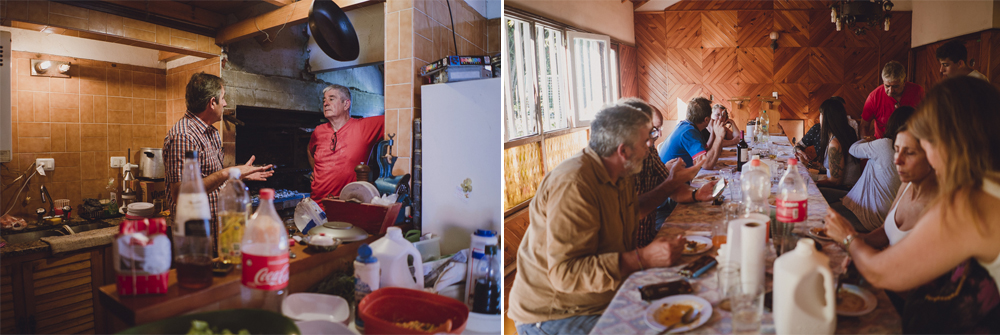
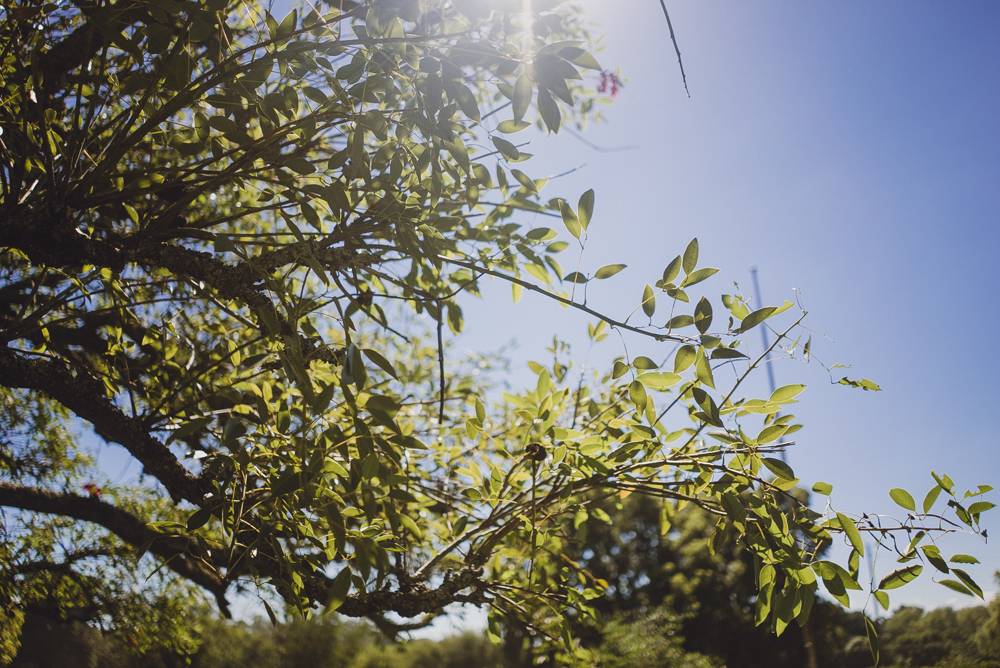
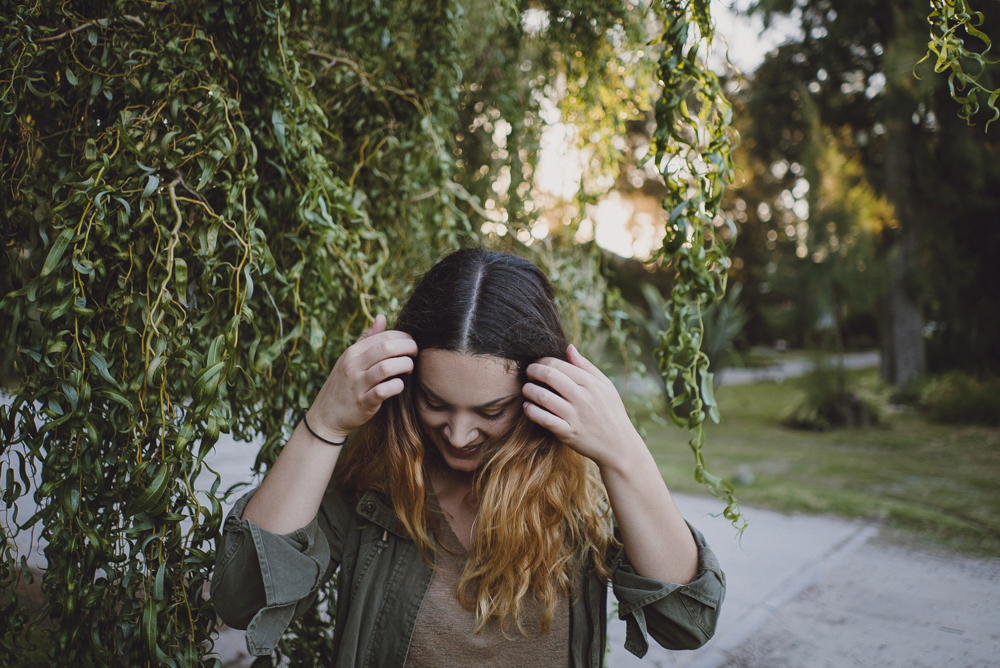
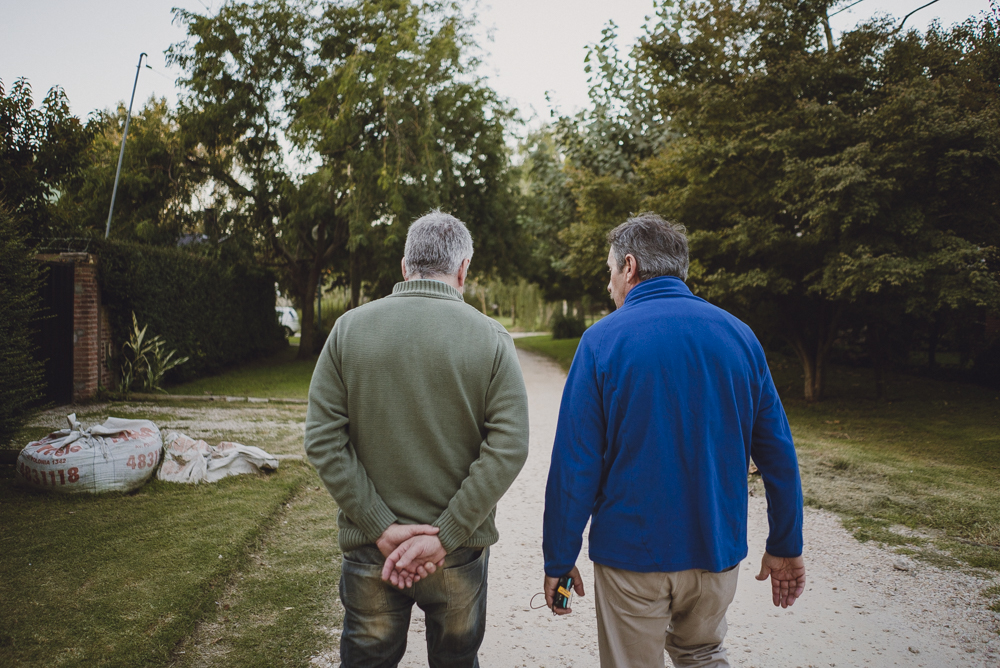
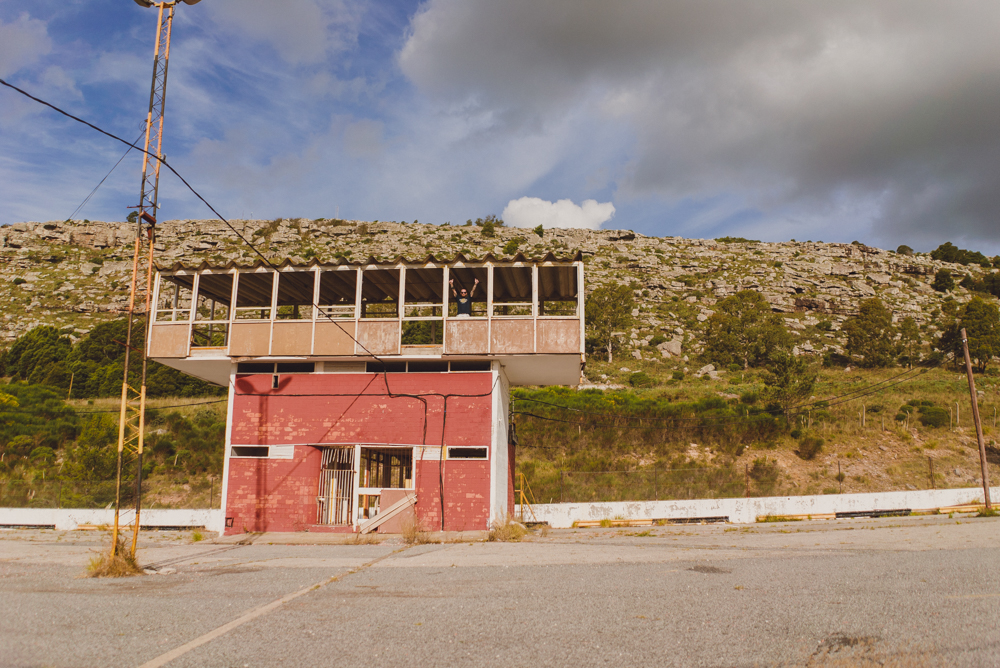
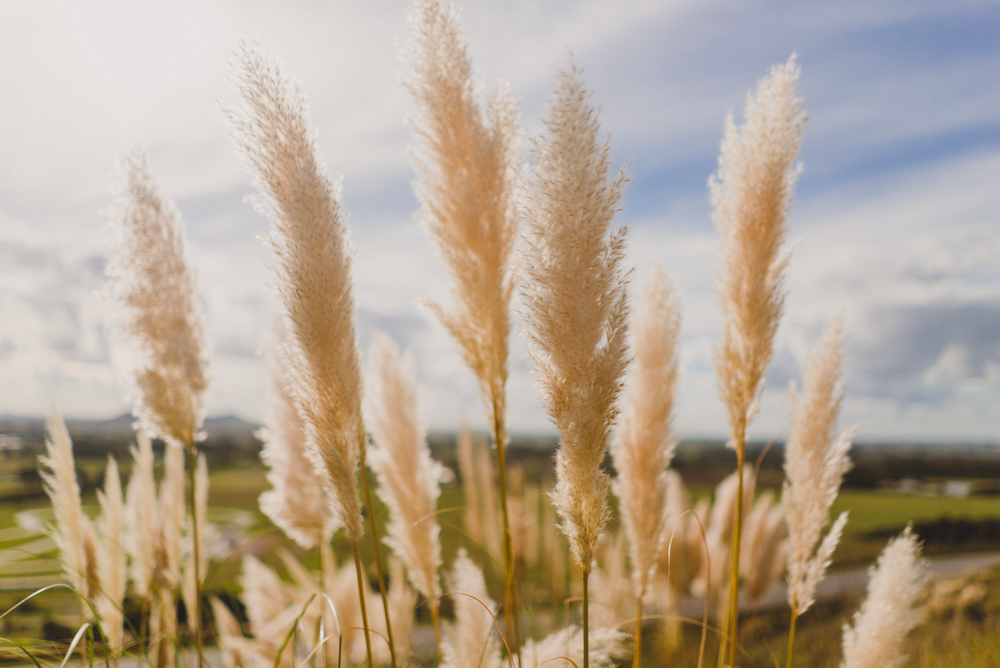
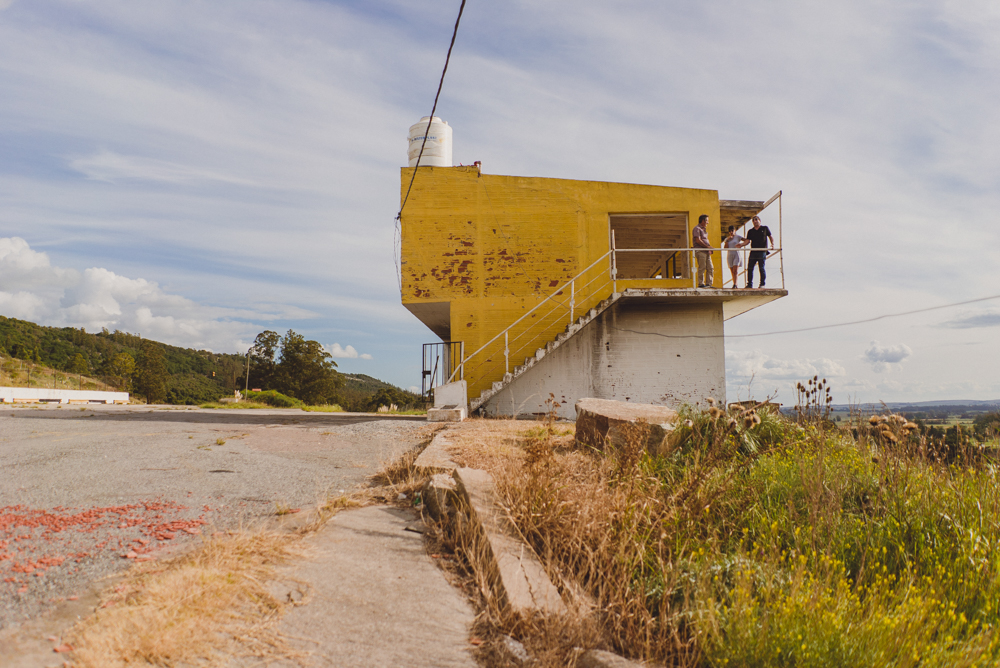
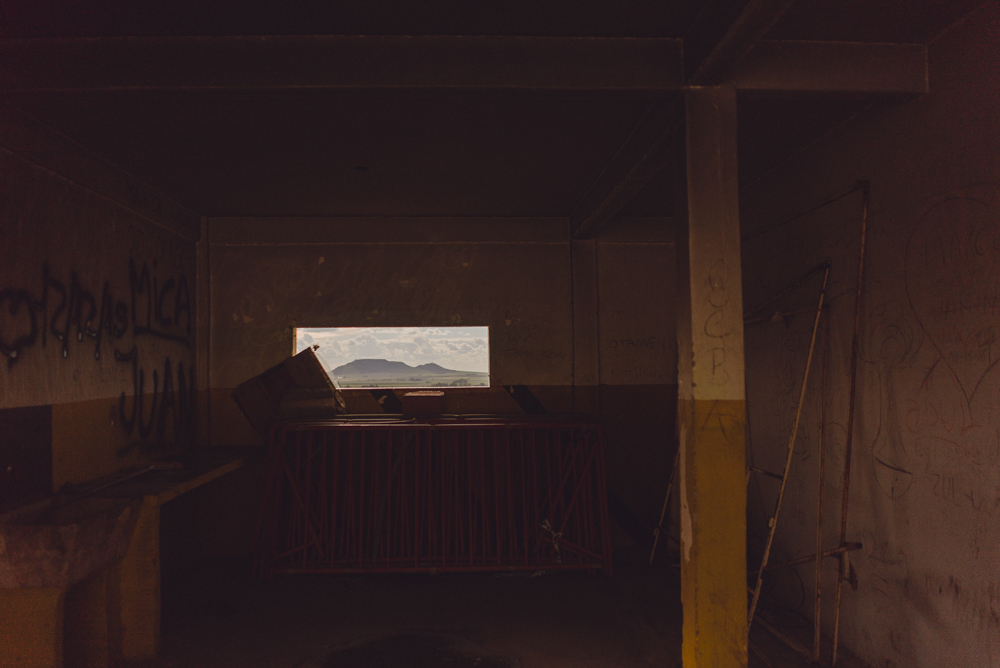
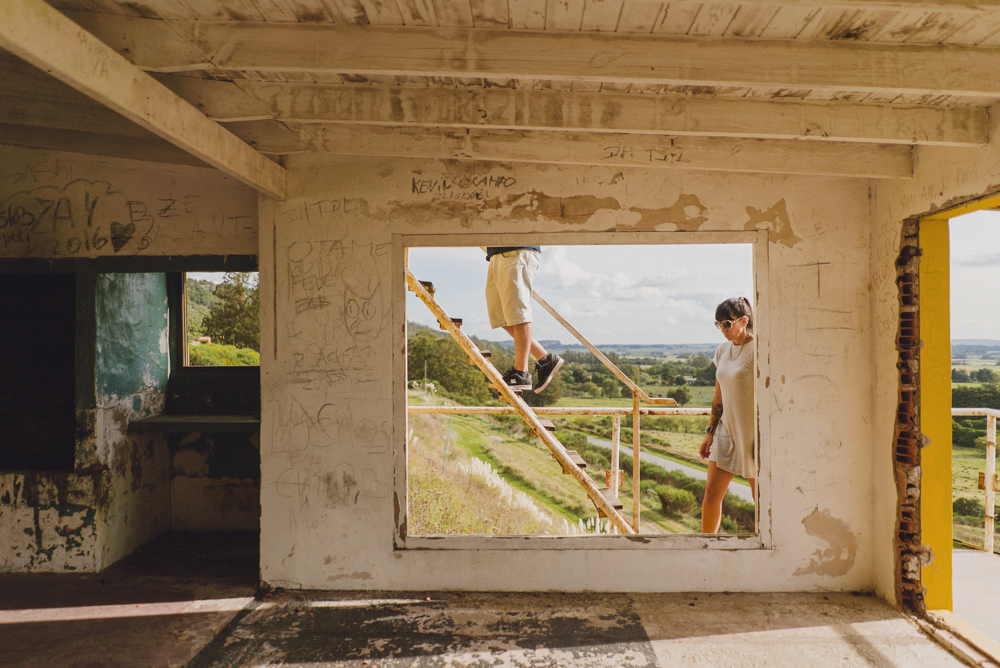
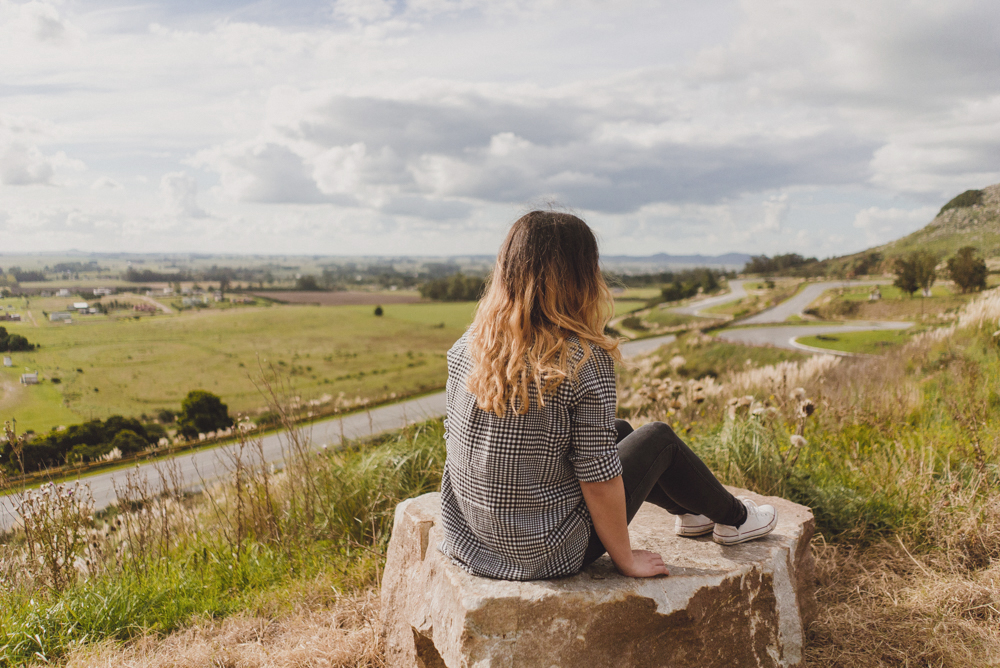
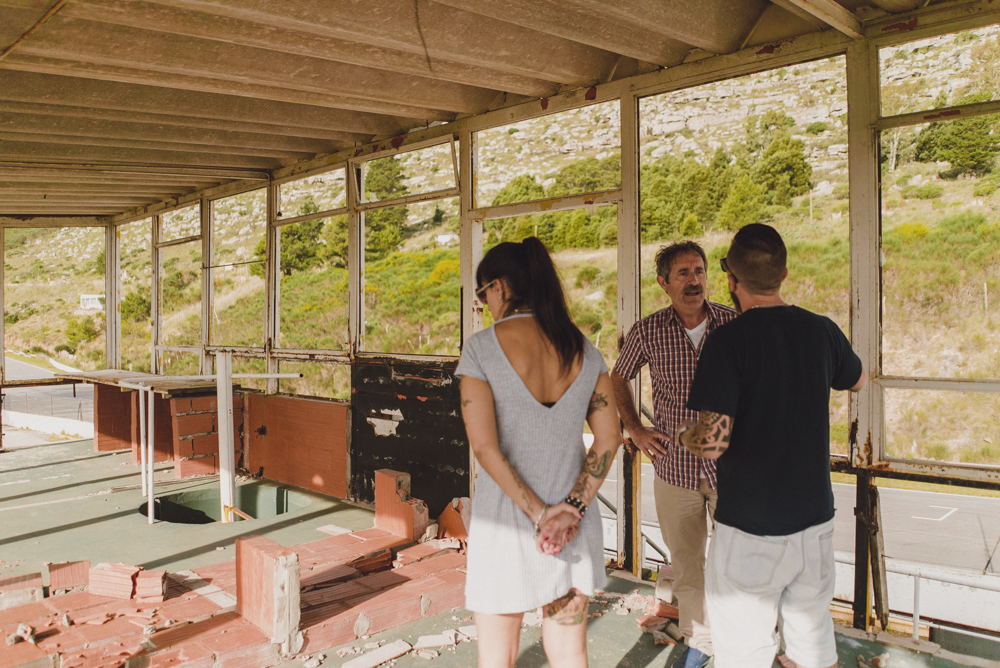
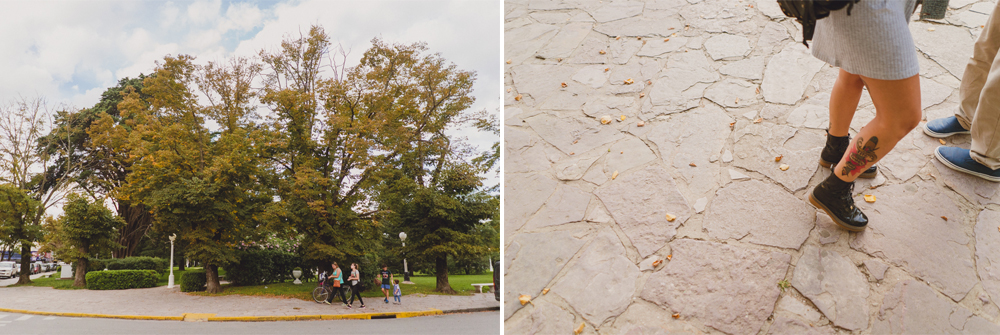
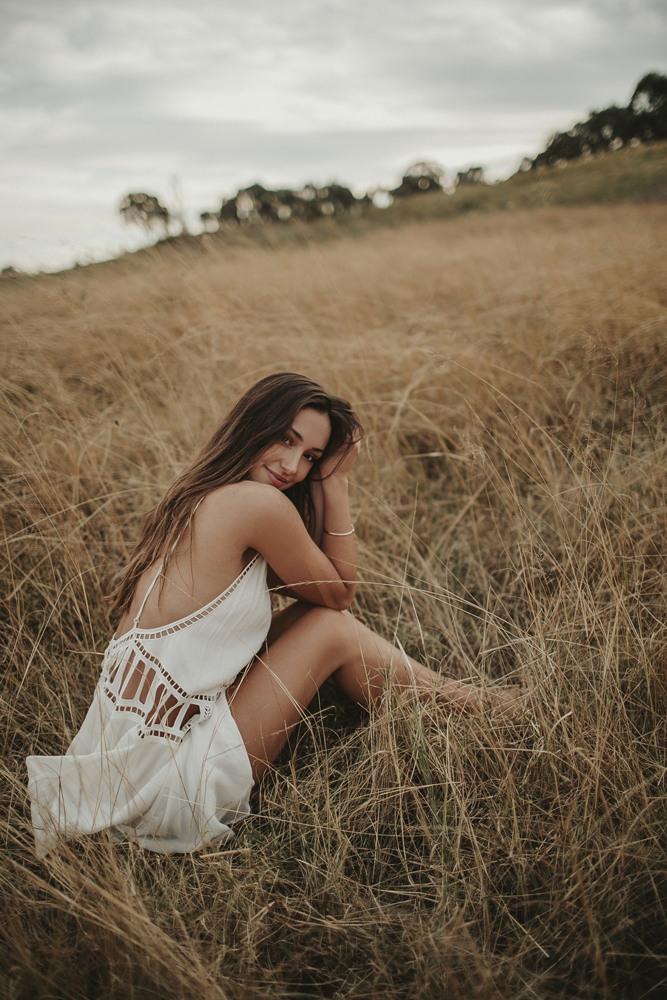
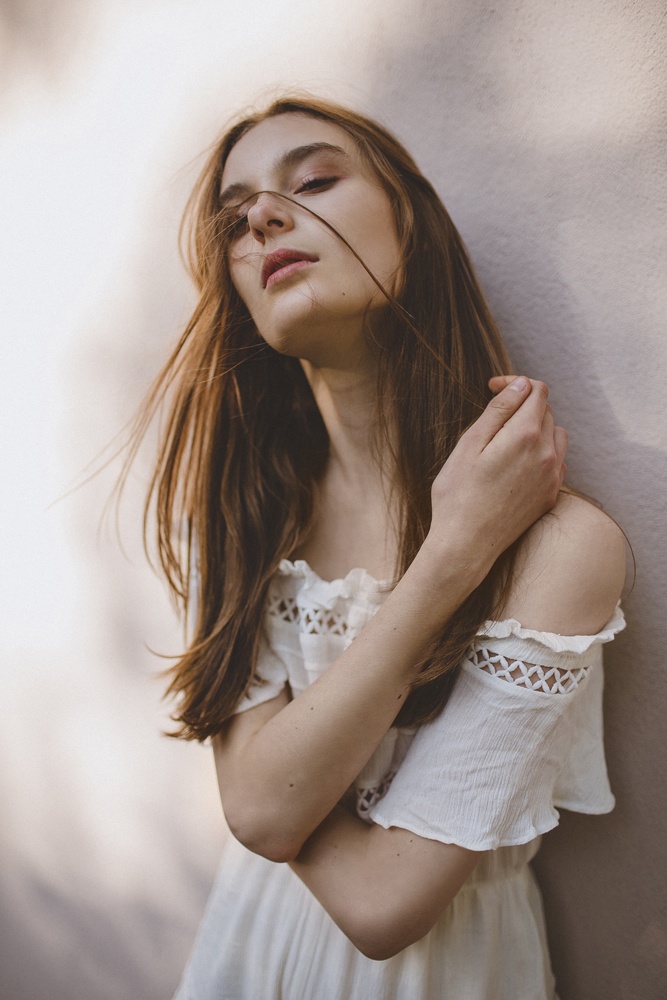
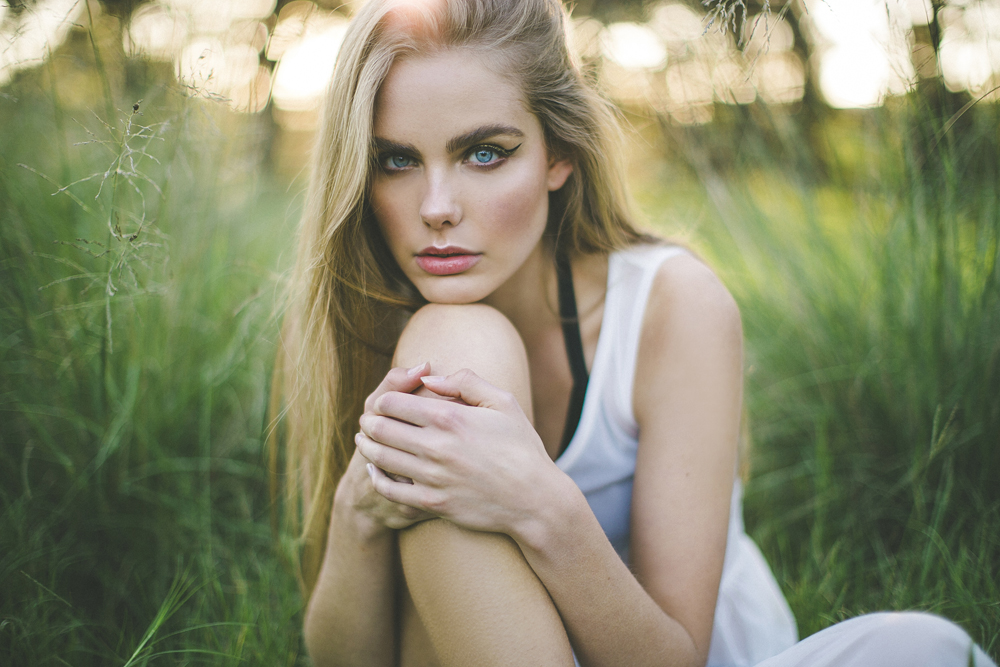
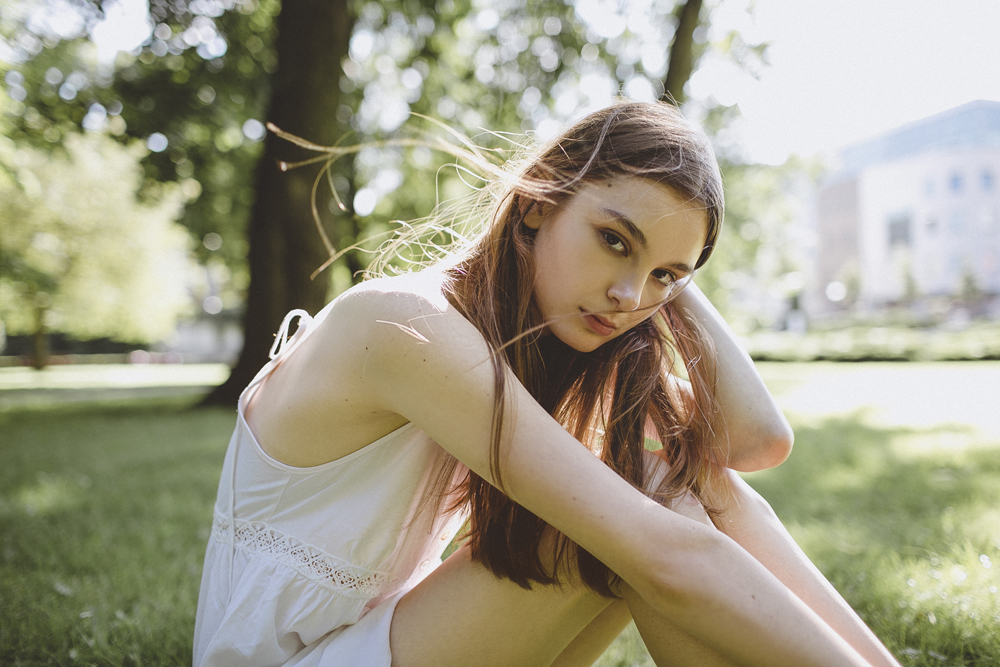
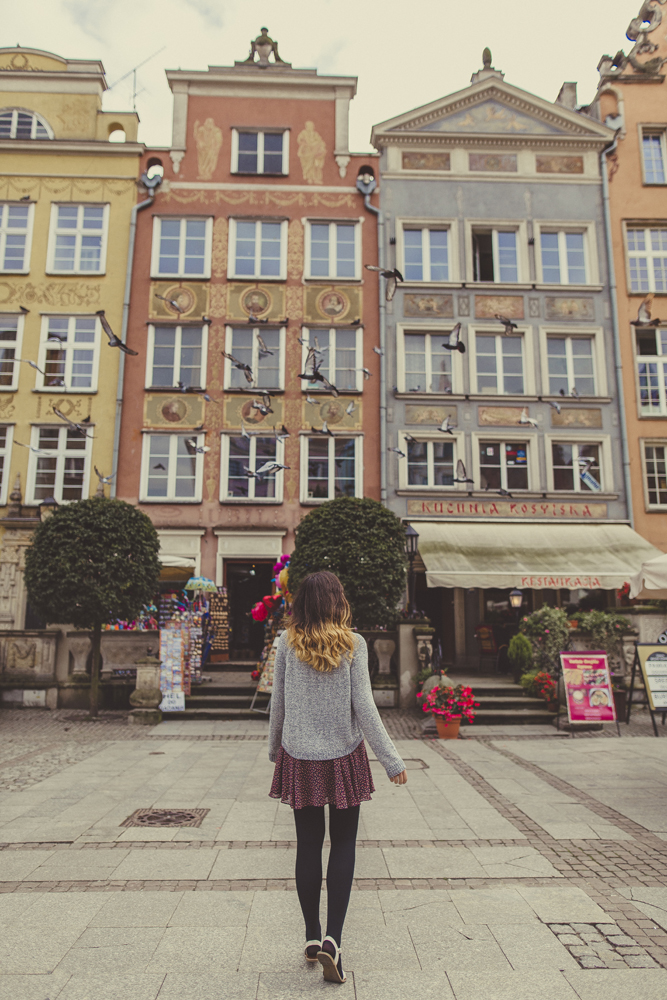
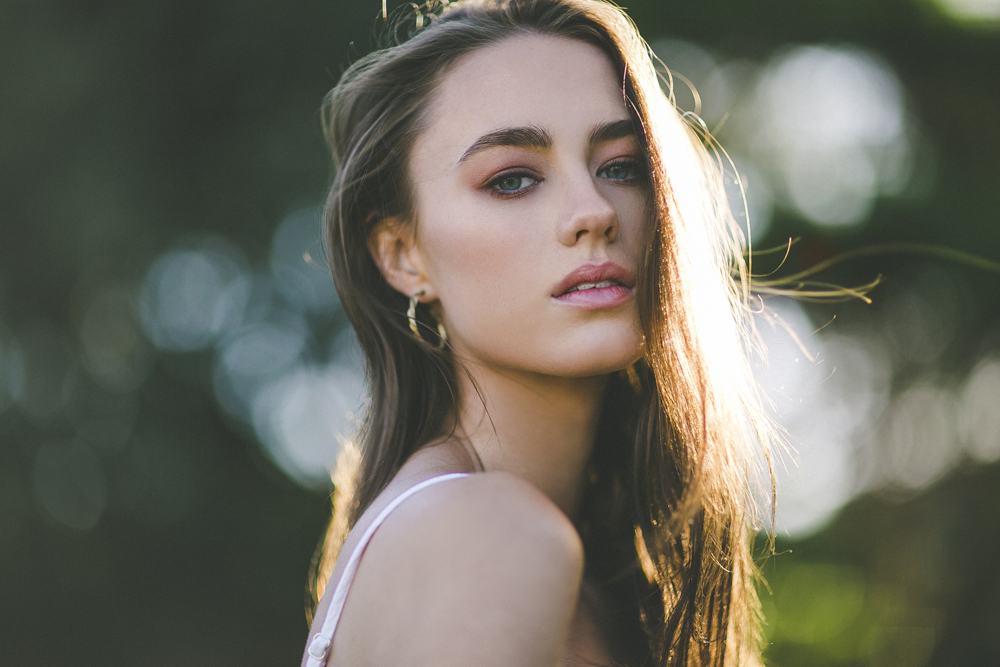
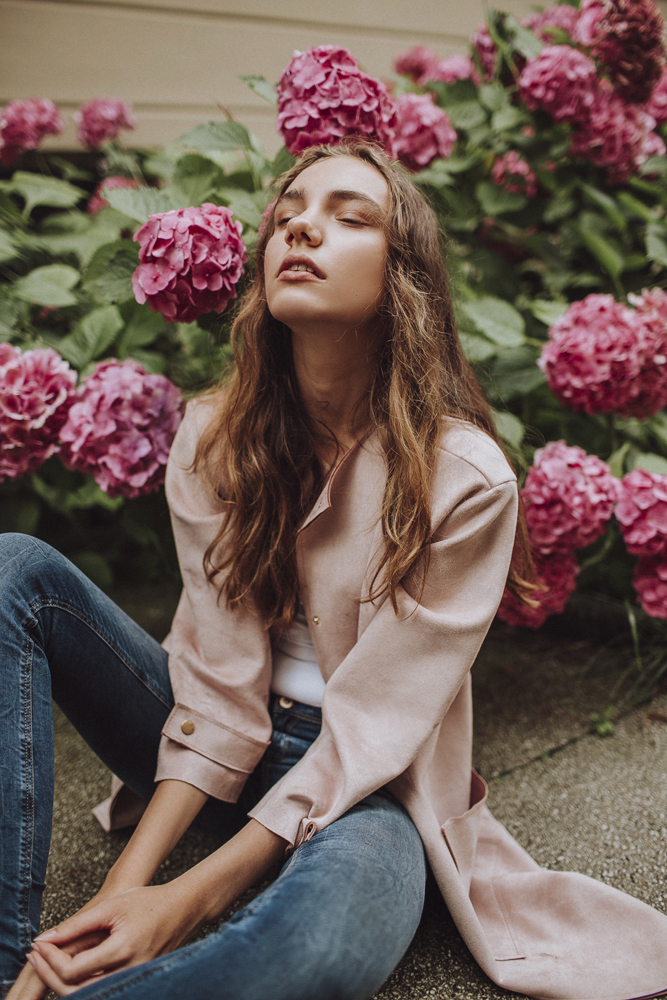
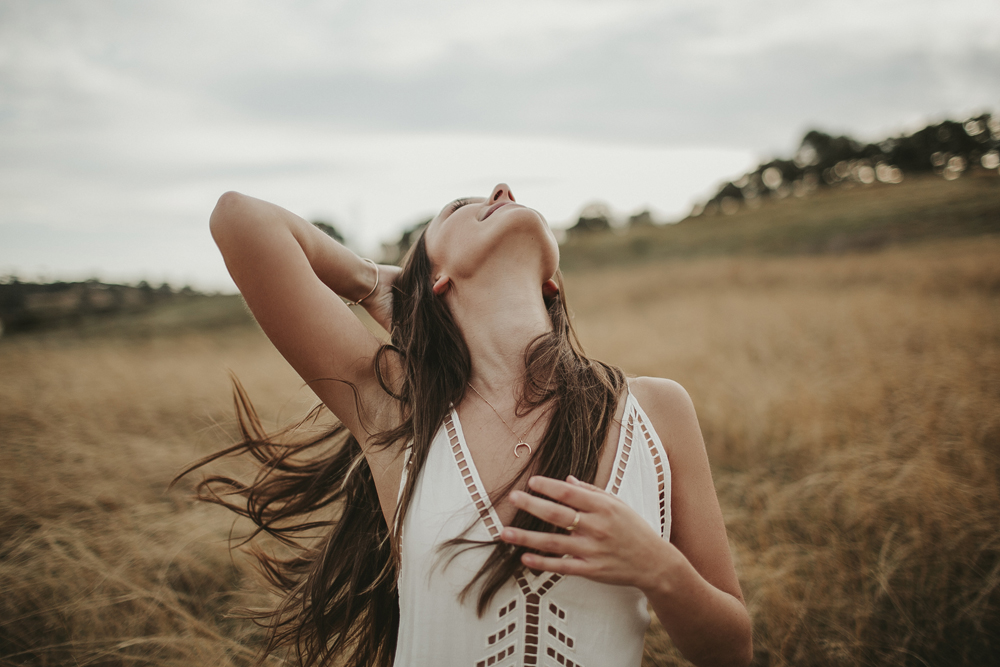
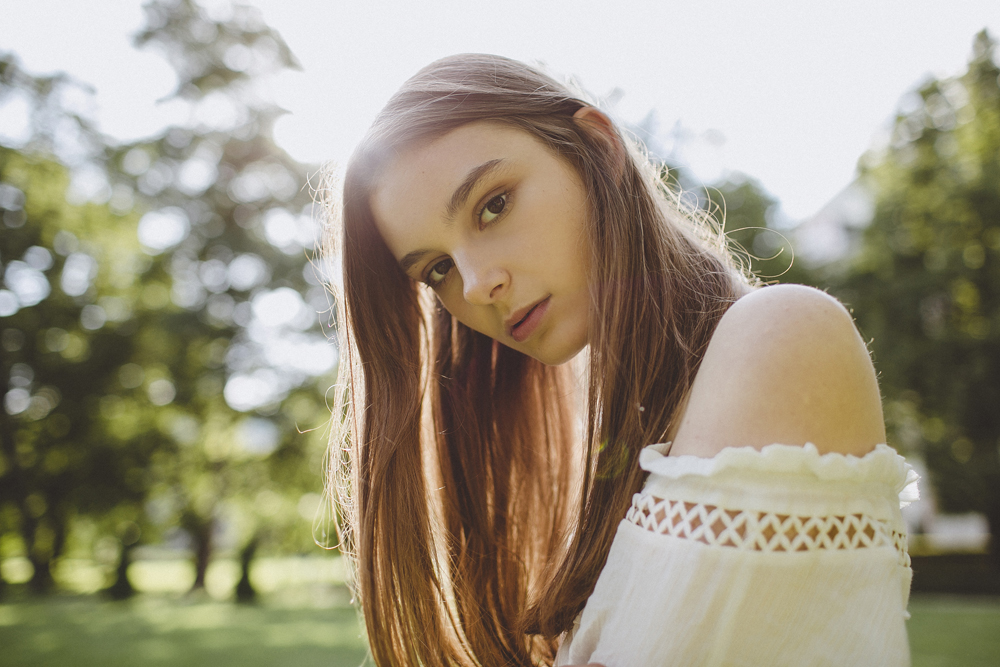
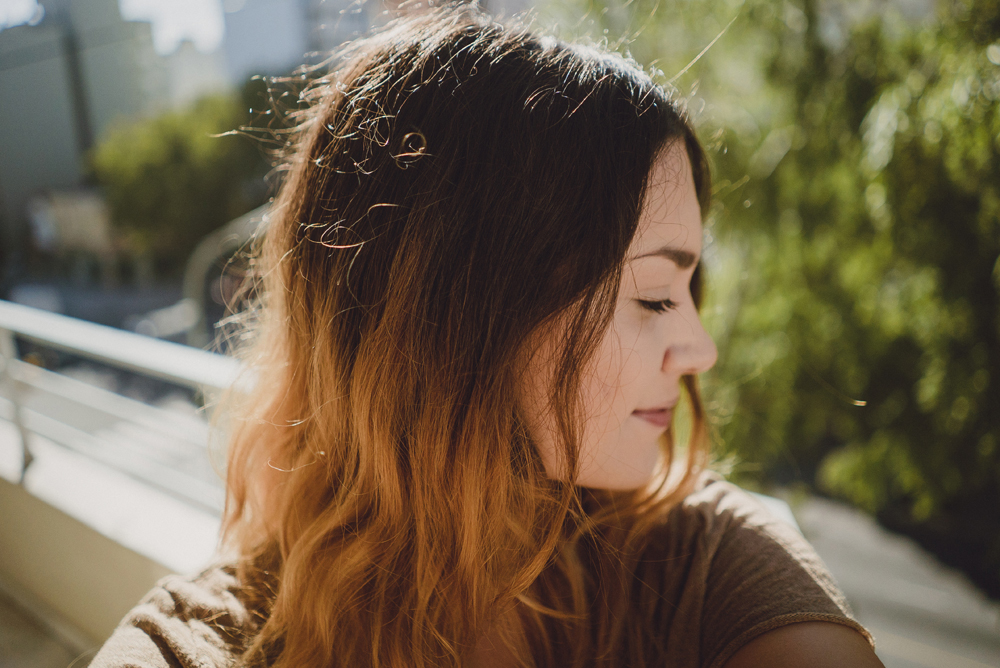
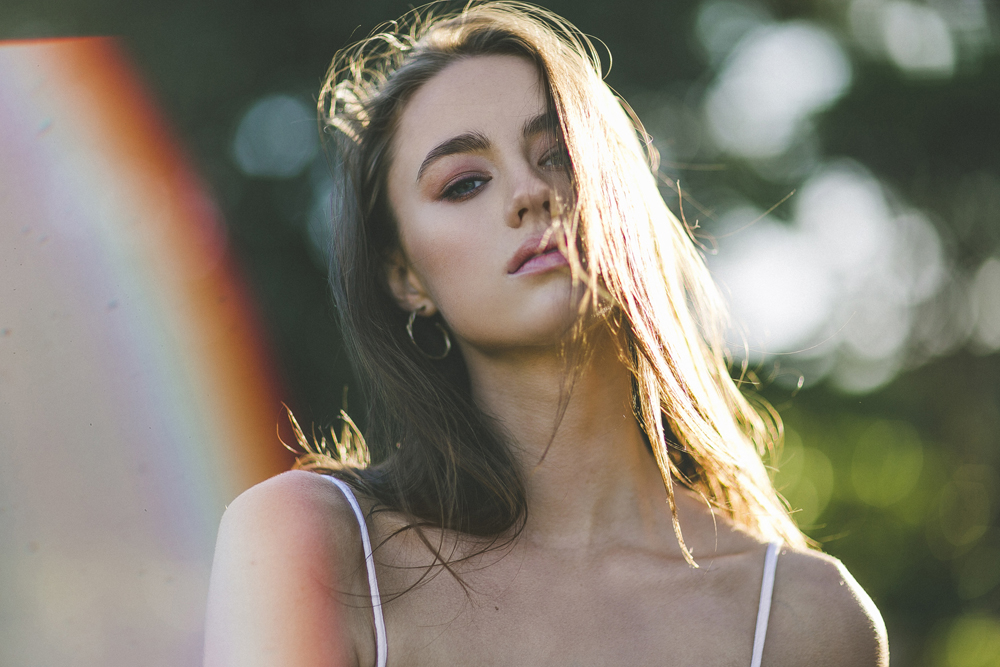
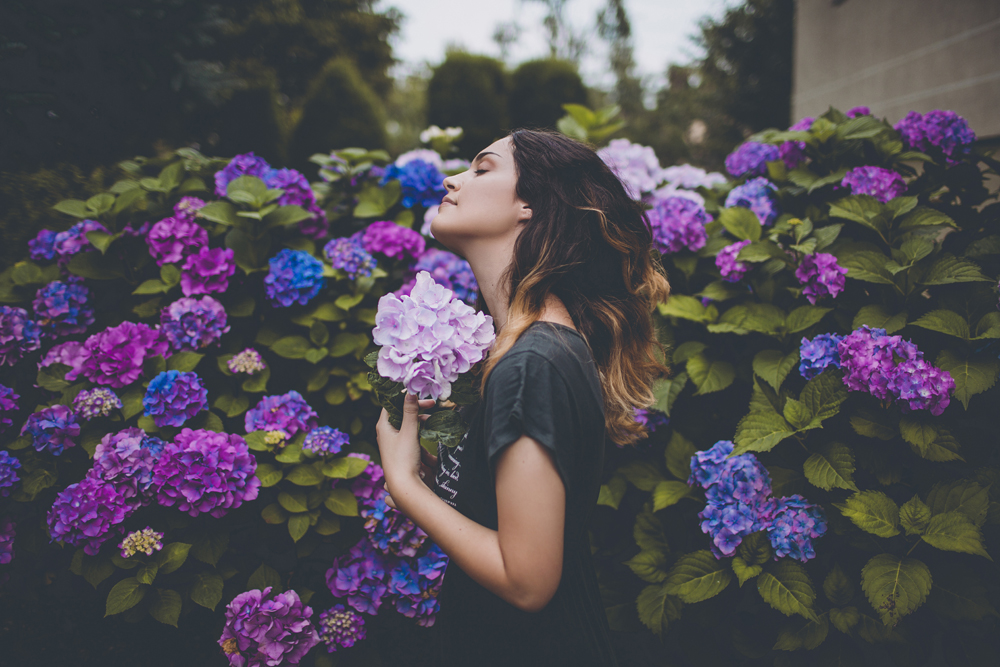
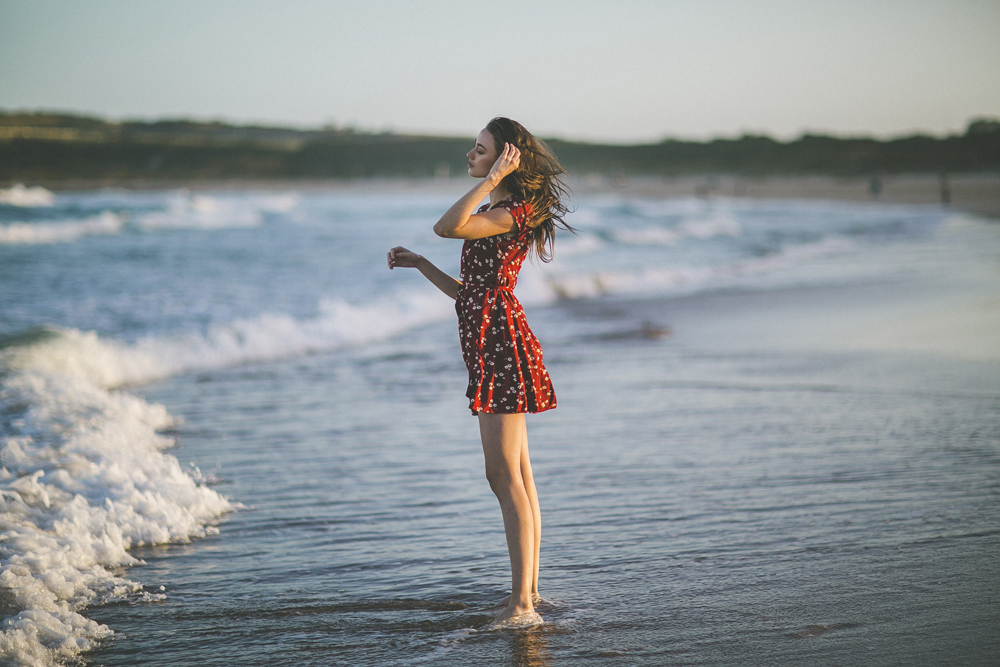
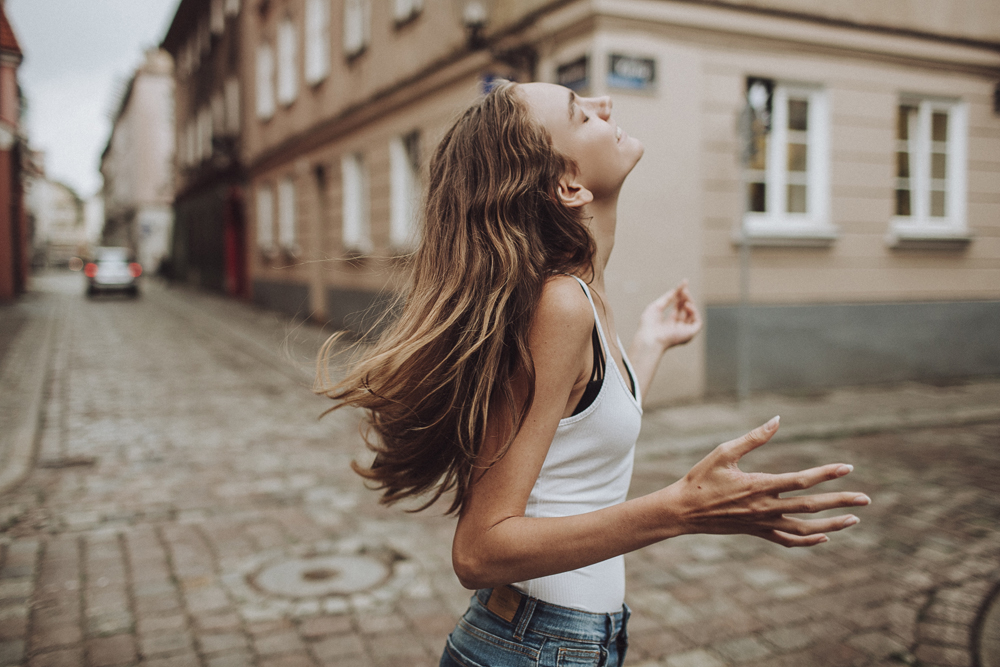
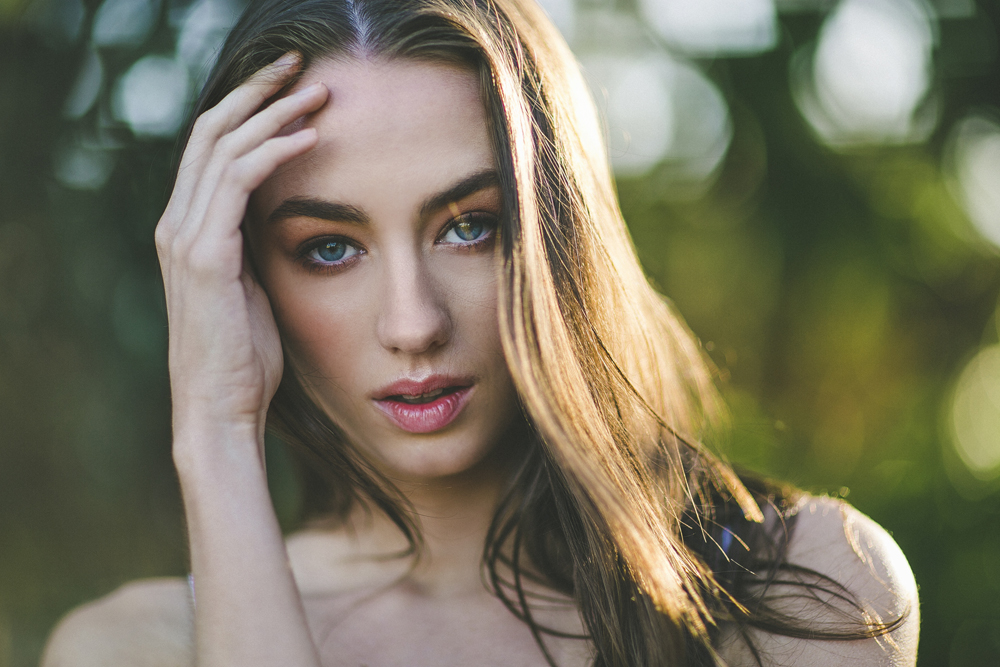
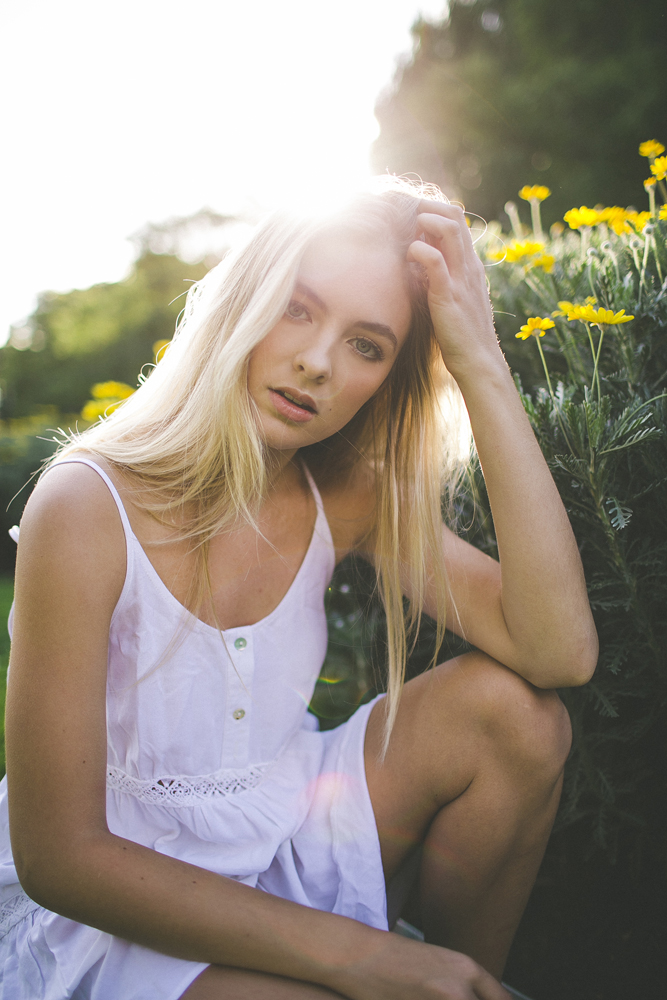
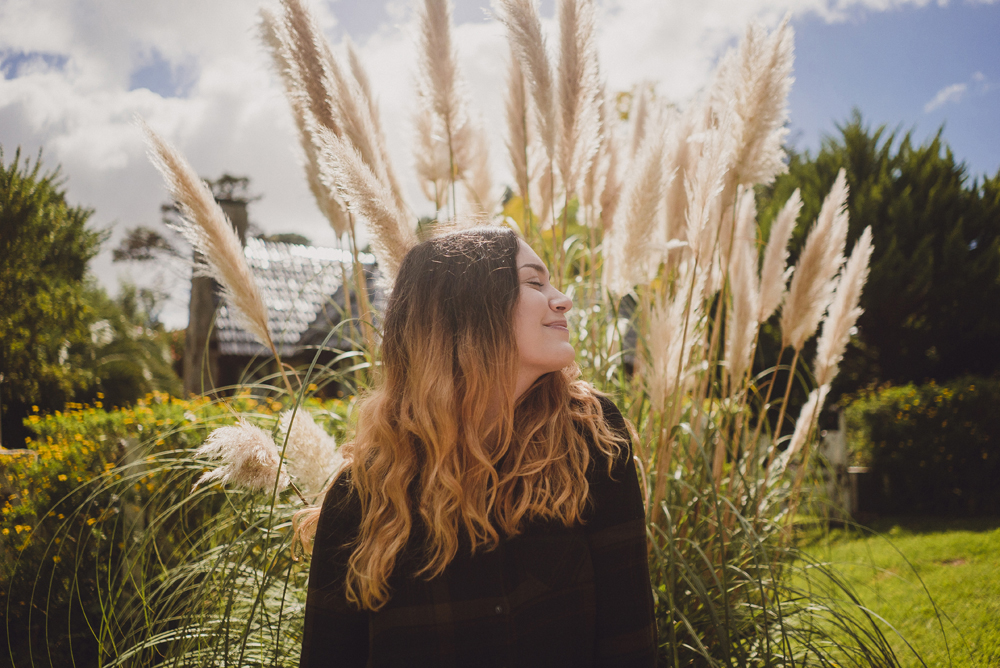
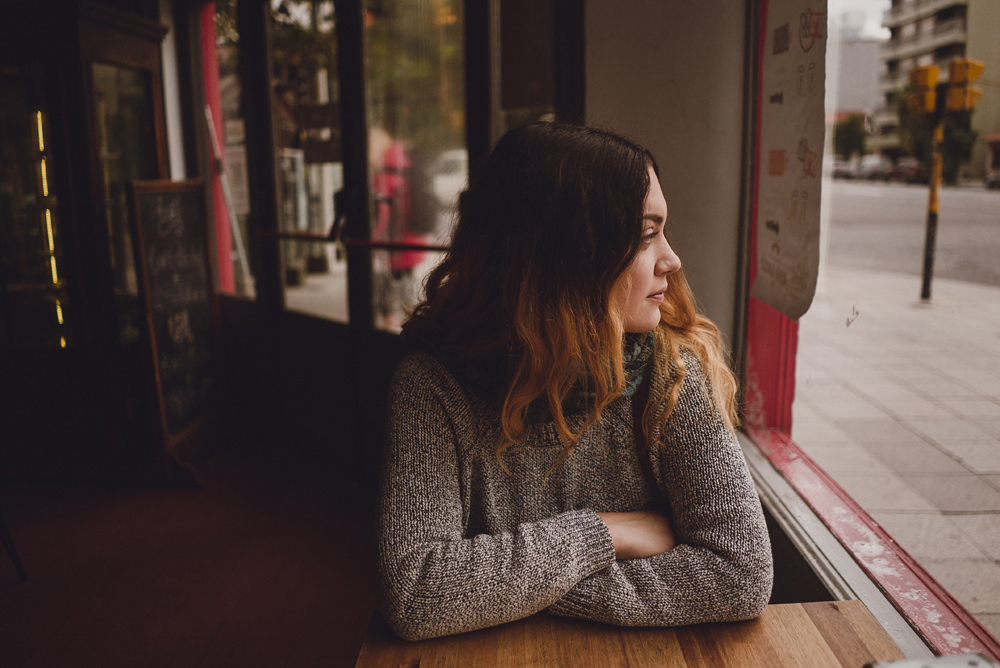
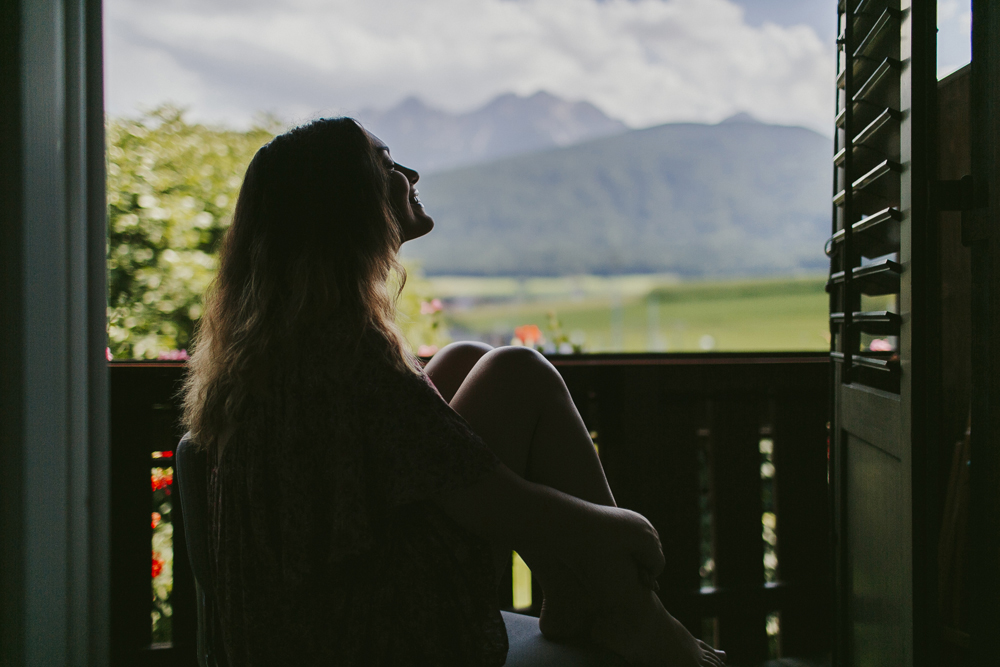
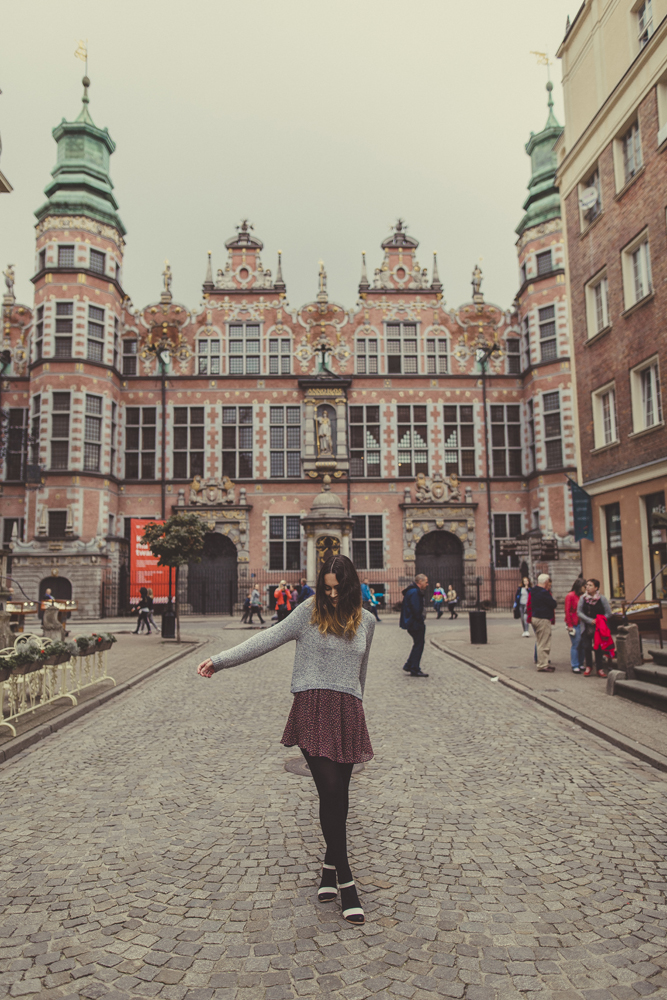
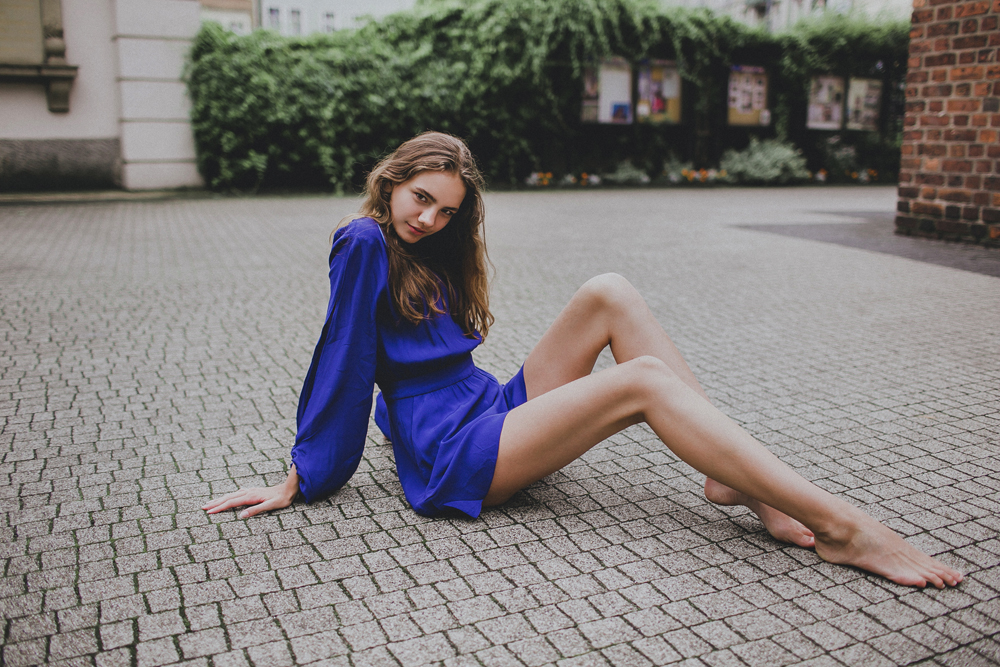
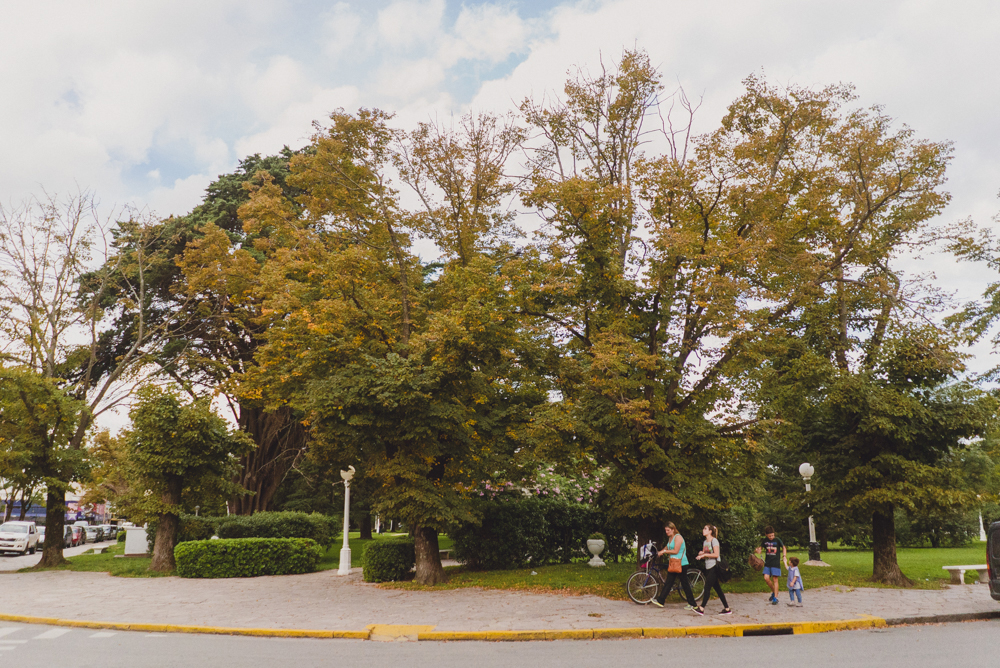
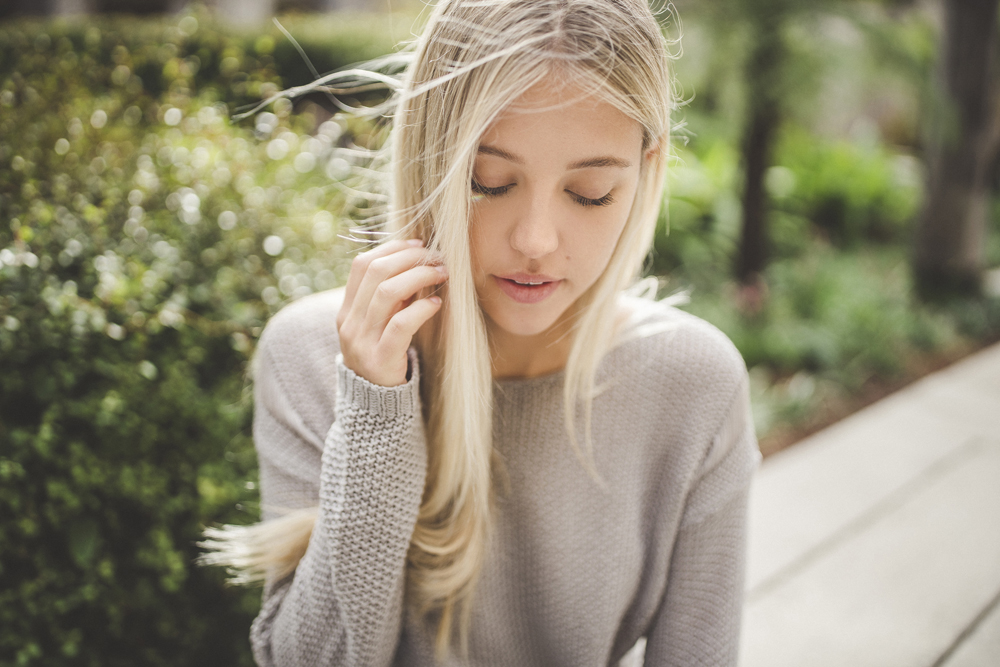
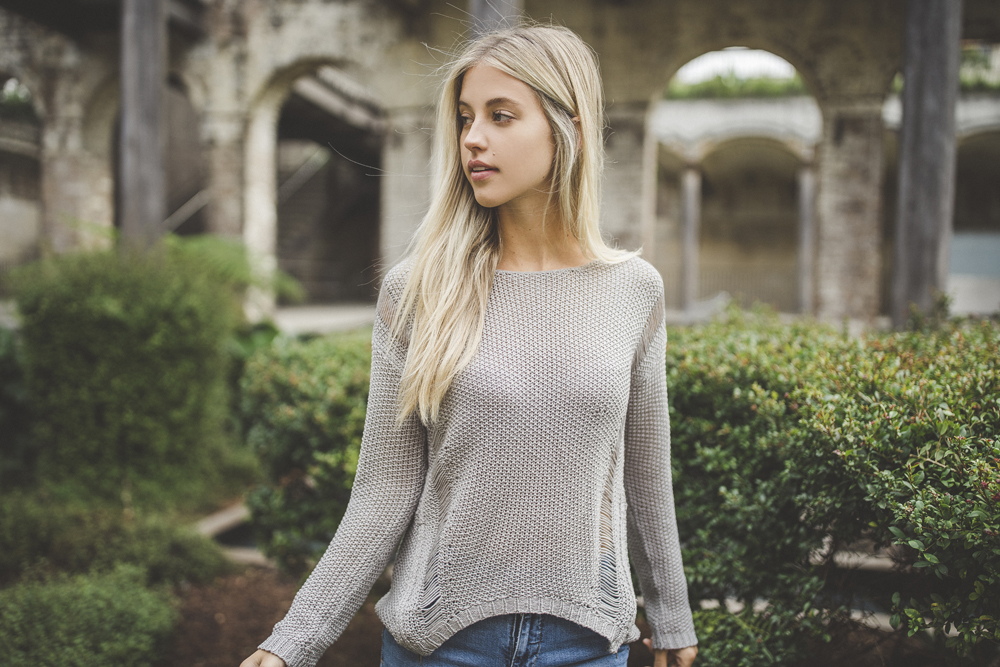
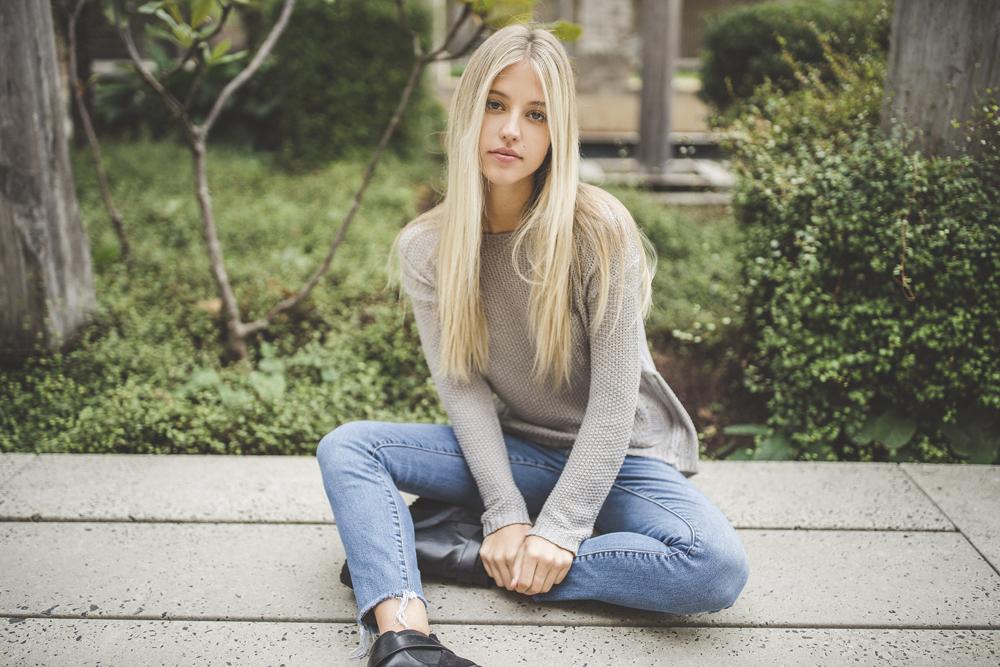
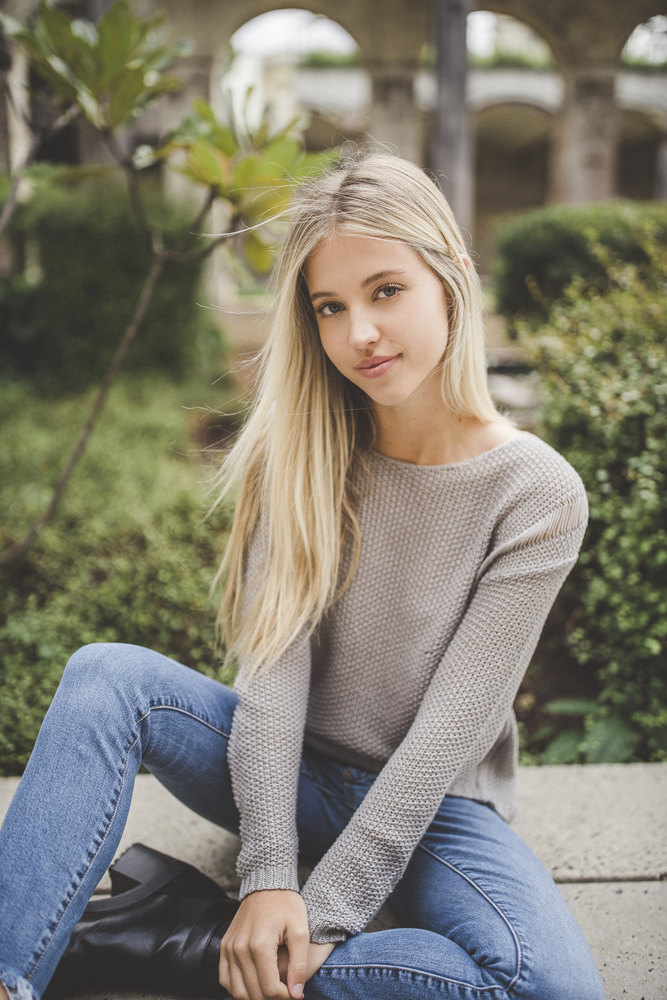
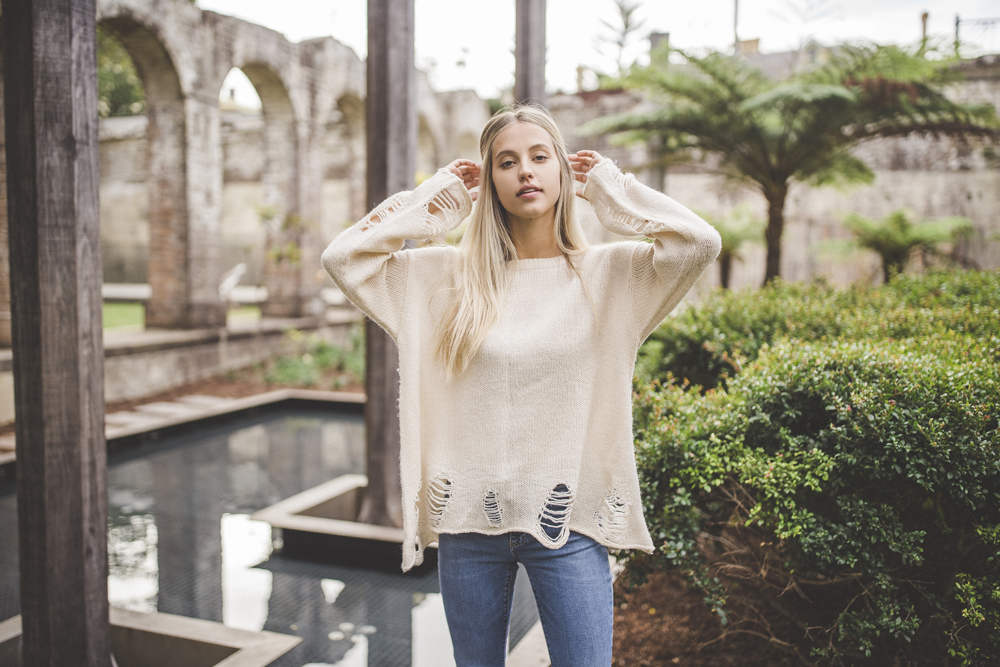
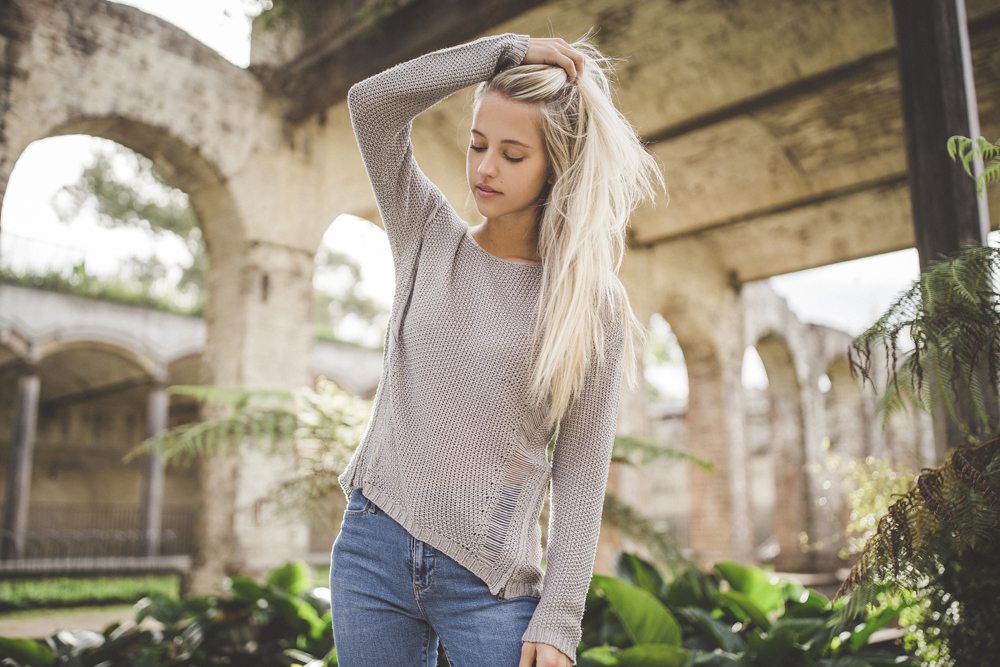
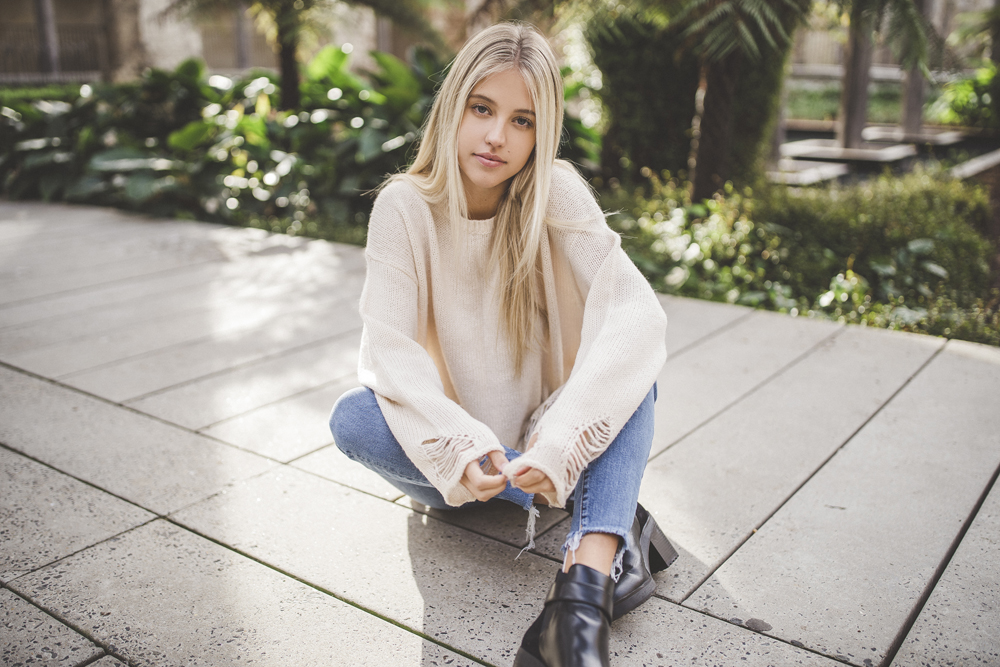
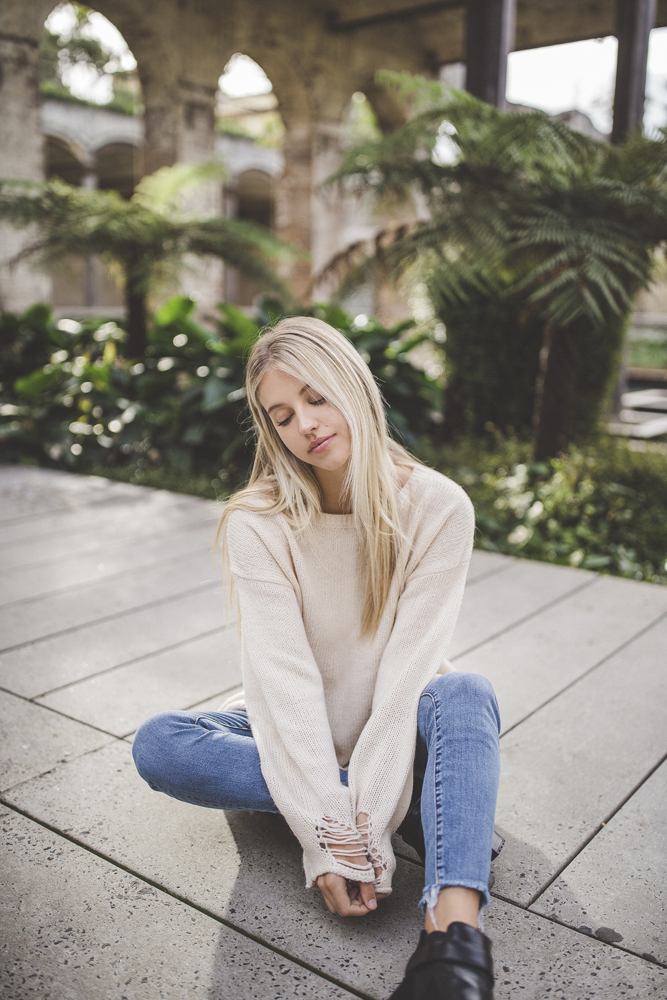
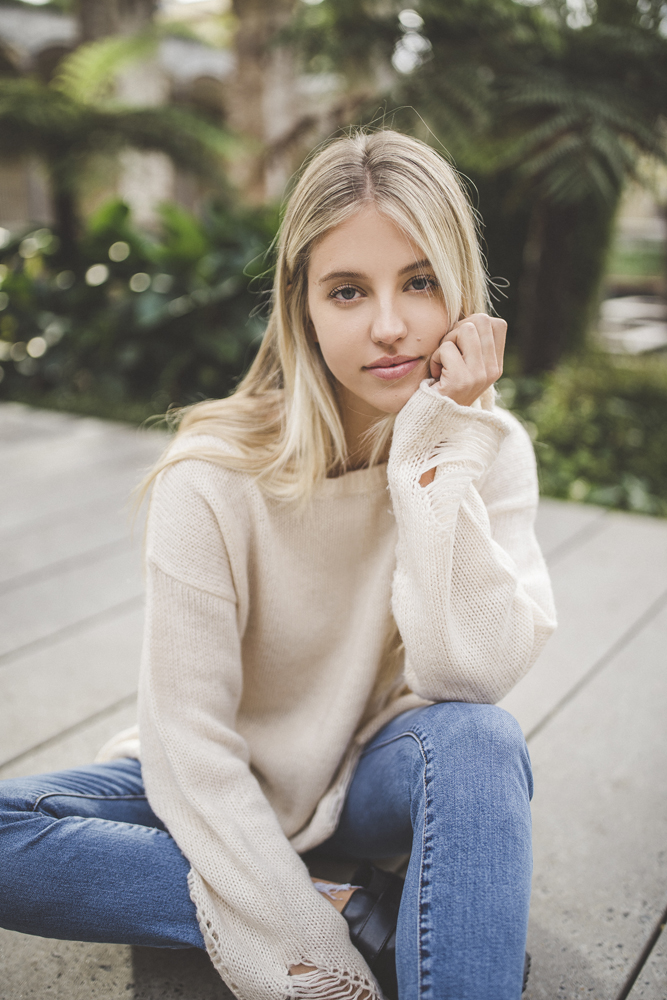
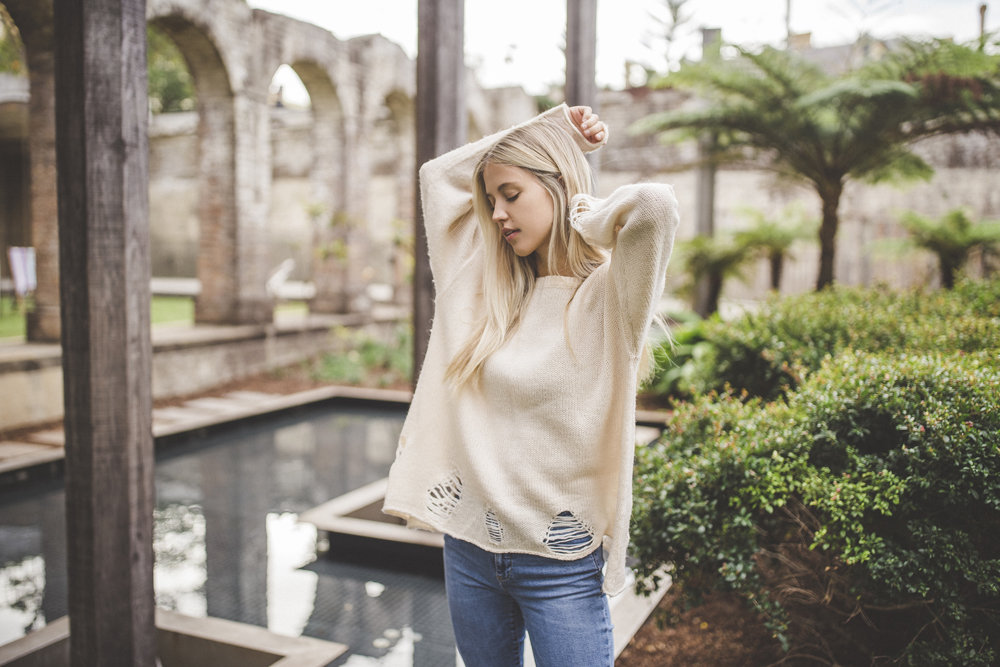
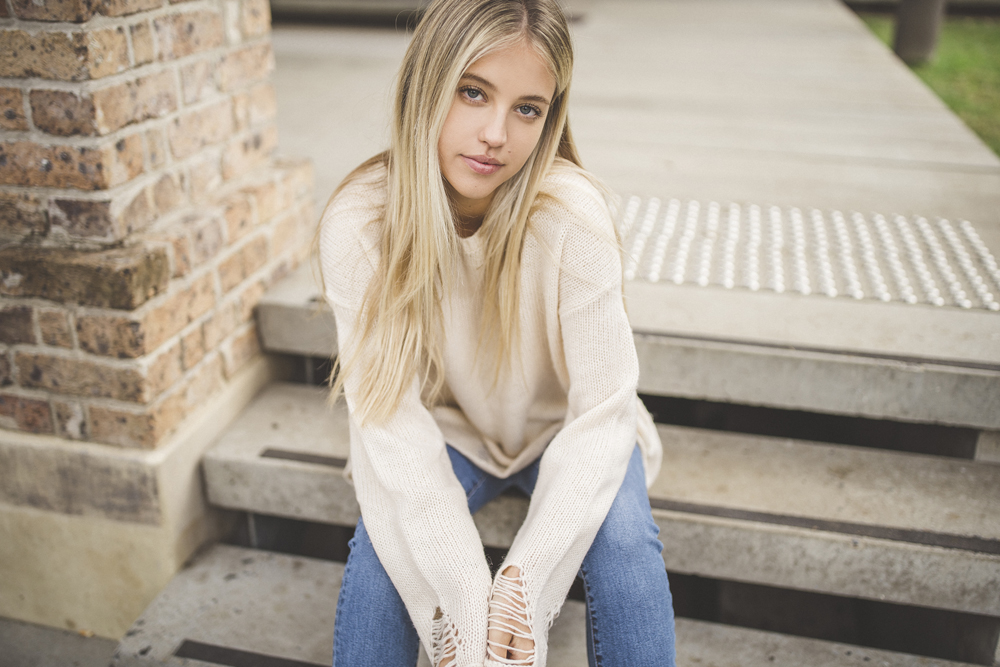
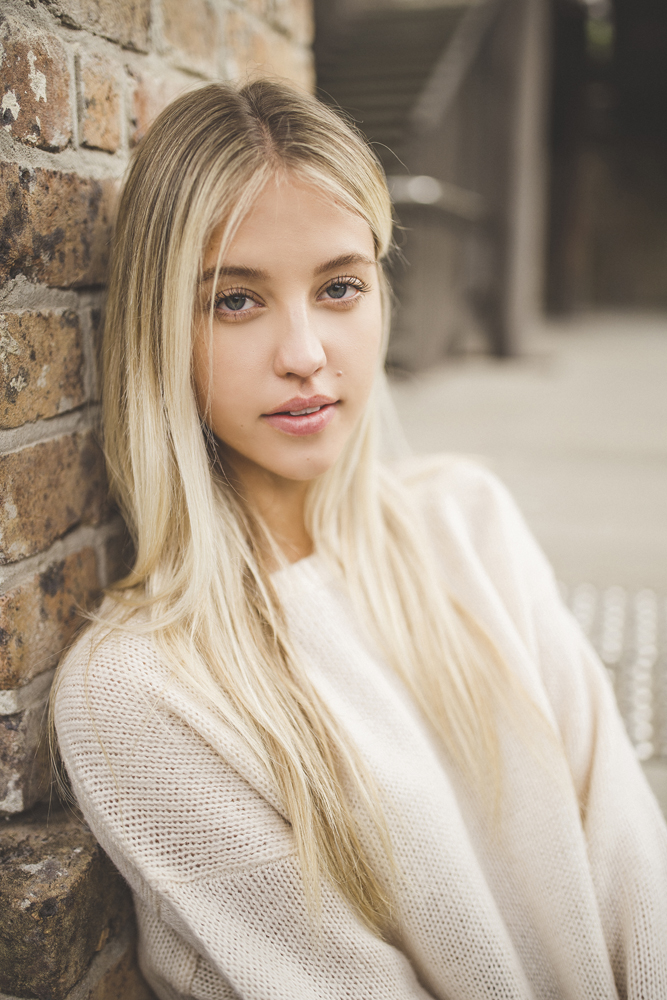
But back to this video! This was my first photoshoot I was able to take my new Sony A7III for a test run. We did a natural light portrait session in these gorgeous gardens. Since I was a Canon user, I only had Canon lenses. I decided to use the Metabones 4 adaptor (which came with the camera) so I could shoot with the camera as soon as possible
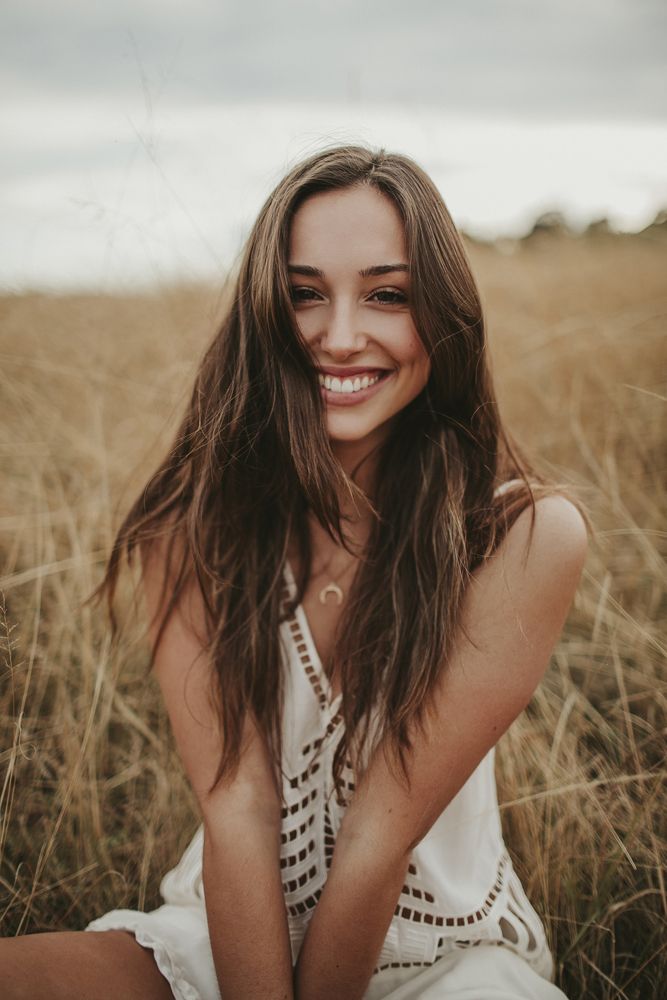
The eye AF and autofocus performance is okay with adapted lenses. You can still capture sharp photos with a setup like this. But to experience the full benefits of the eye AF and performance of a camera like the Sony A7III, I would recommend to use native lenses as soon as you can. My first Sony lens I purchased was the Zeiss 35mm f1.4.
Since this day I have now completely switched systems from Canon to Sony and have been extremely happy.
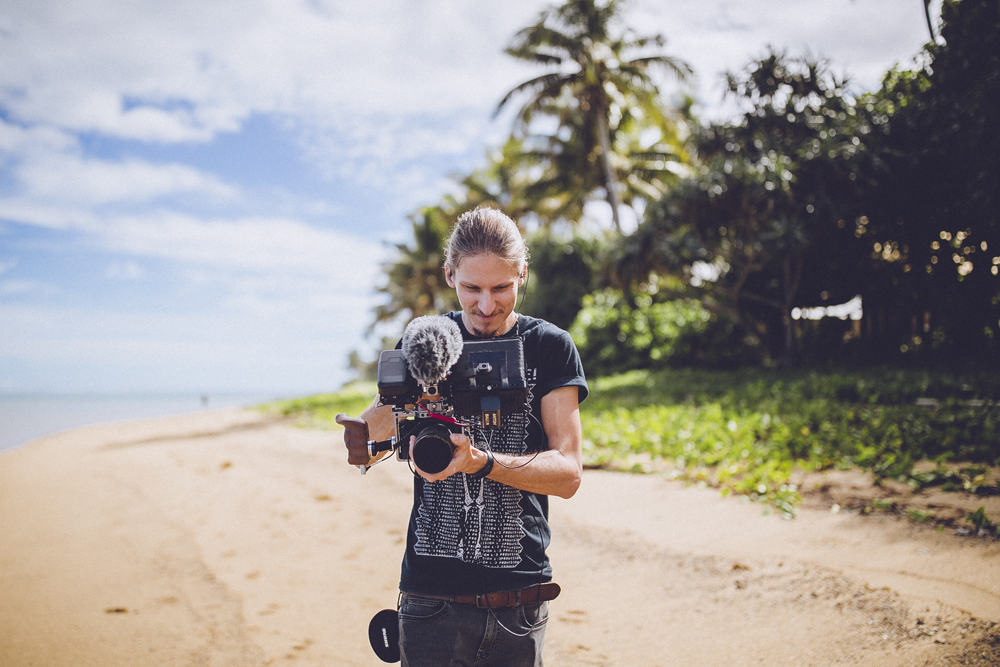
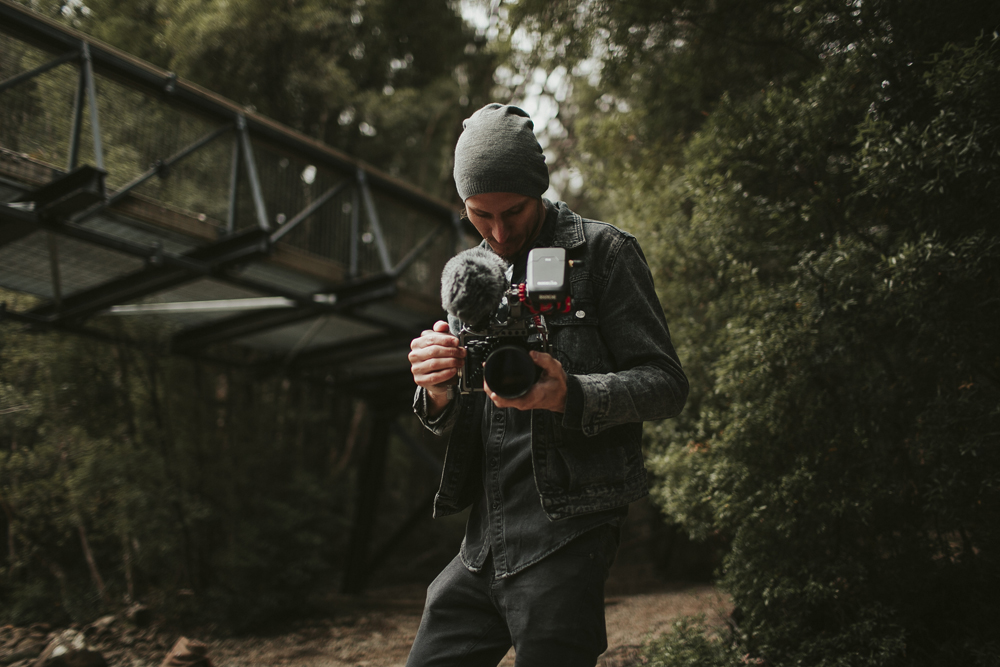
Watch the behind the scenes video below to hear some of my thoughts of switching from Canon to Sony and please subscribe to my channel! I upload new photography videos every single week.
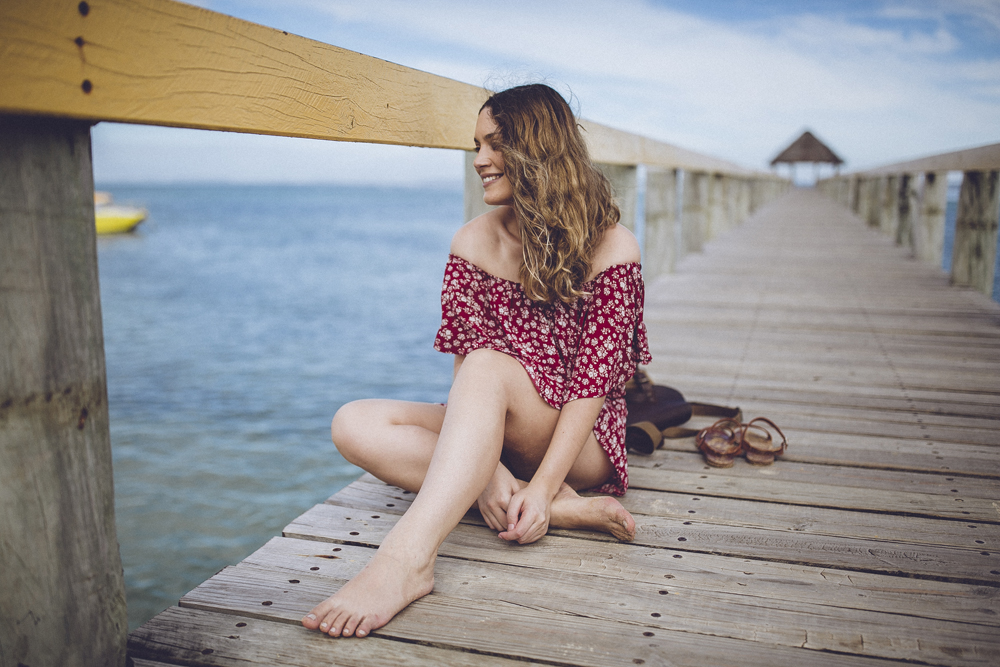
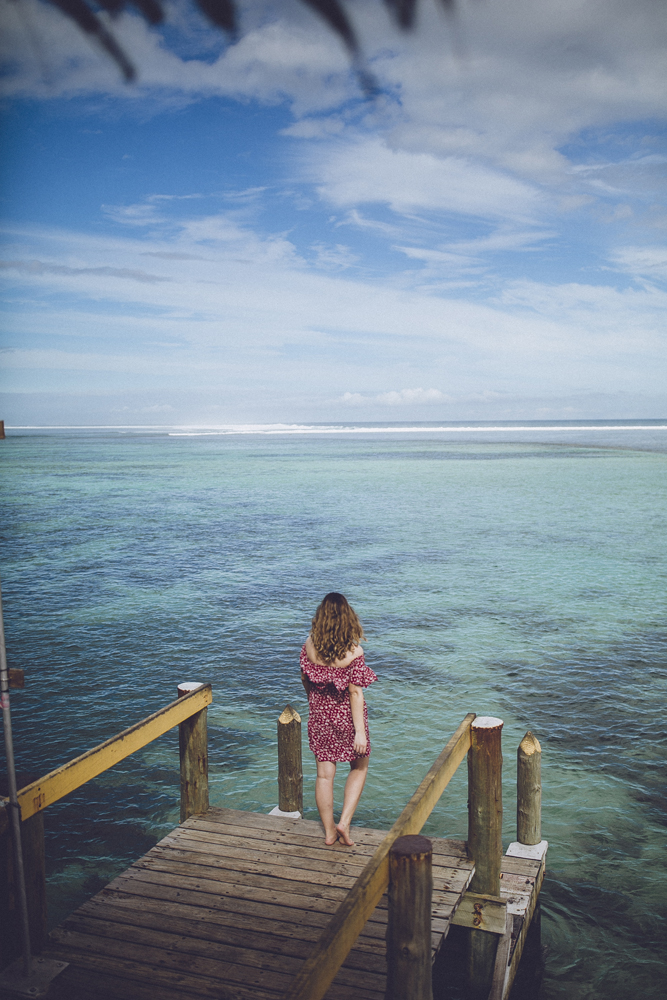
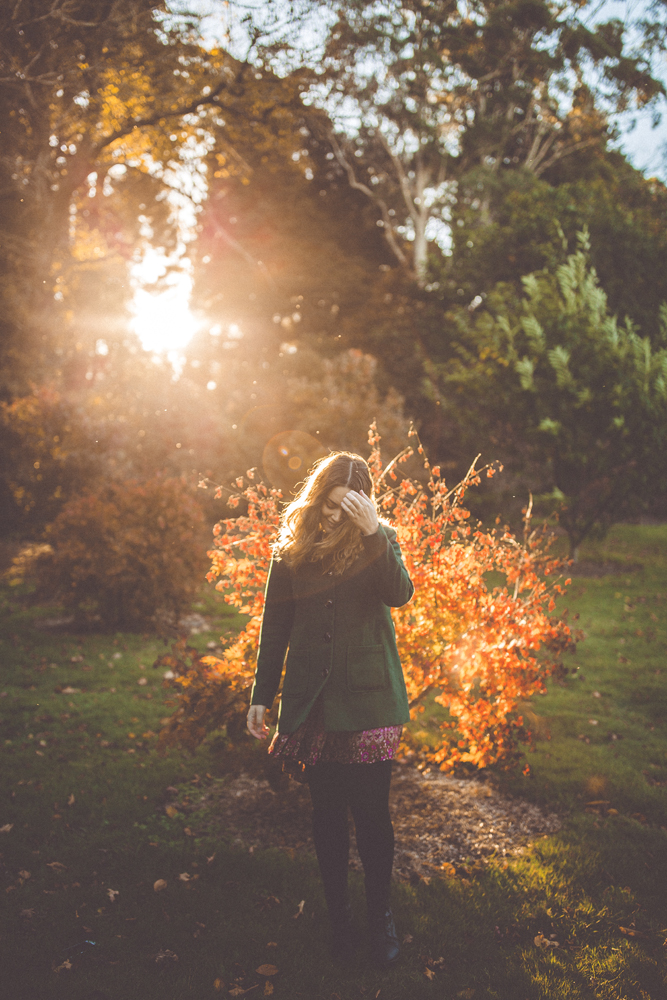
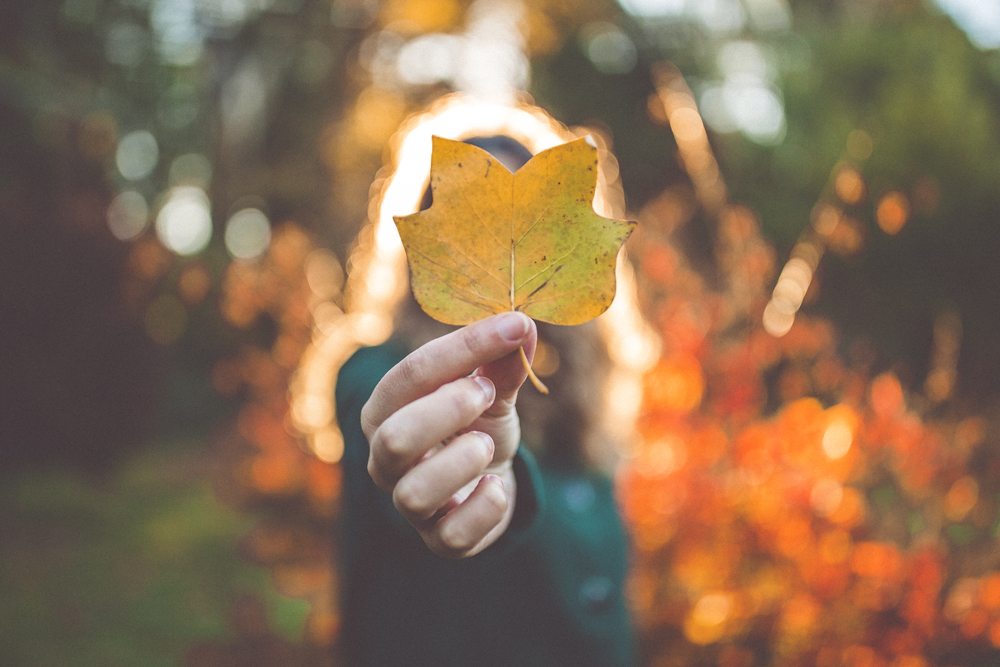
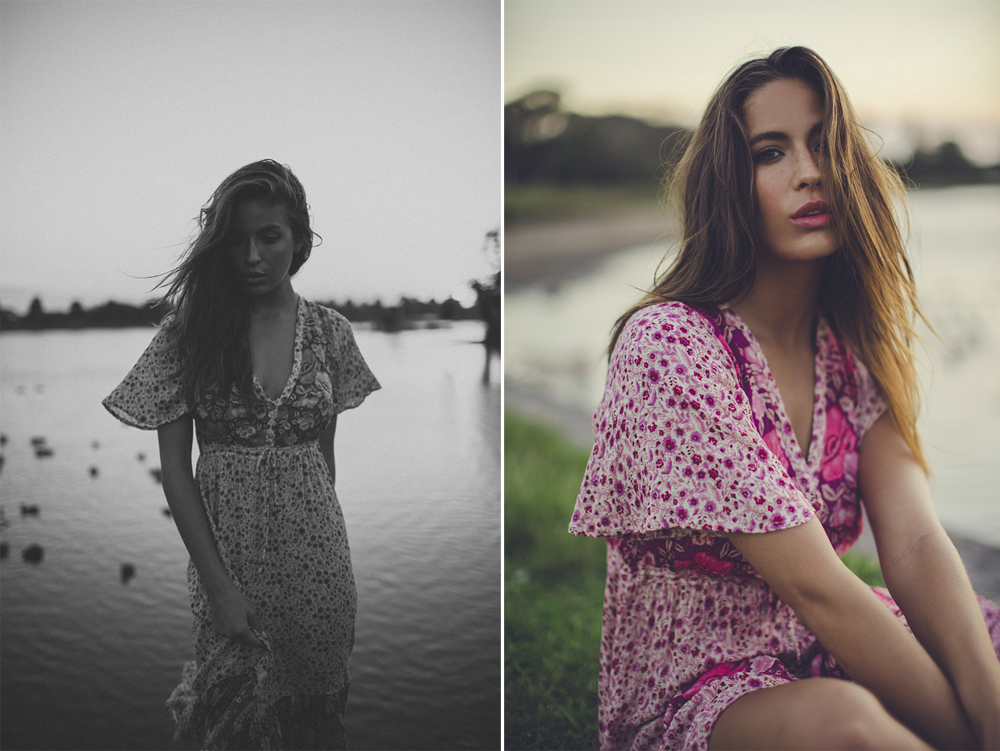
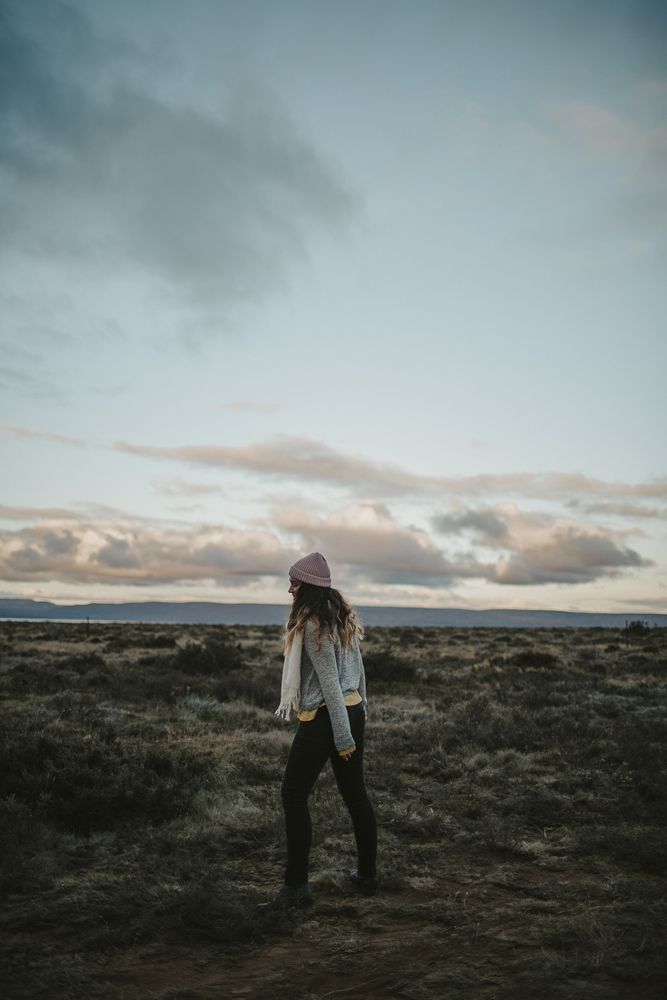
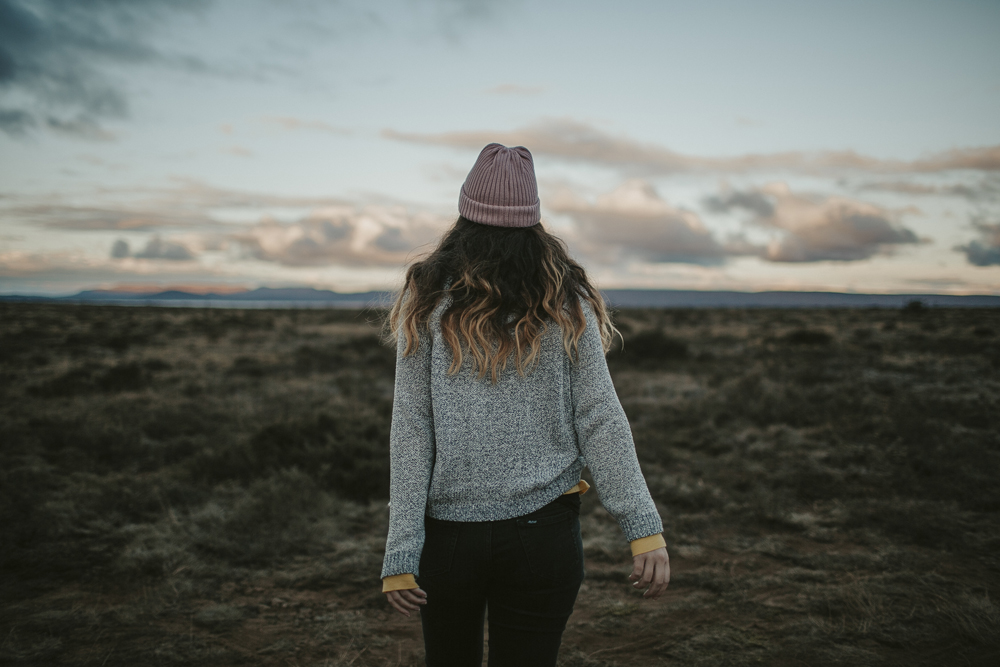
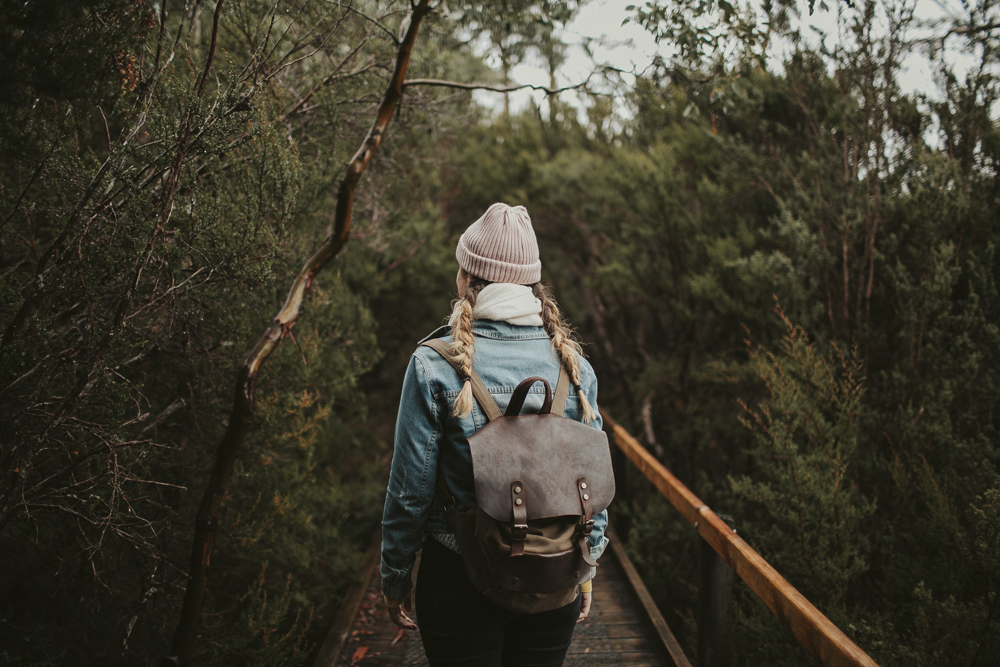
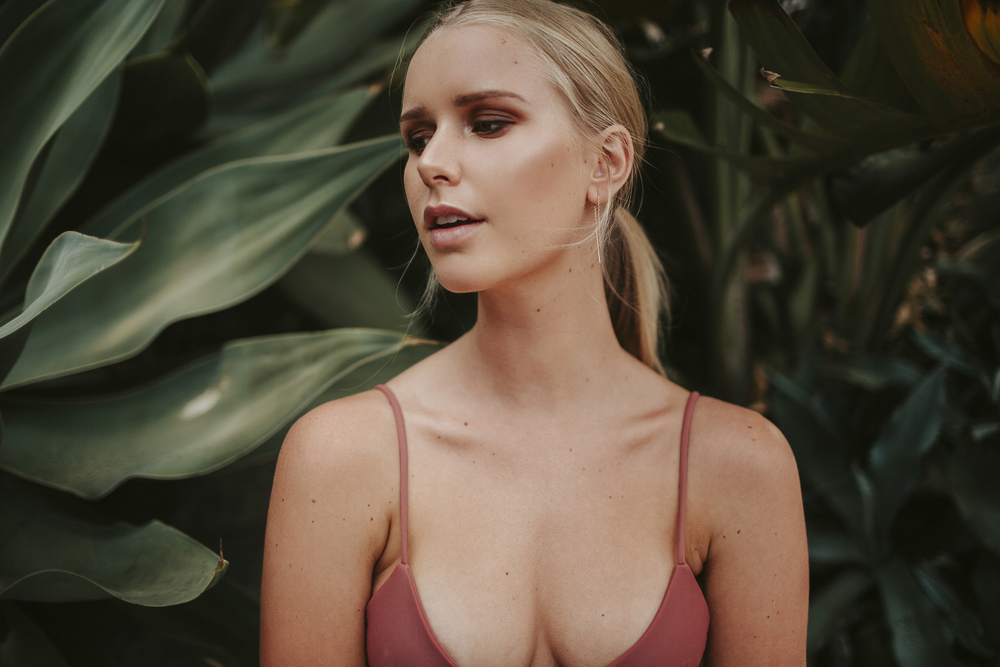
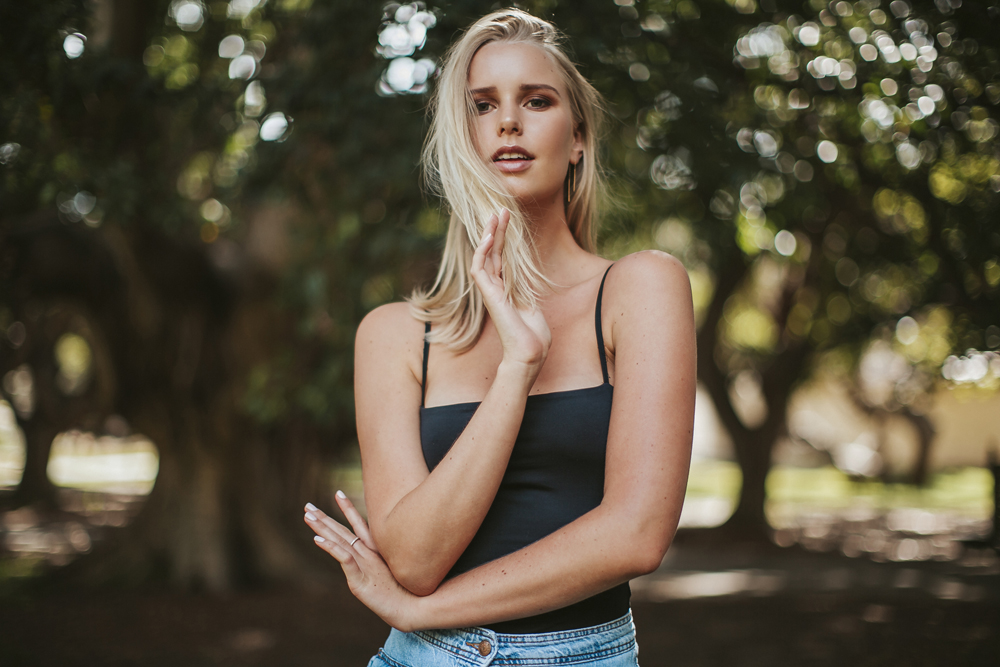
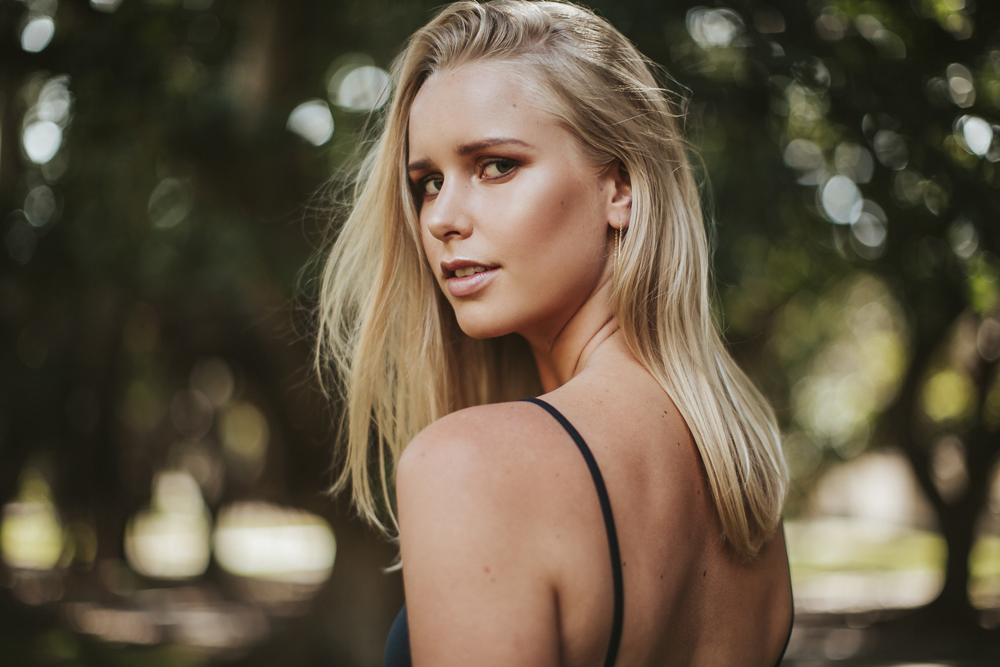
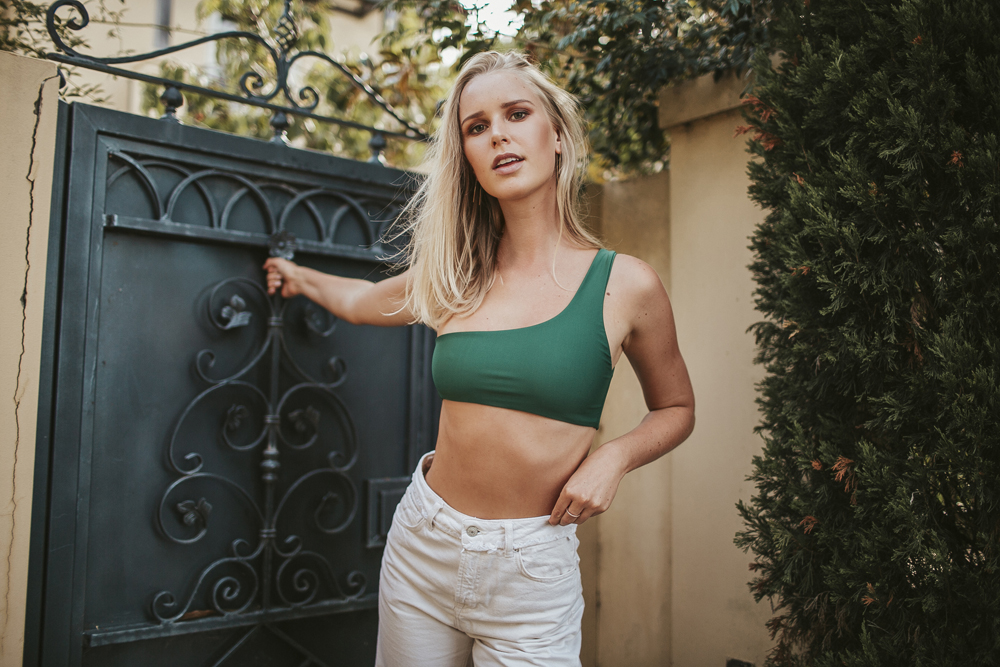
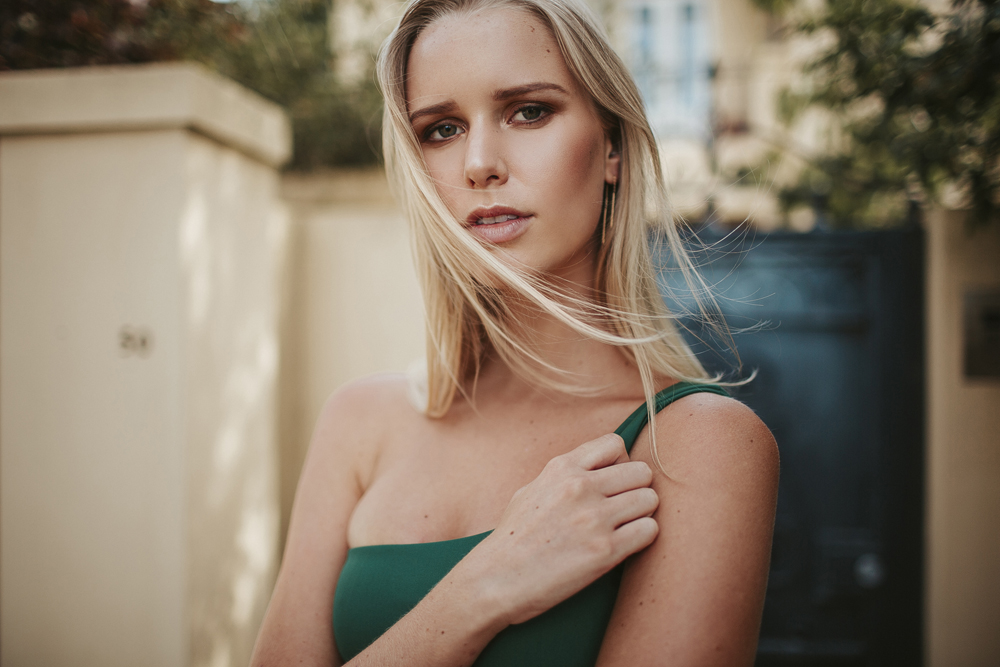
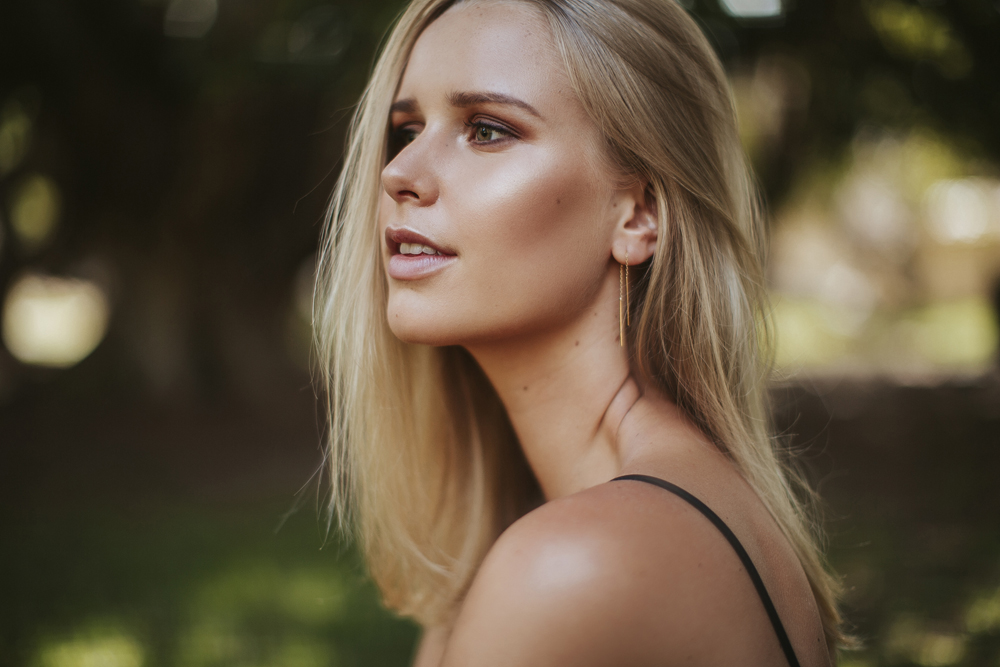
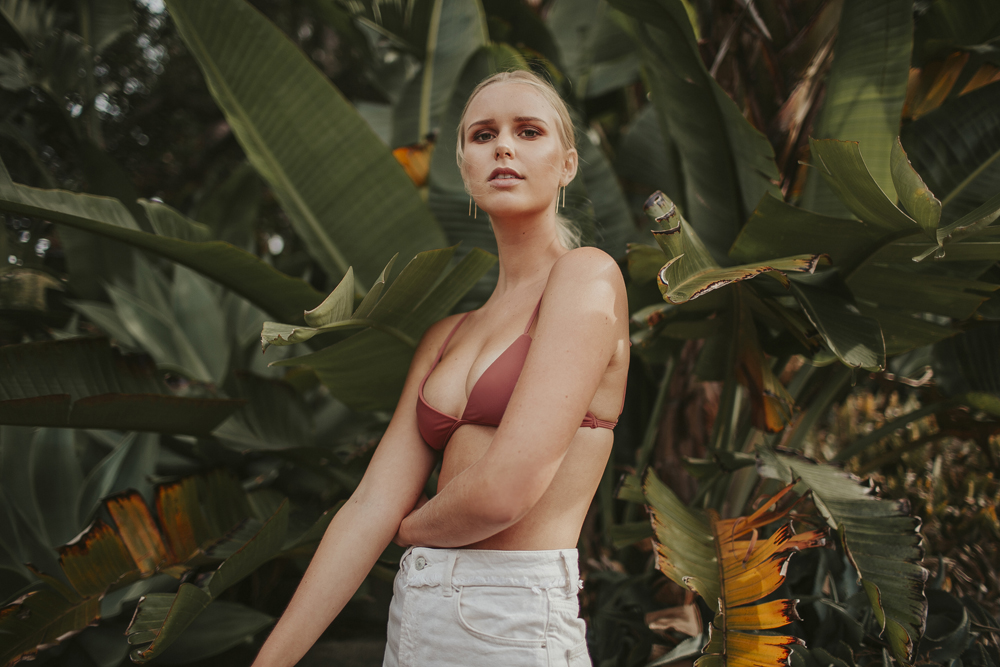
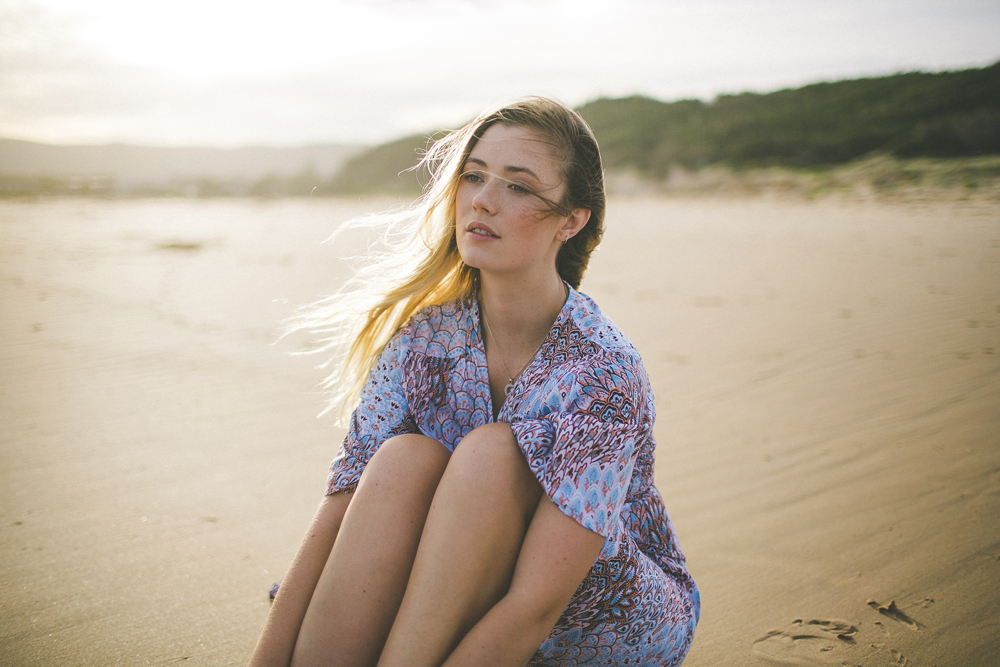
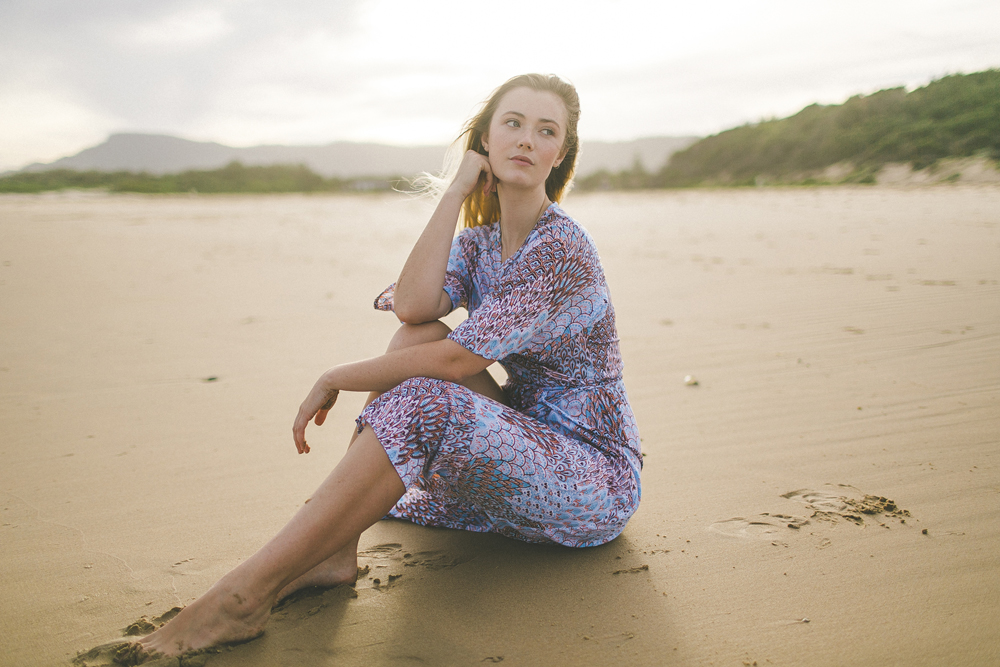
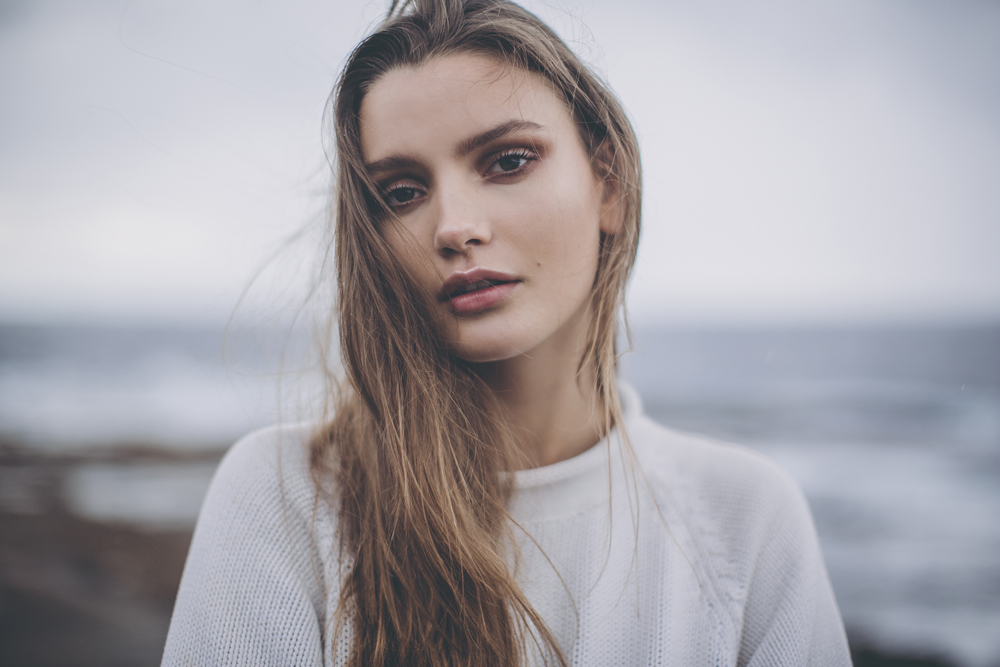
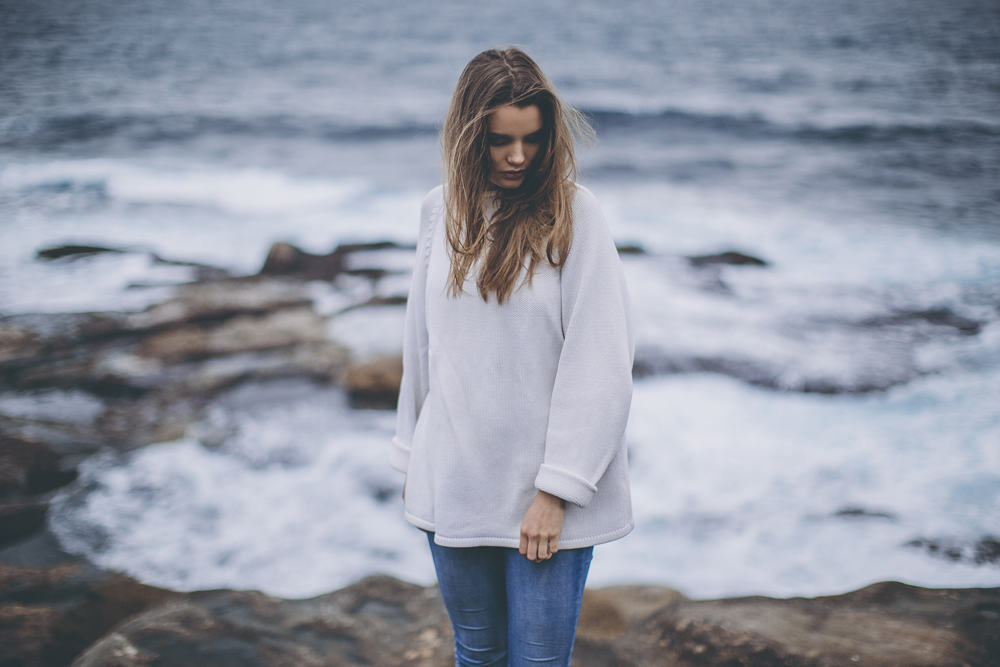
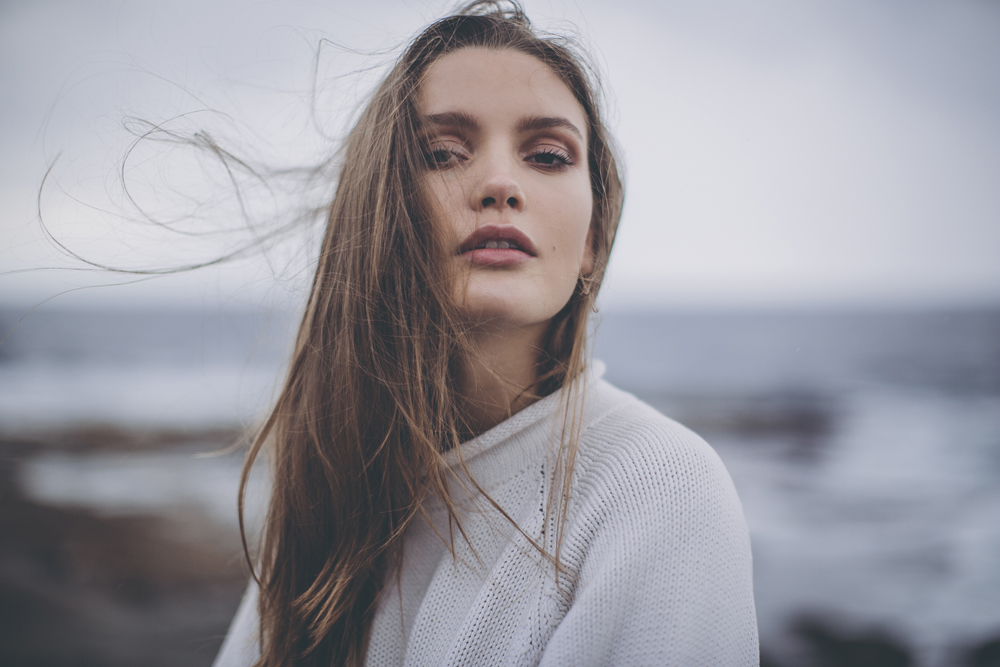
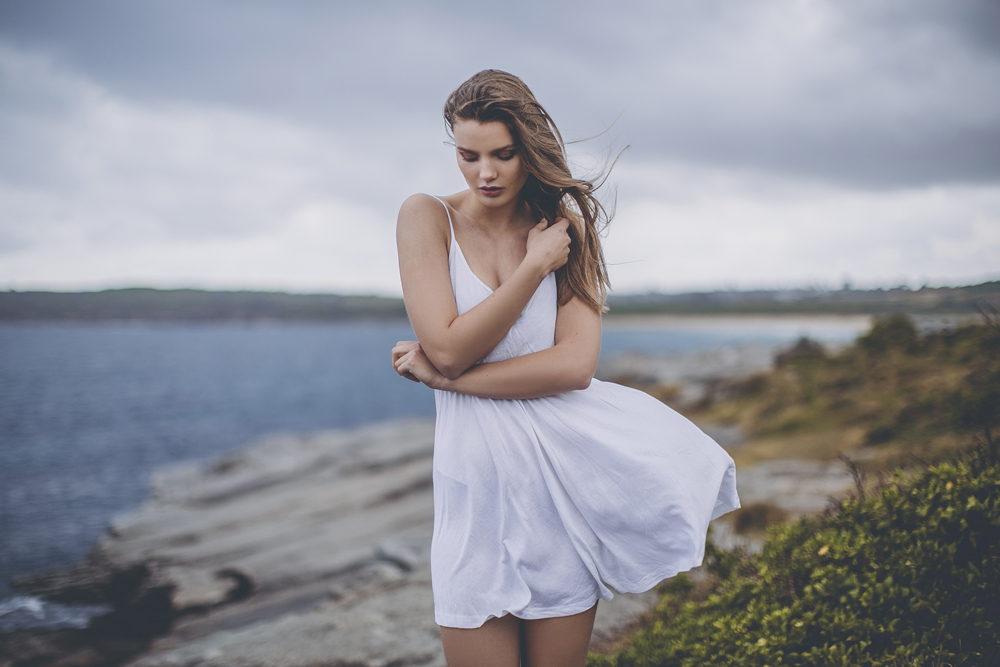
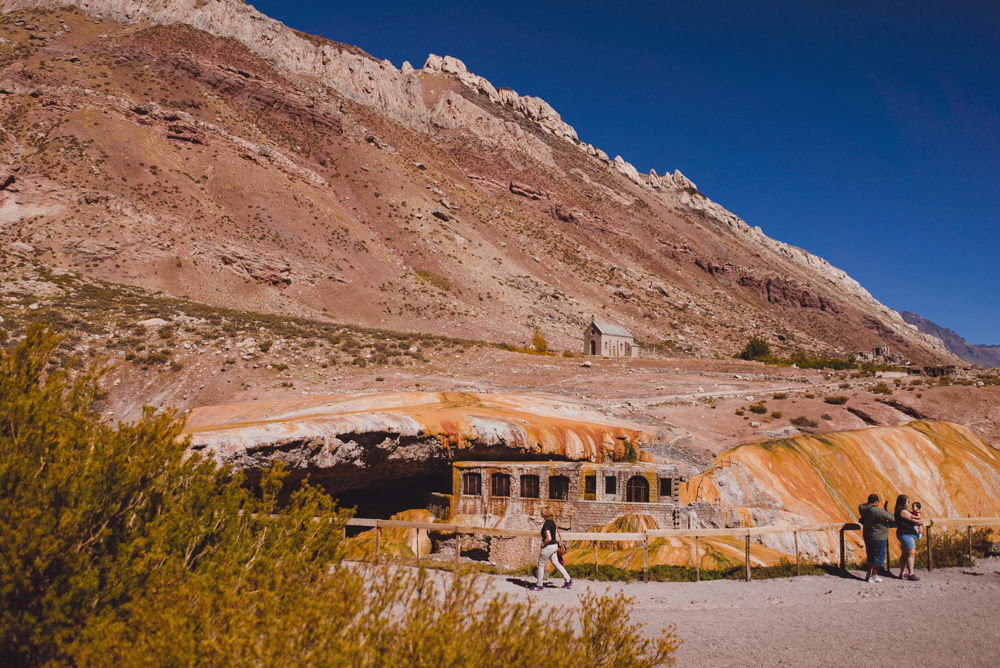
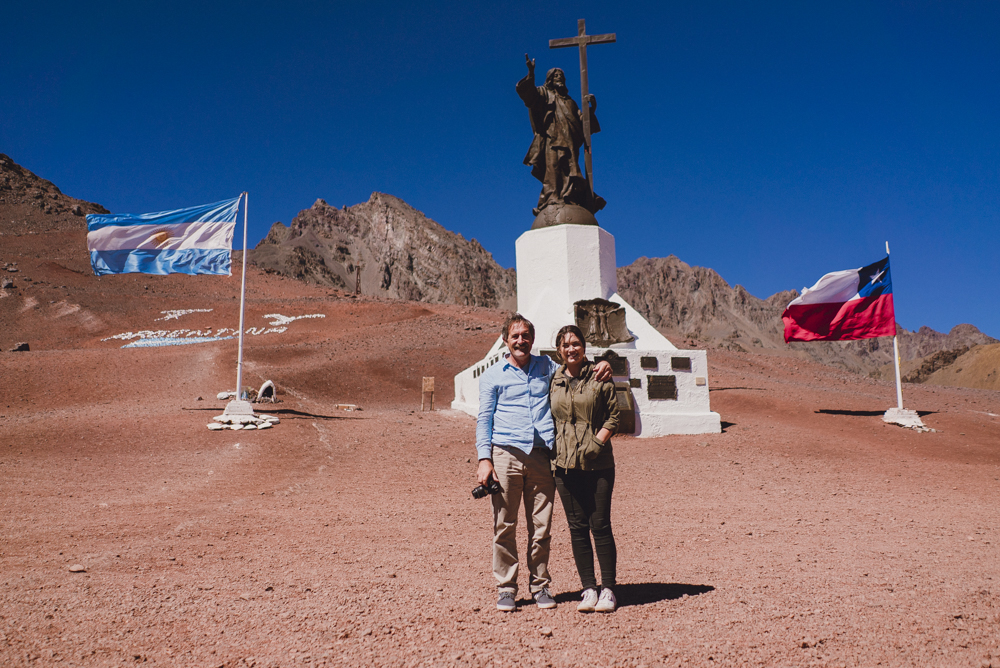
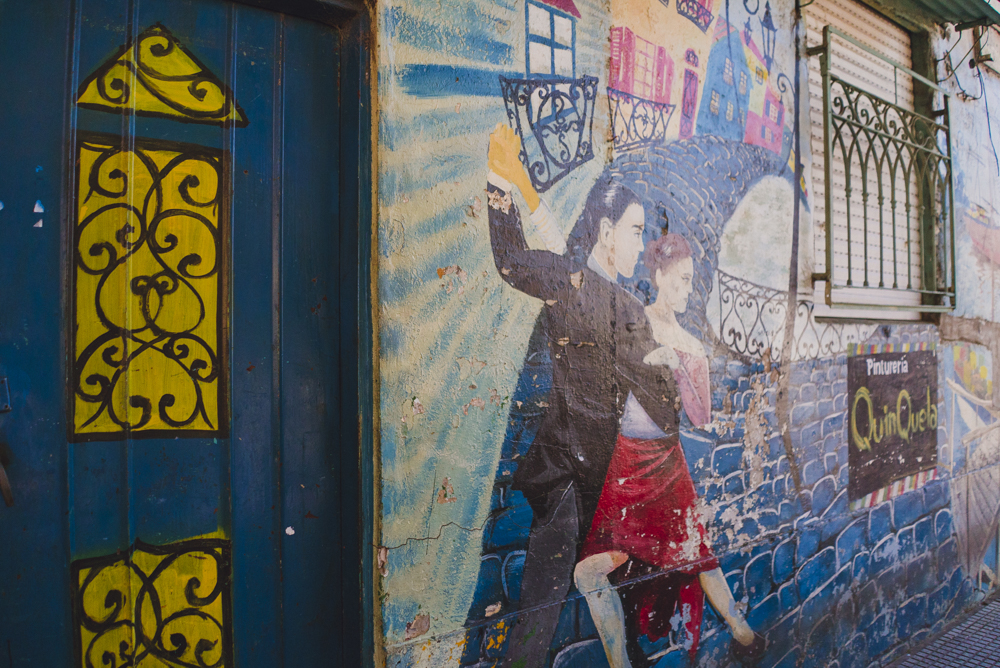
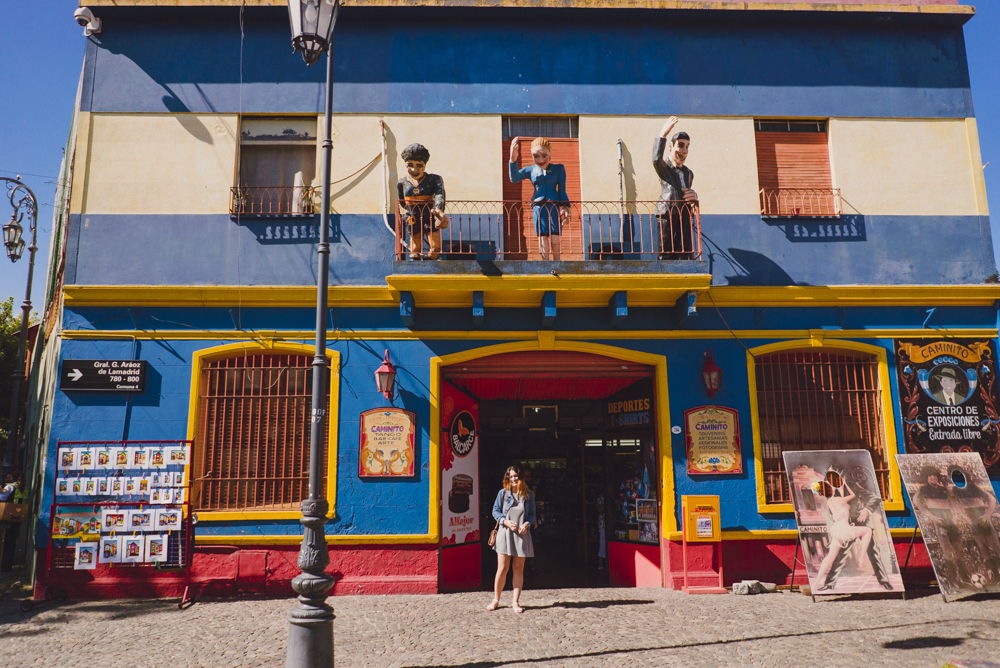
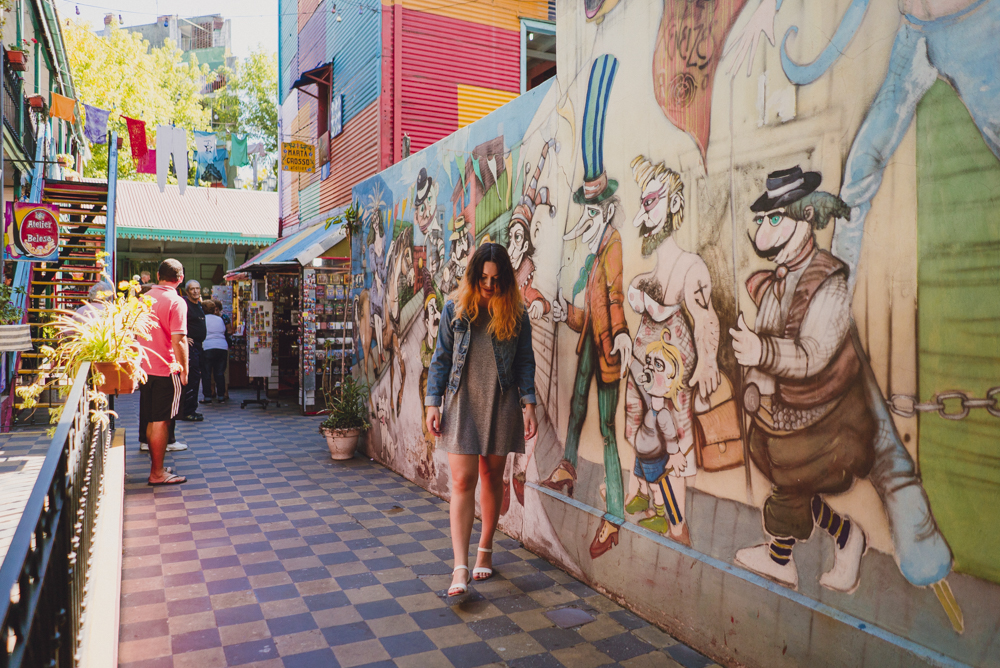
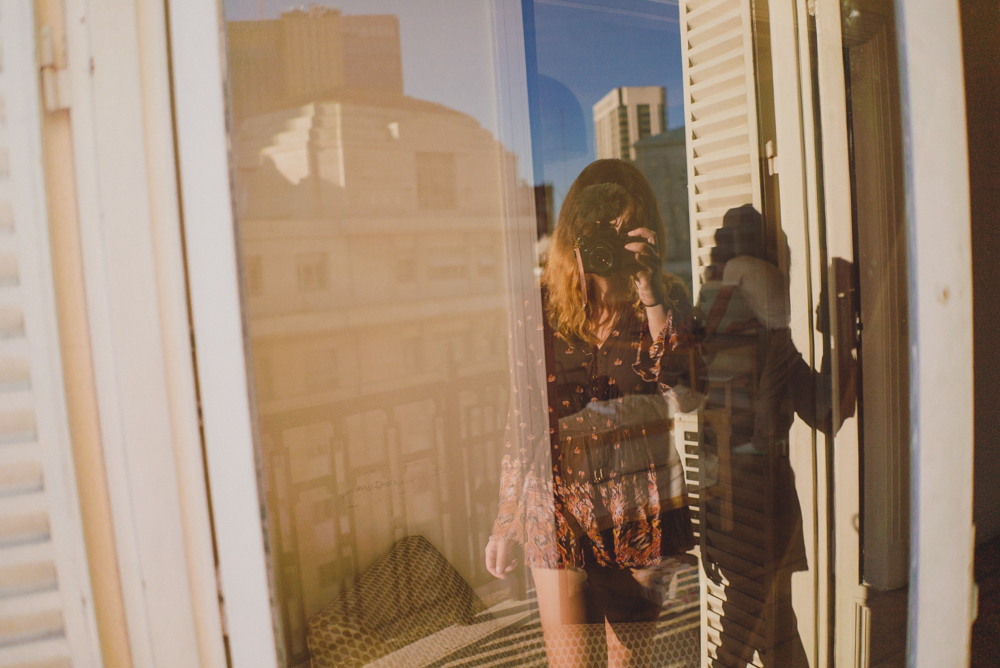
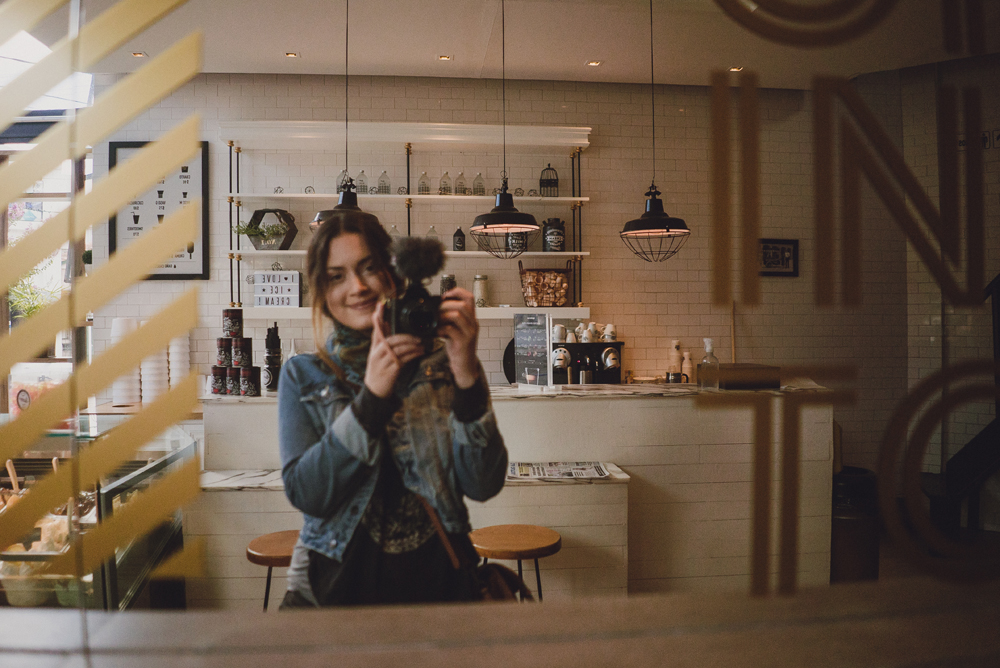
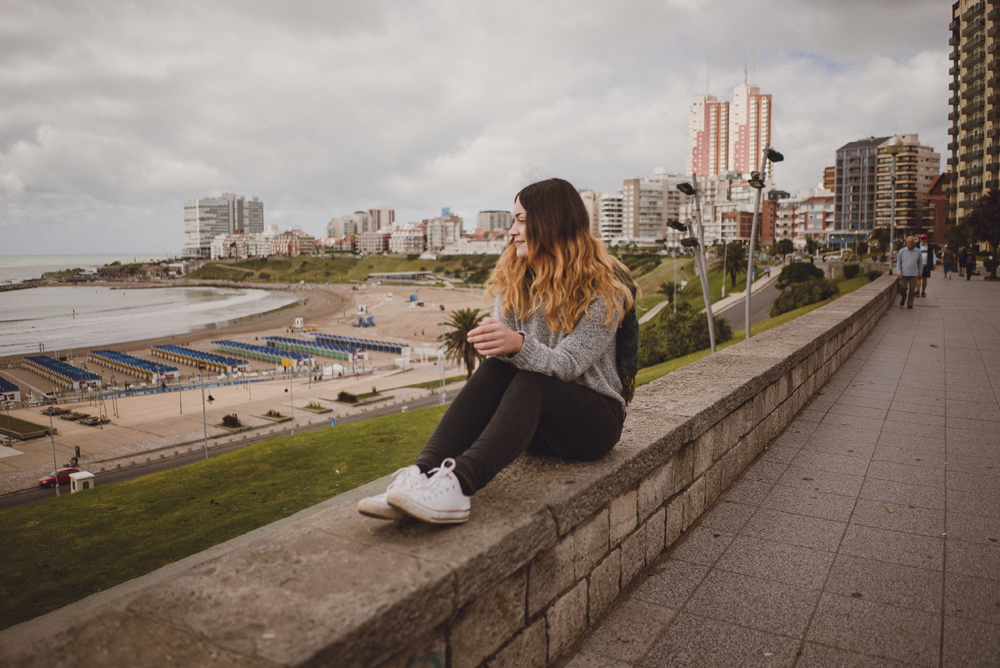
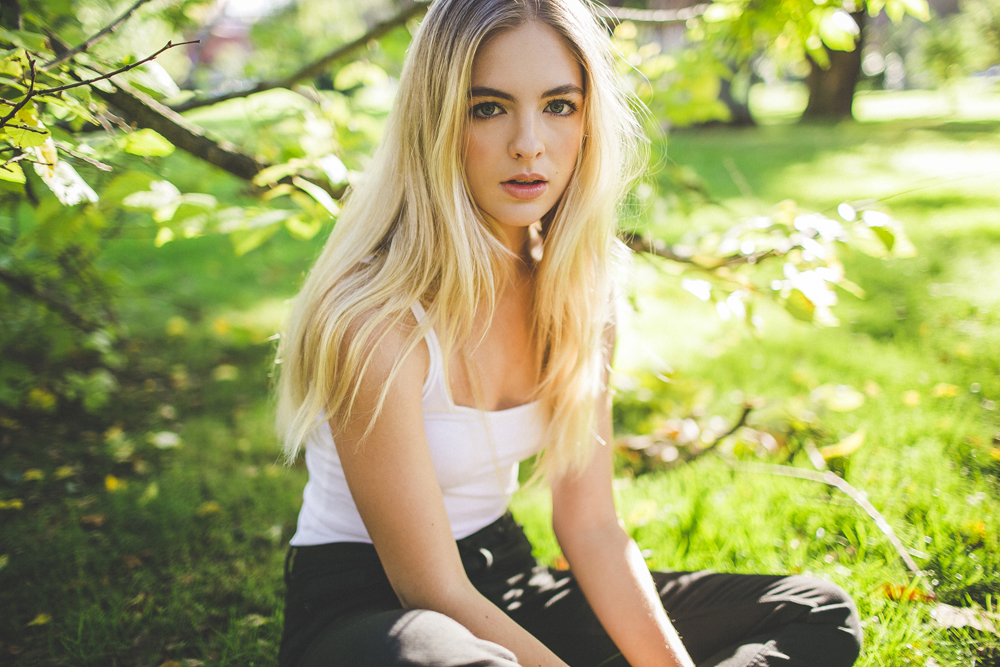
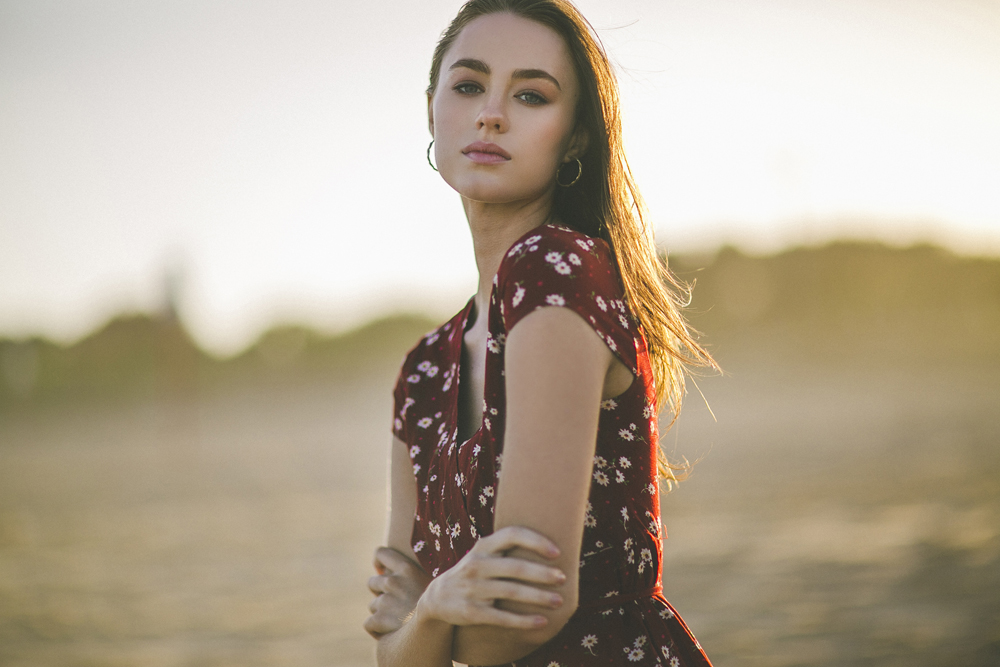
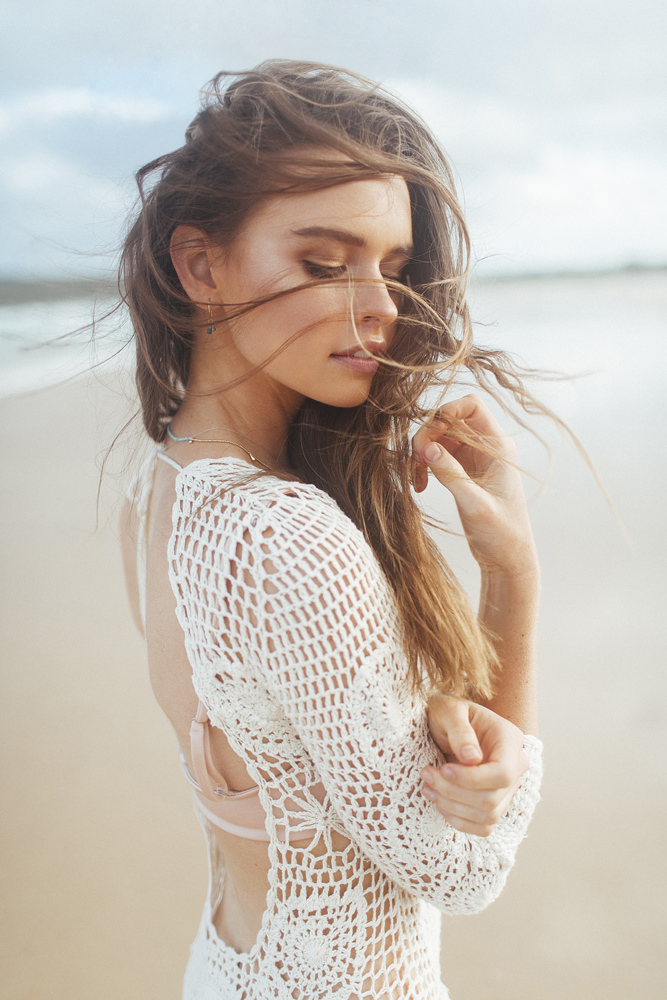
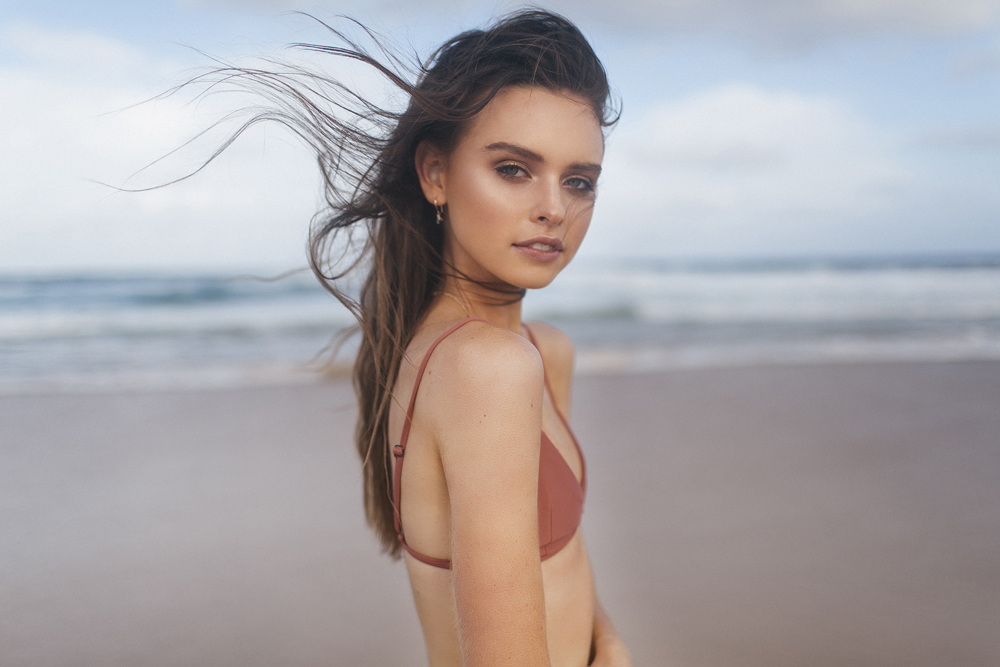
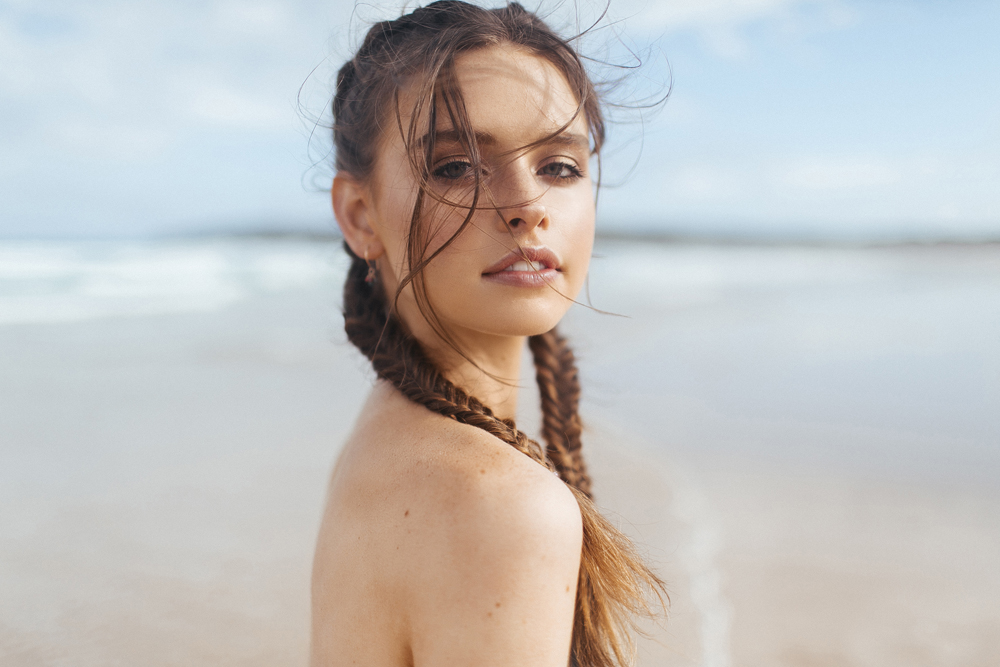
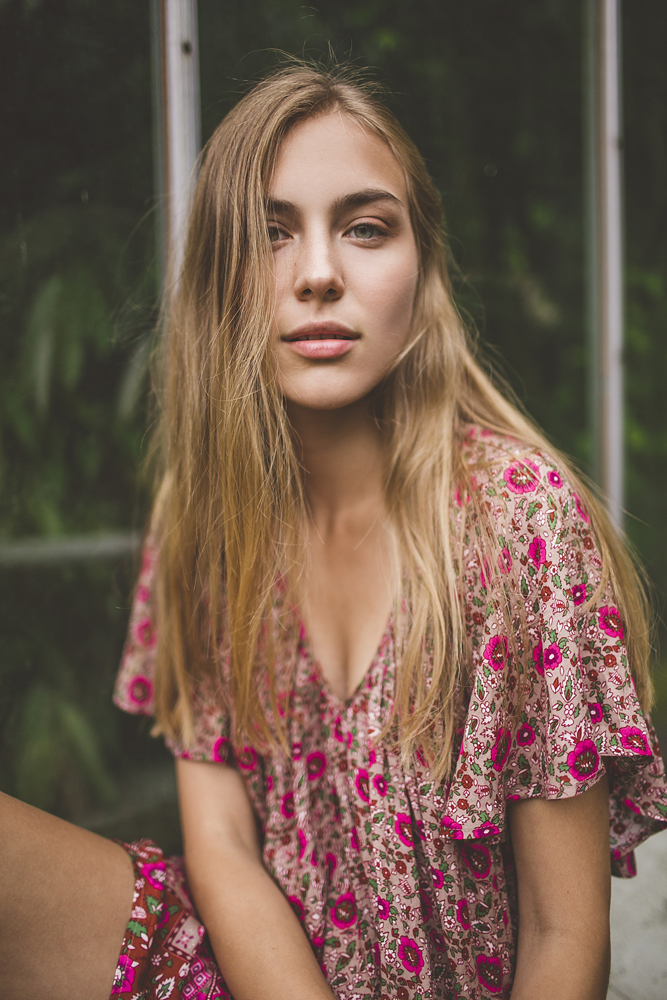
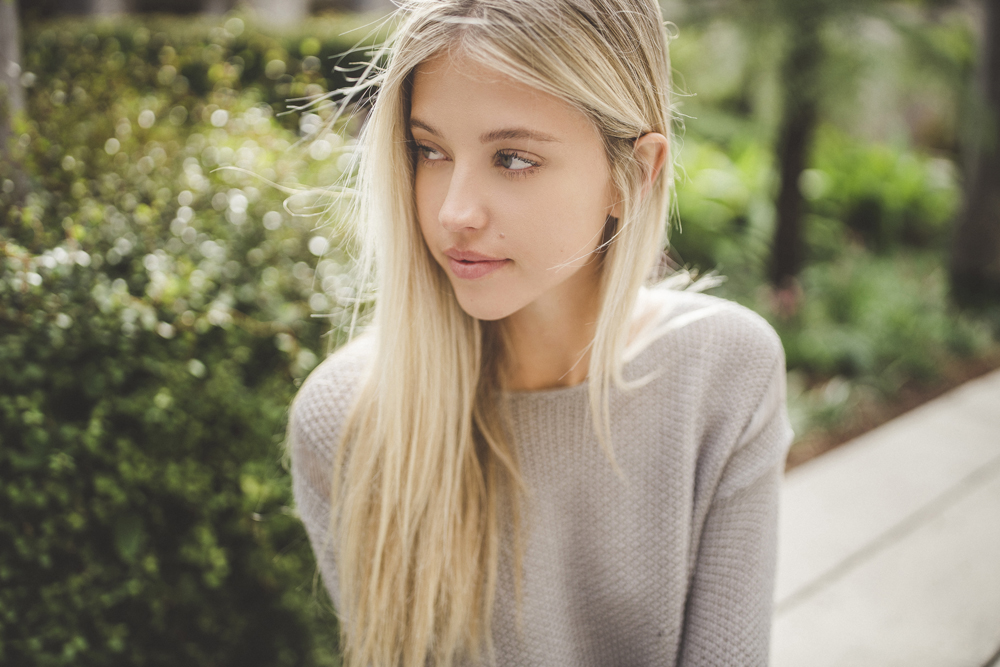
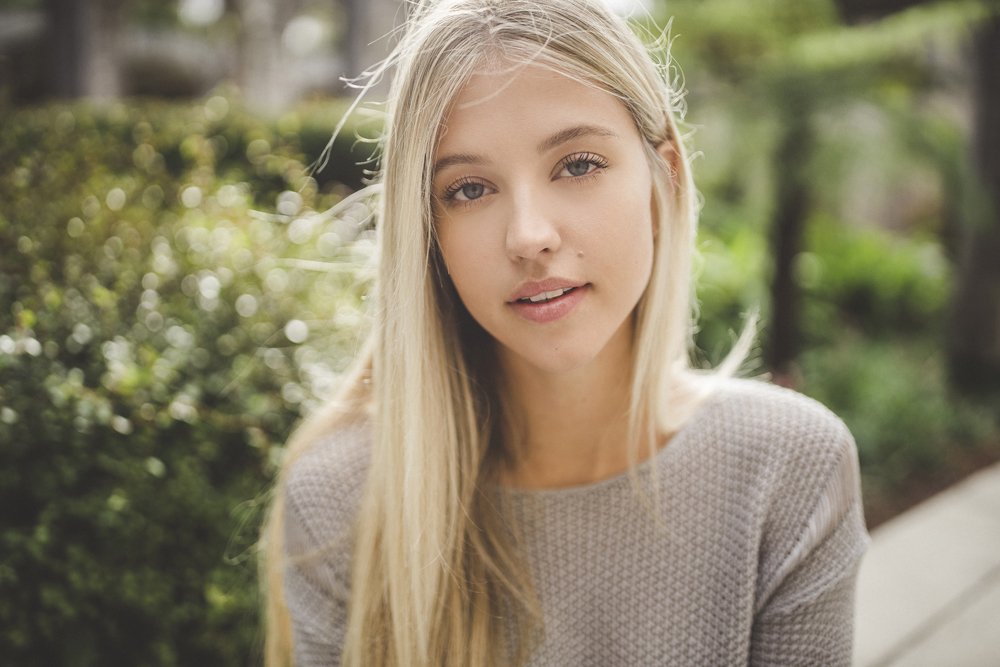
model kaitlynn @ fivetwenty
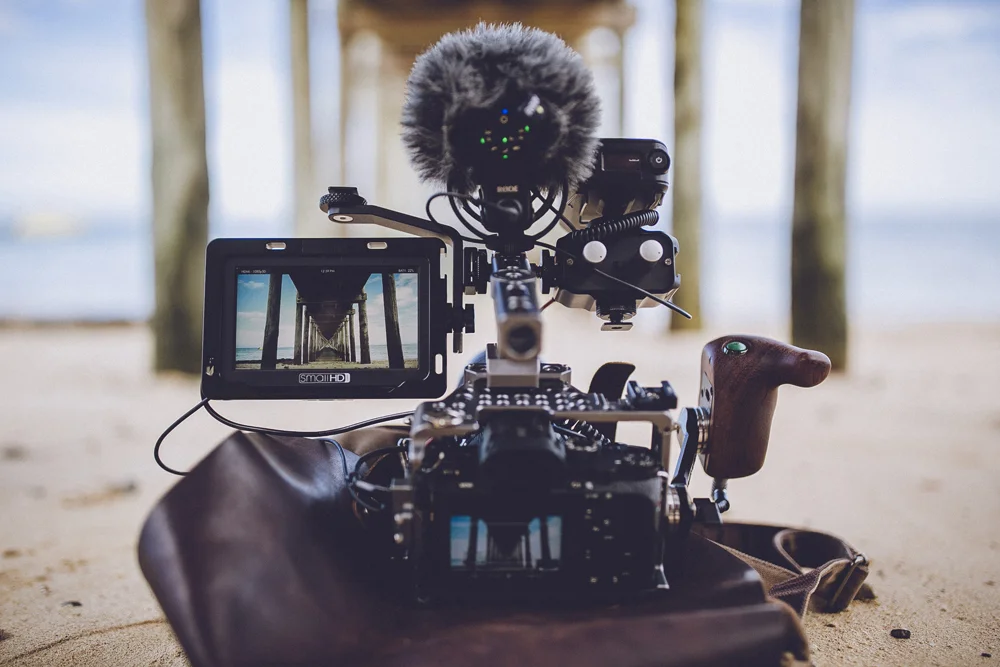
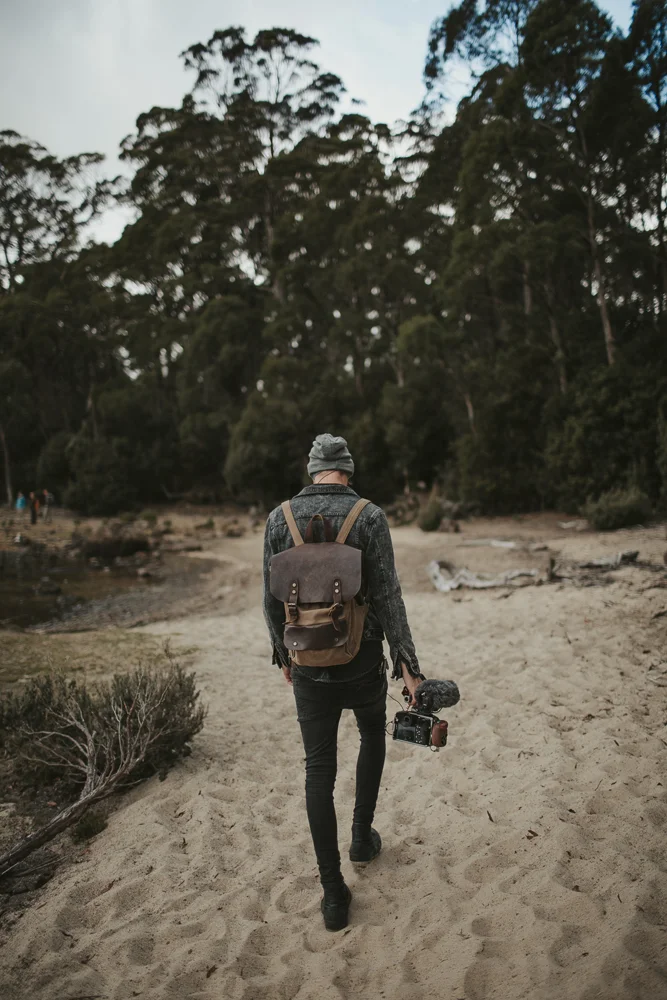
Gear used:
camera body sony A7III
adaptor Metabones iv
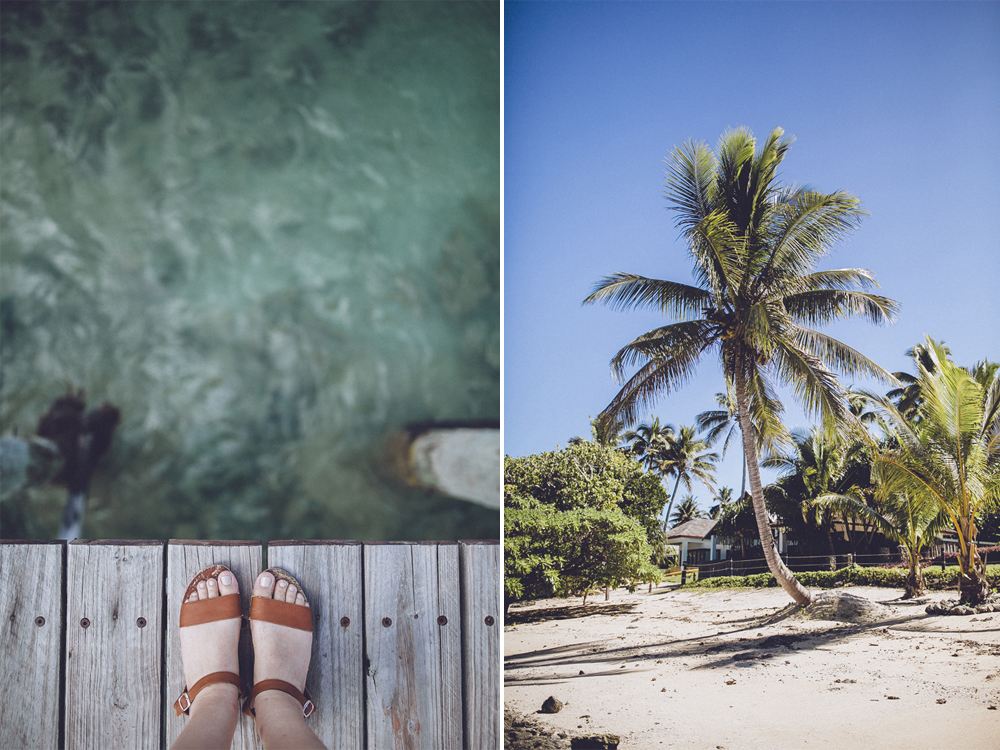
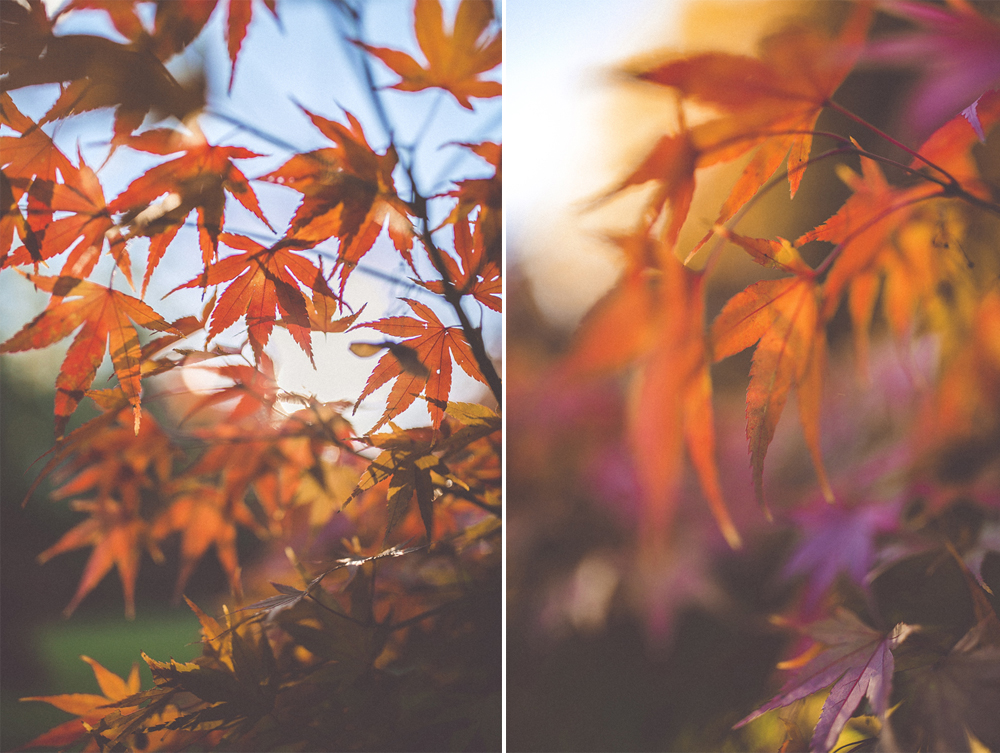
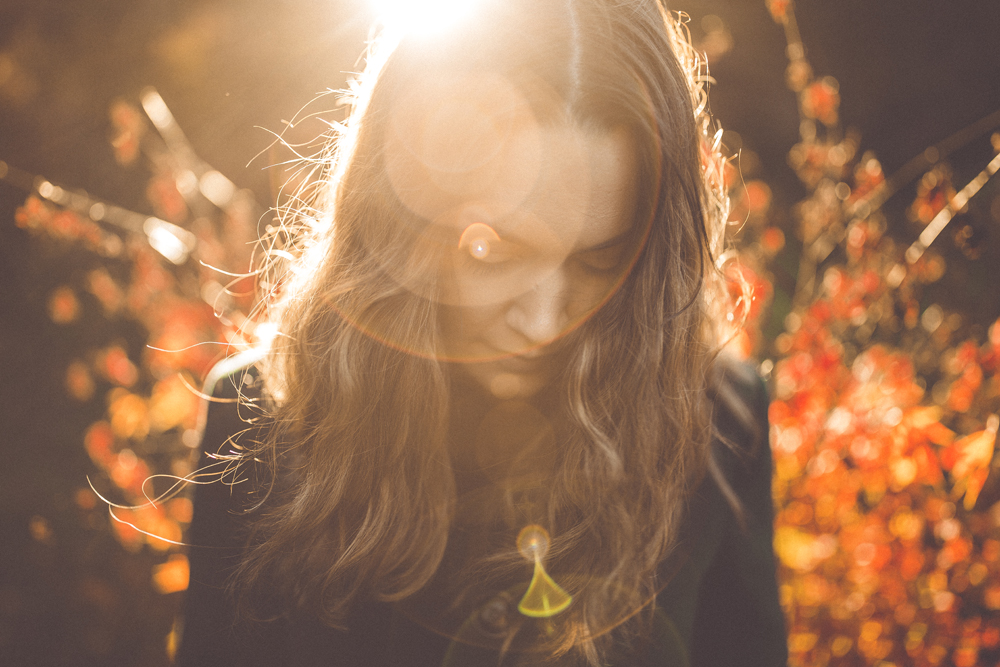
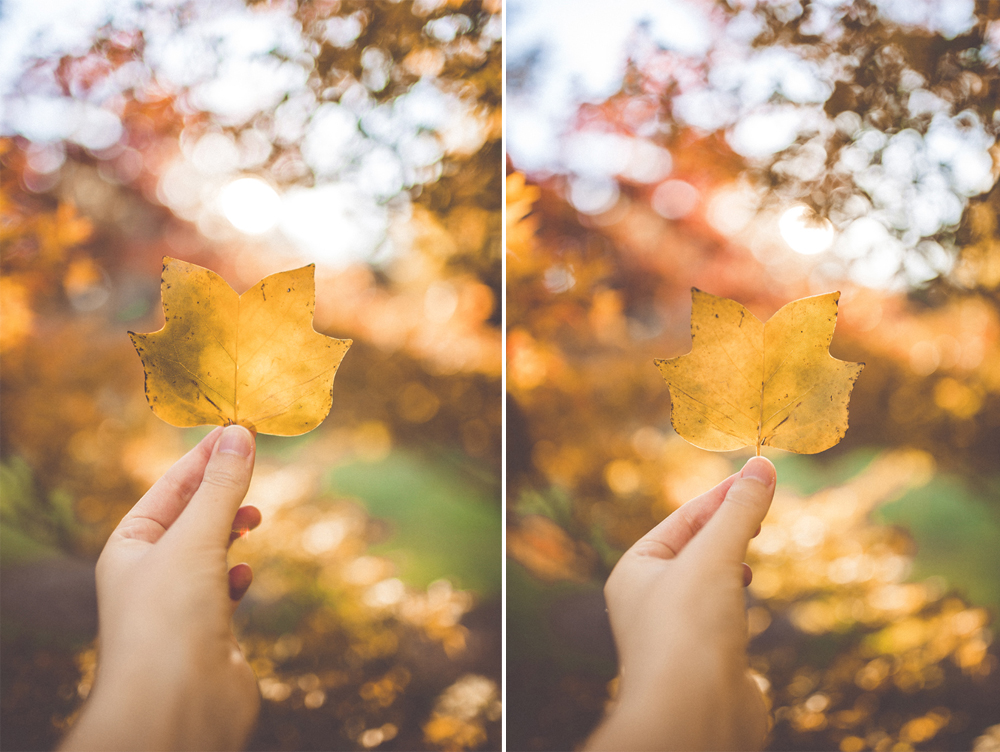
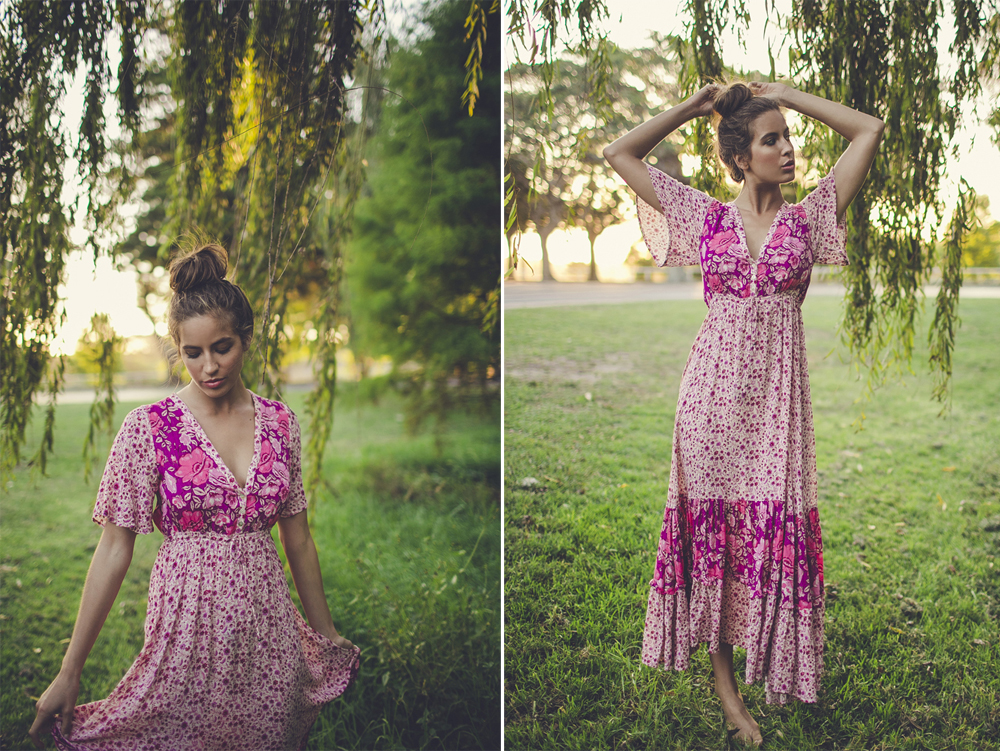
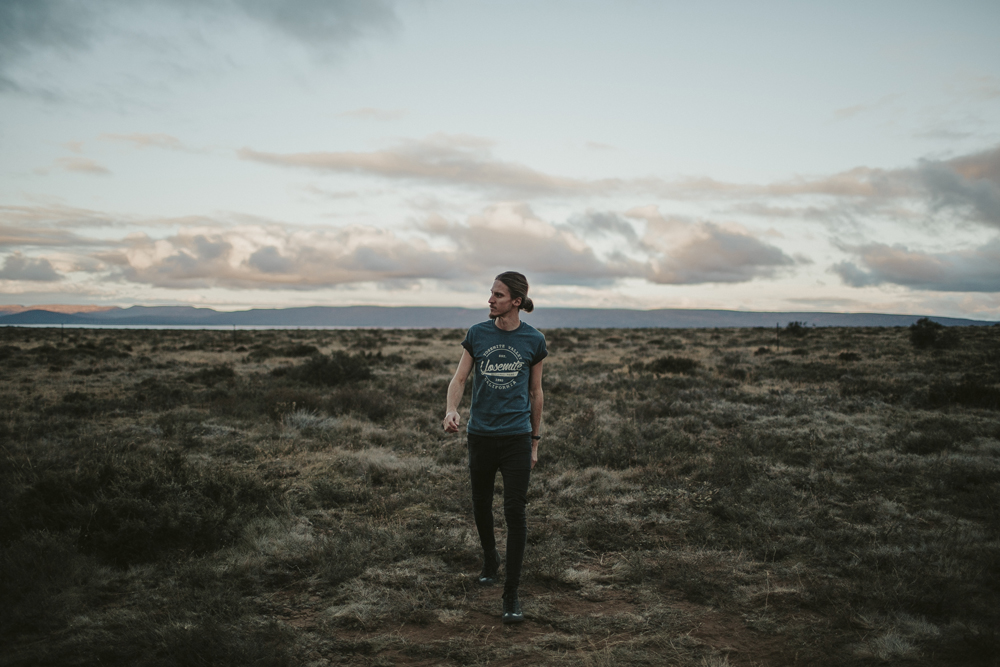
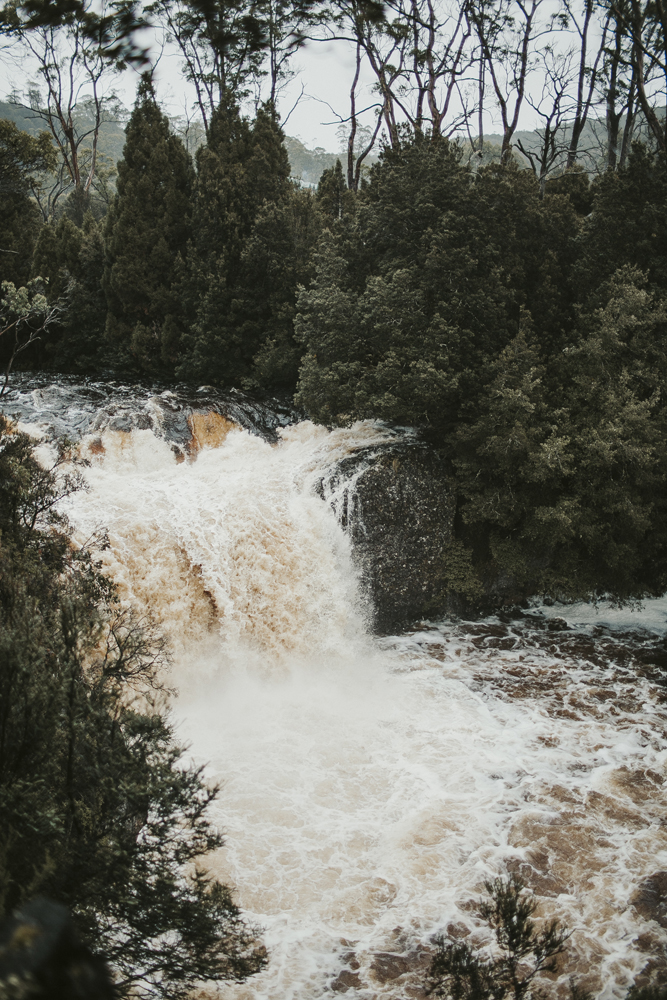
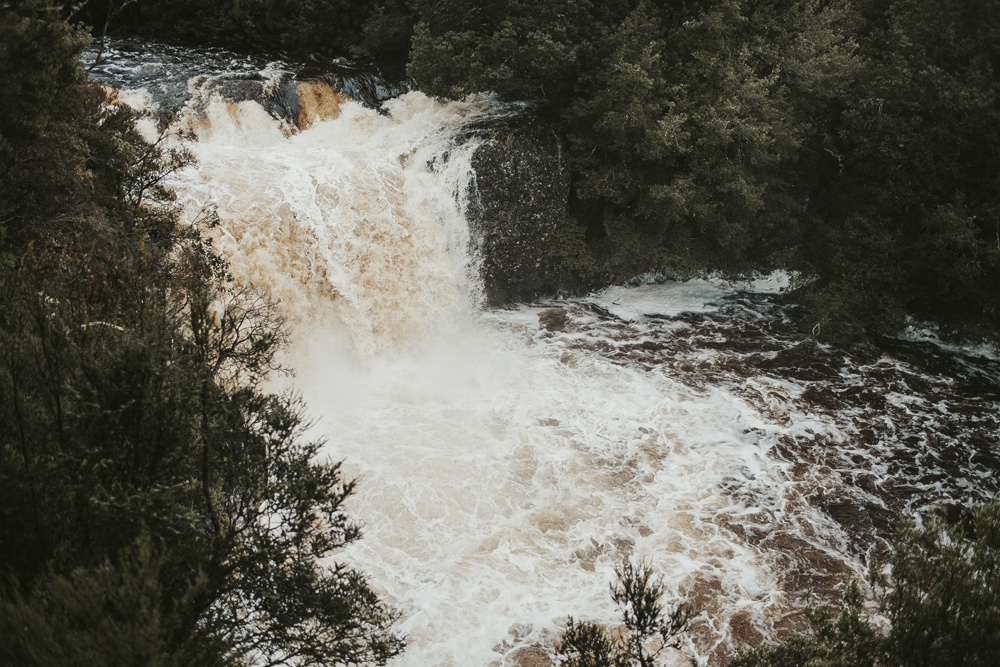
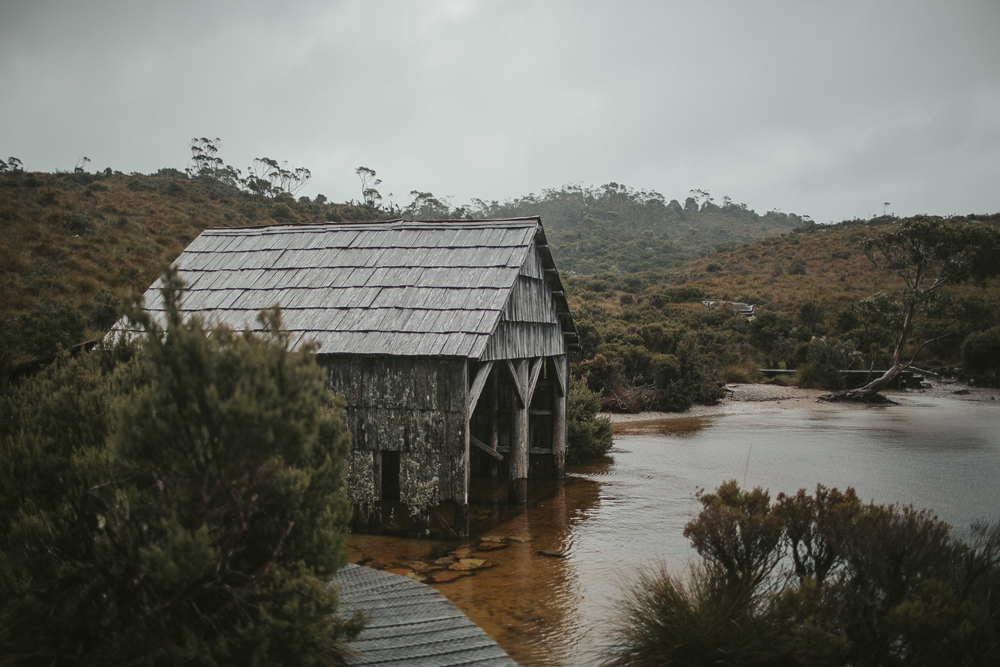
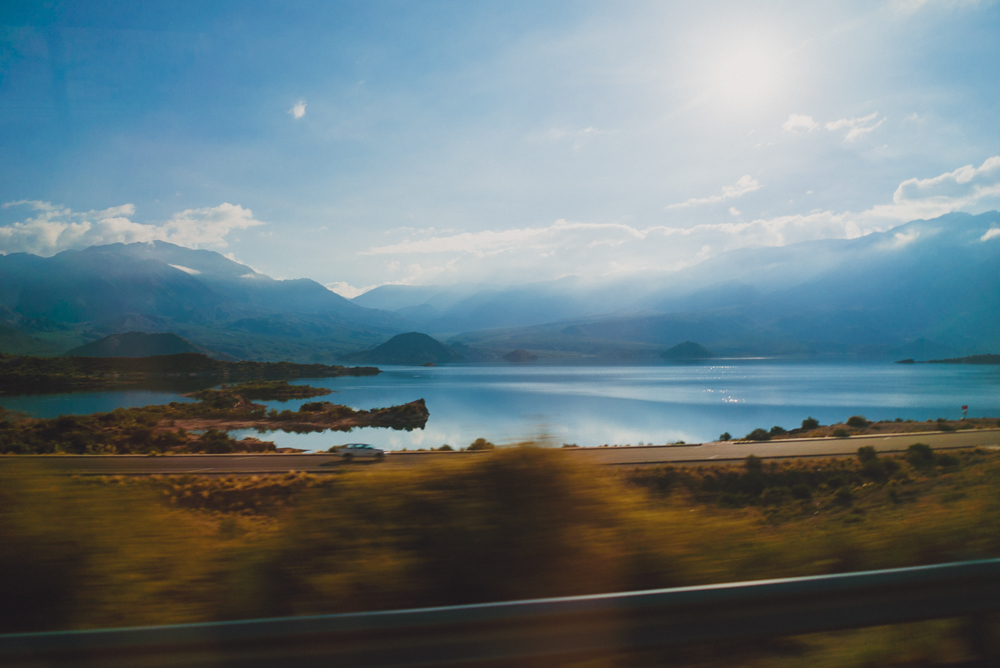
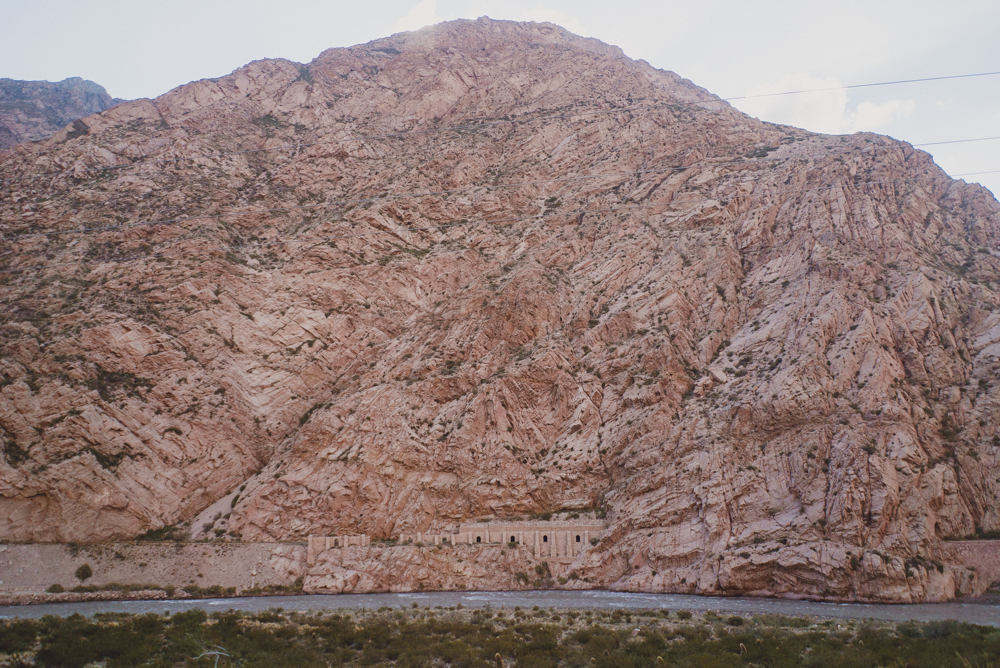
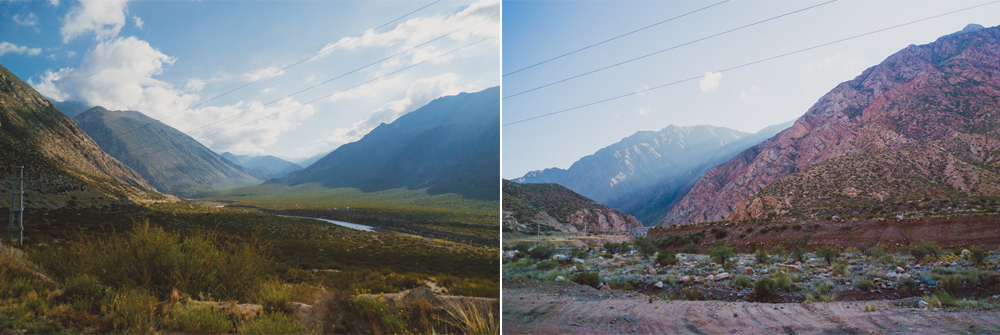
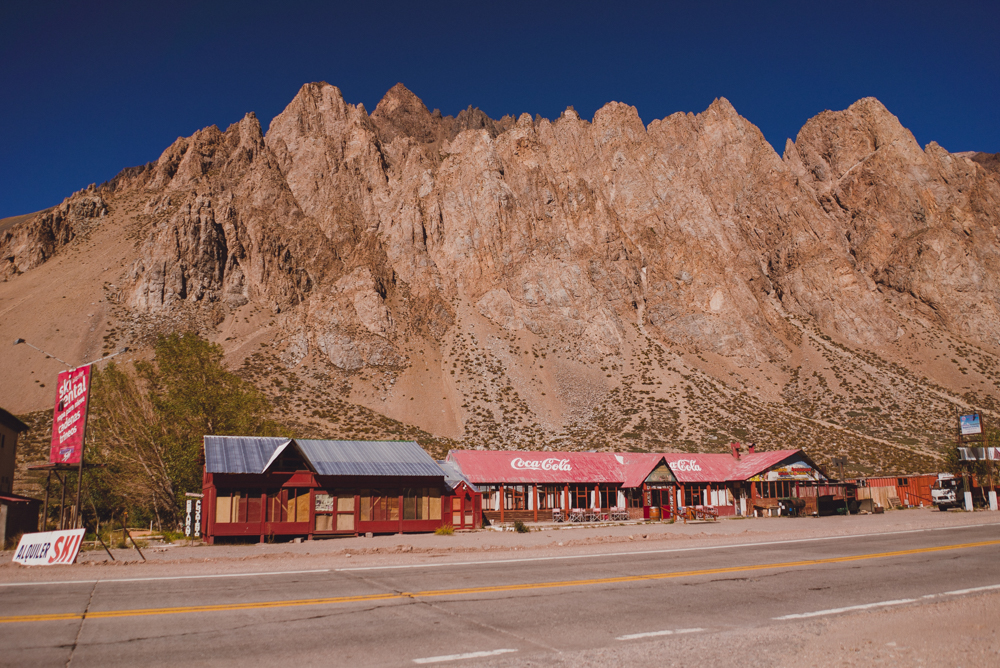
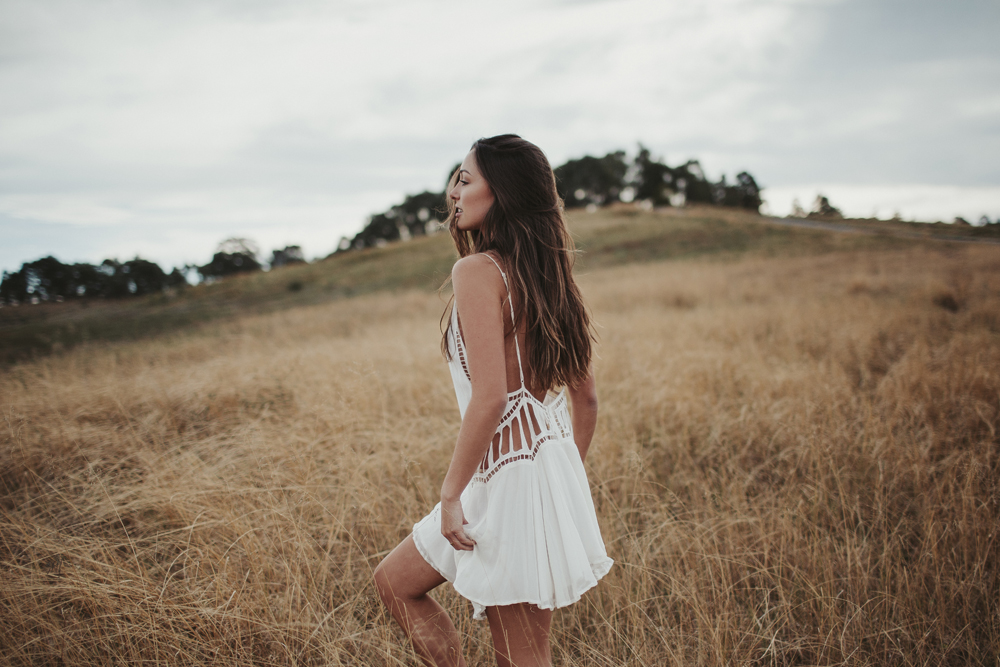
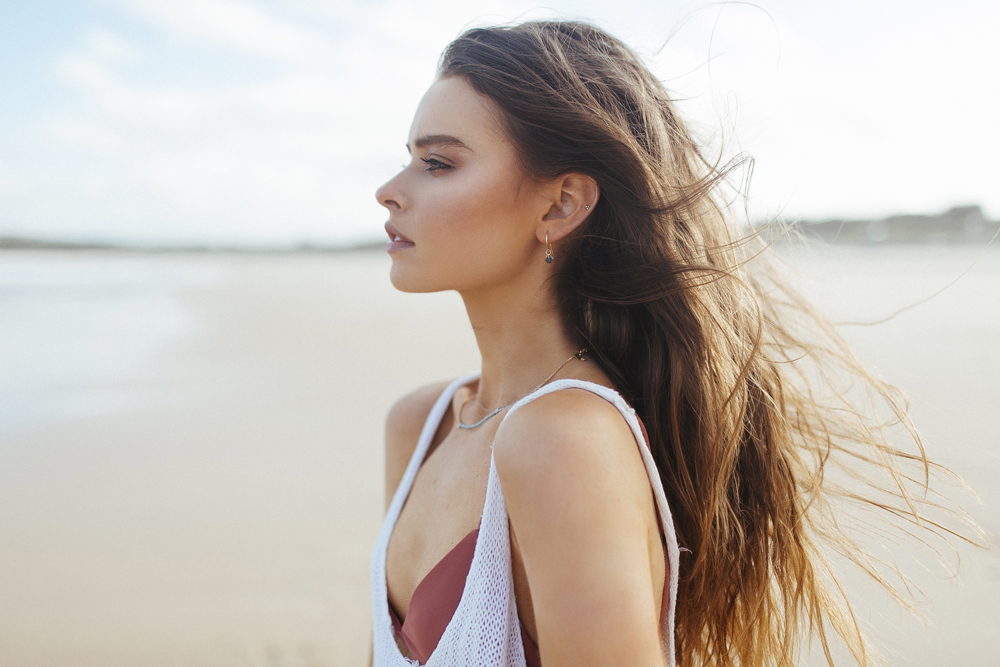
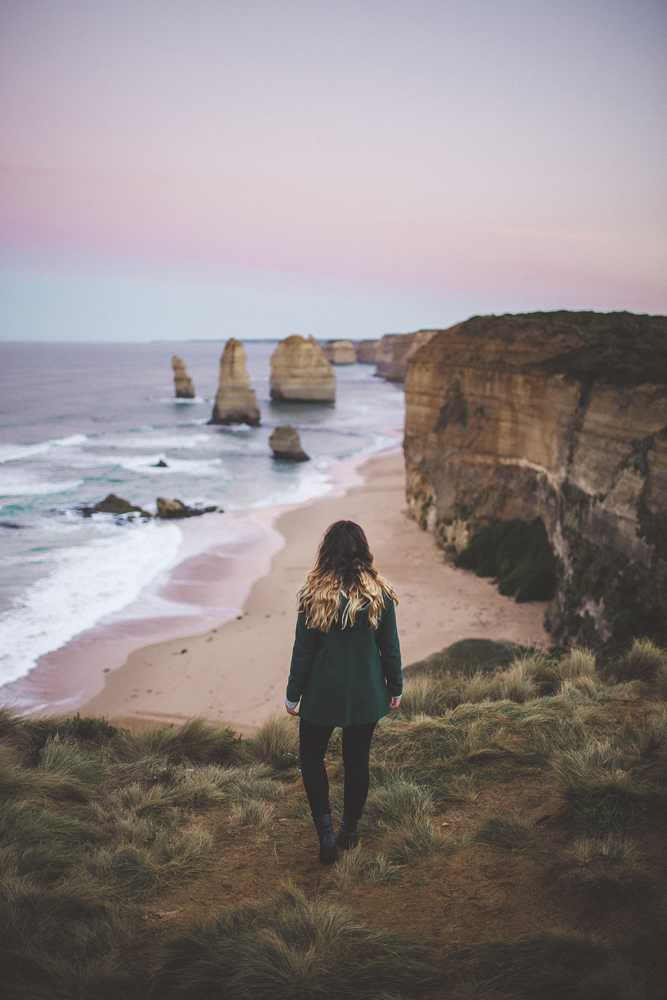
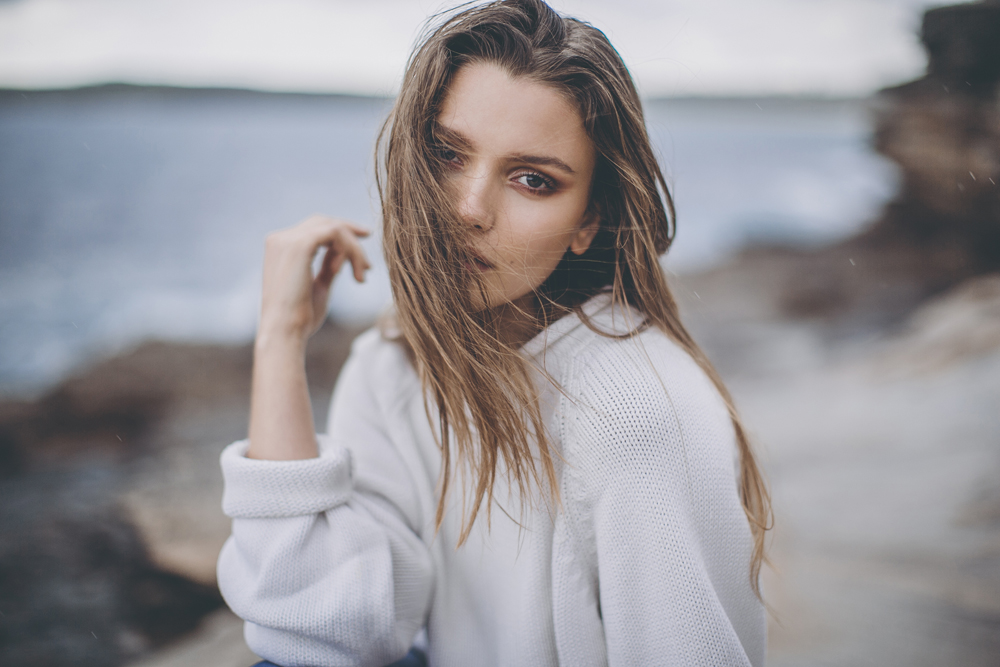
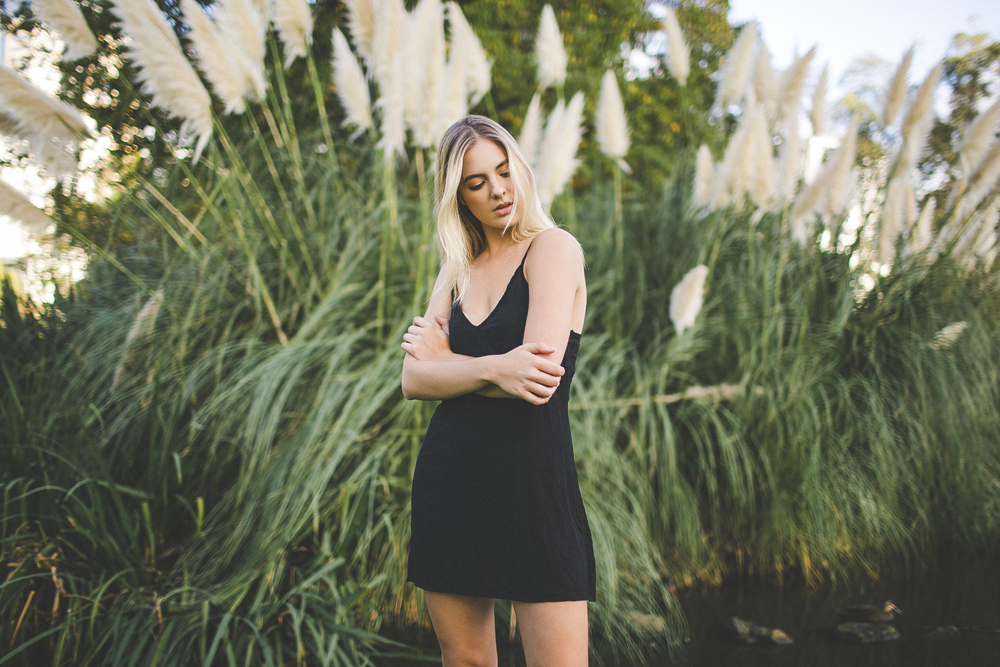
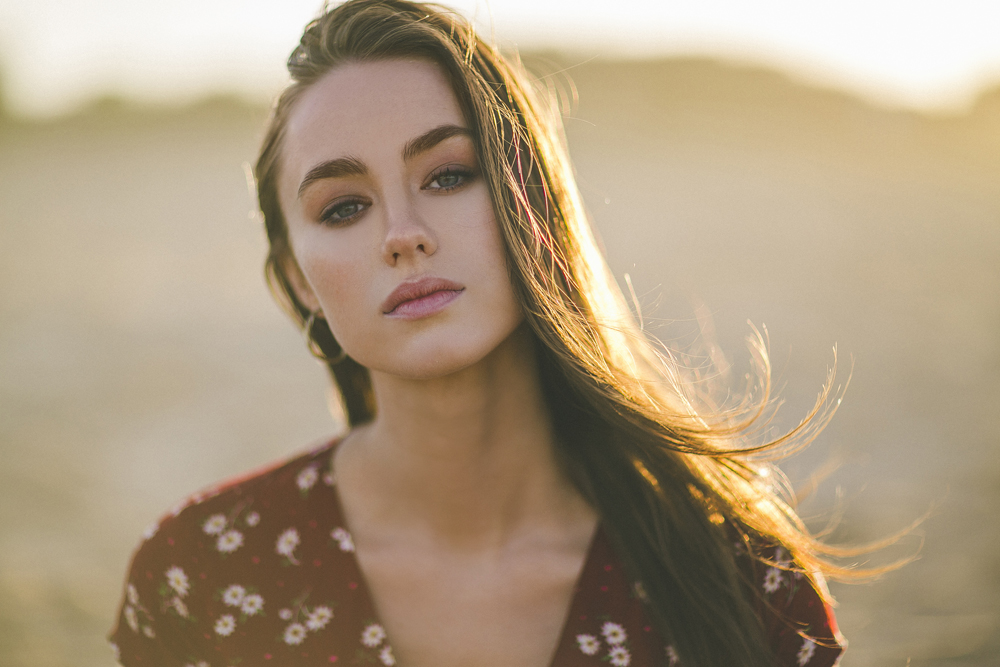
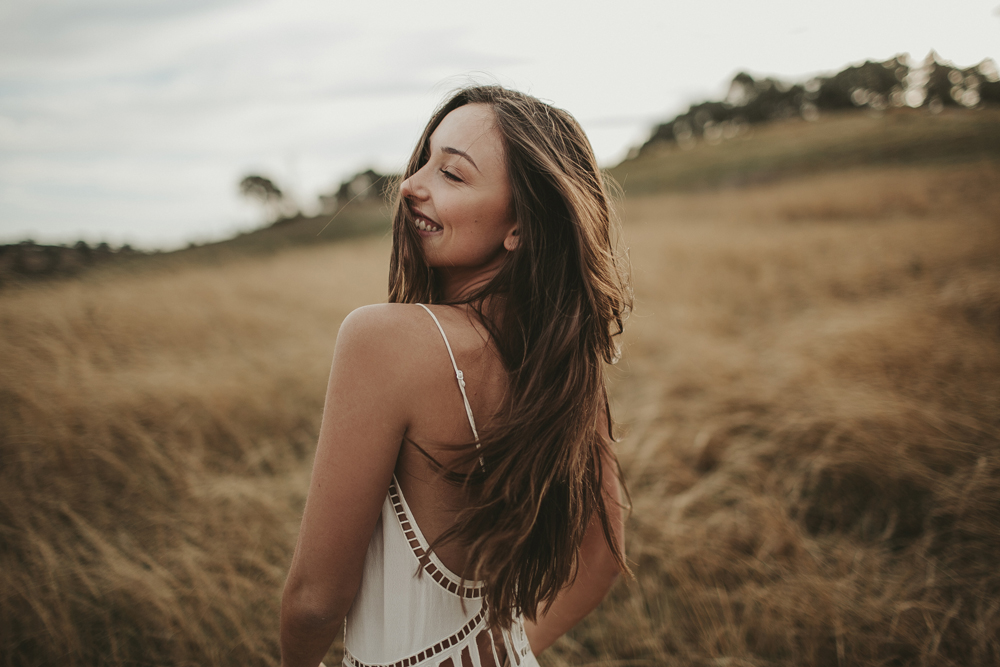
all photos edited with my Disposable Film Lightroom Preset!
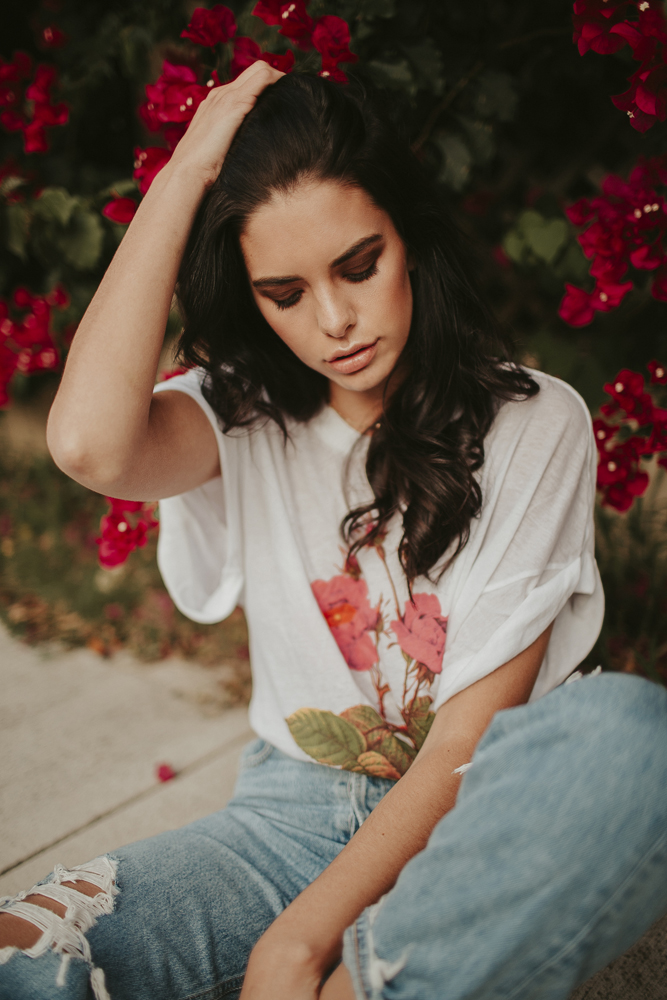
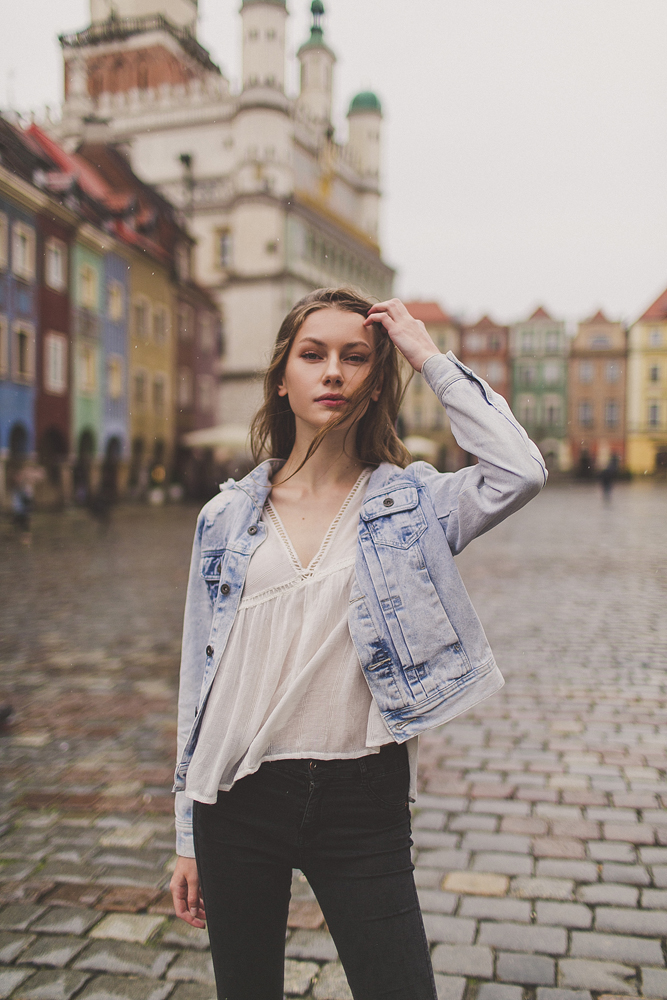
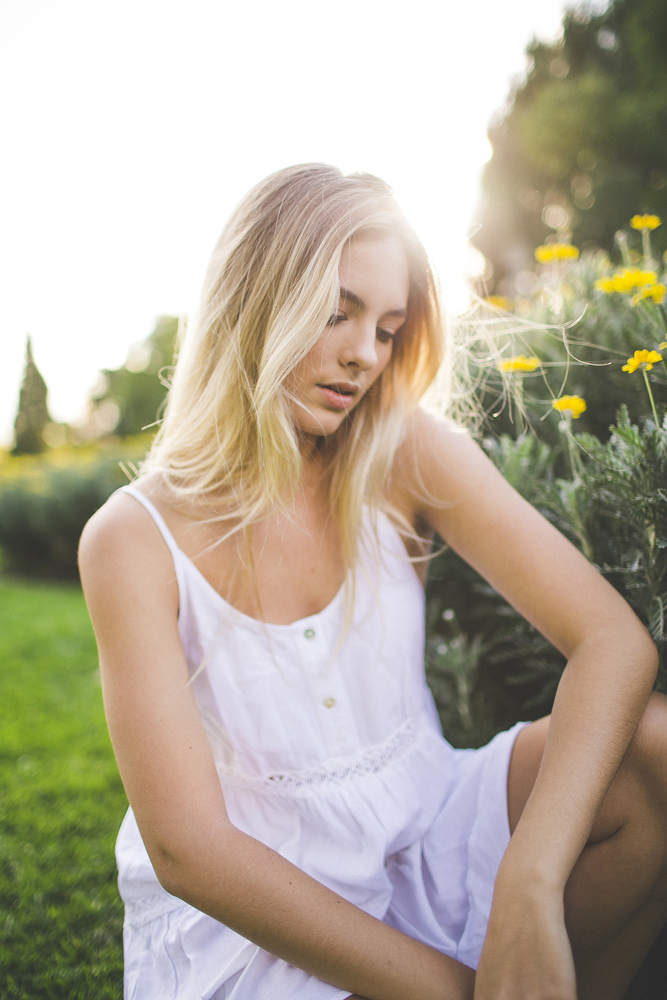
all photos edited with my Disposable Film Lightroom Preset!
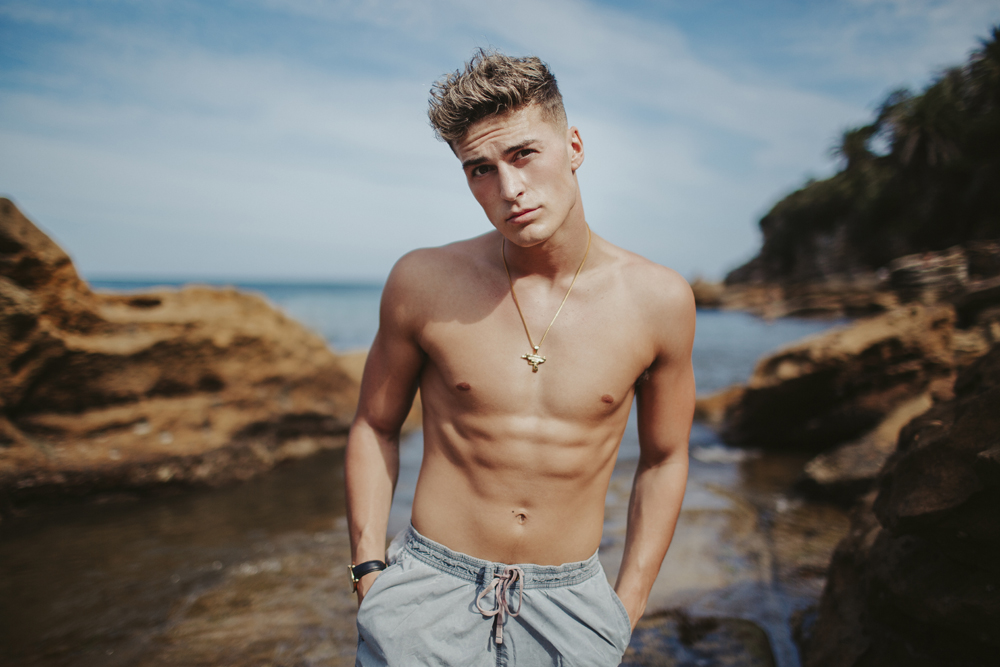
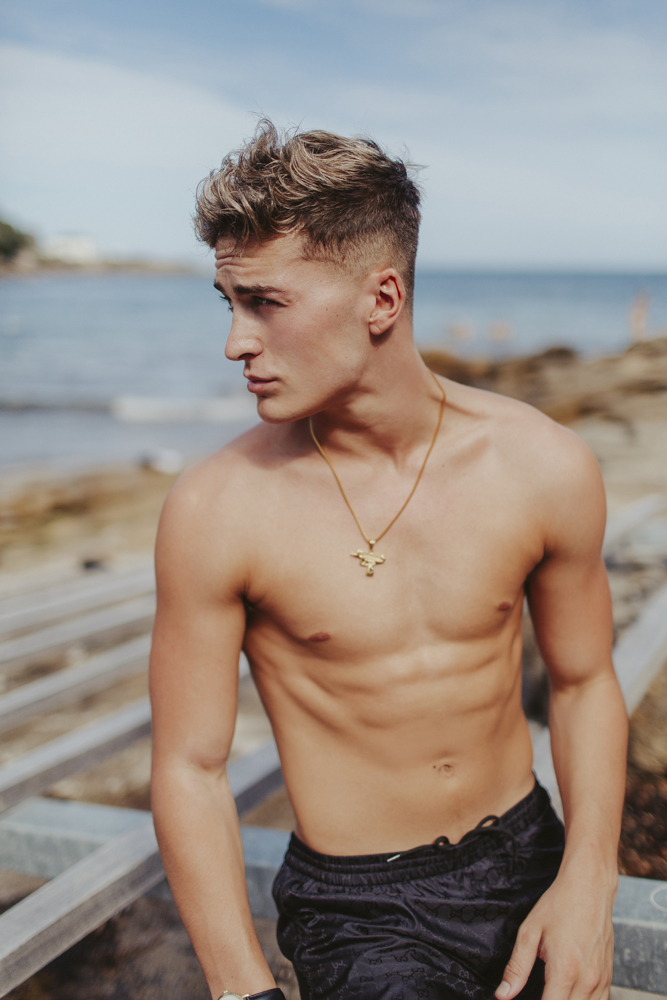
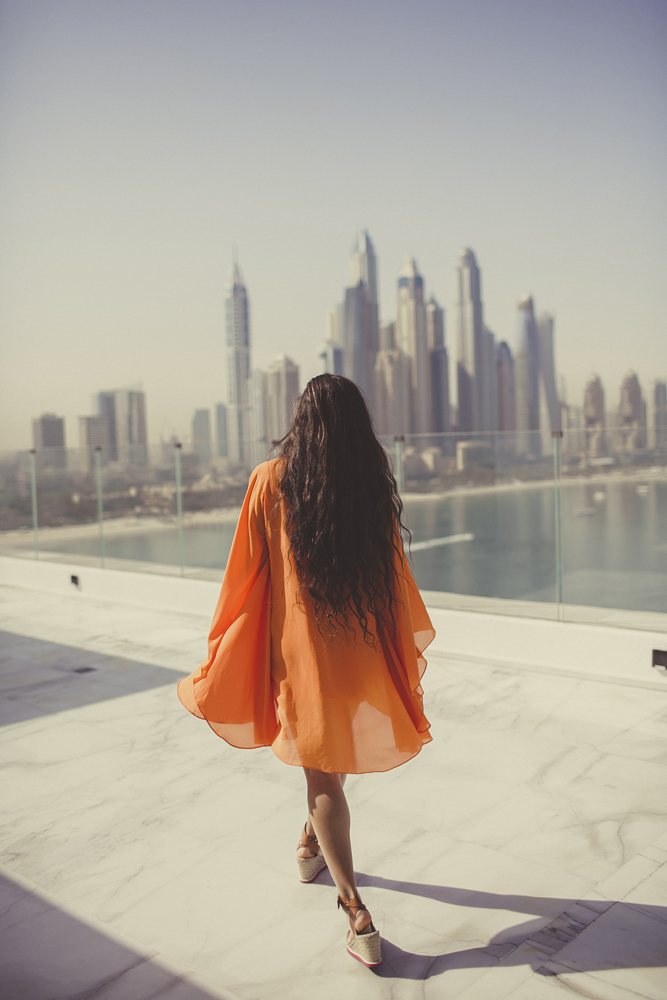
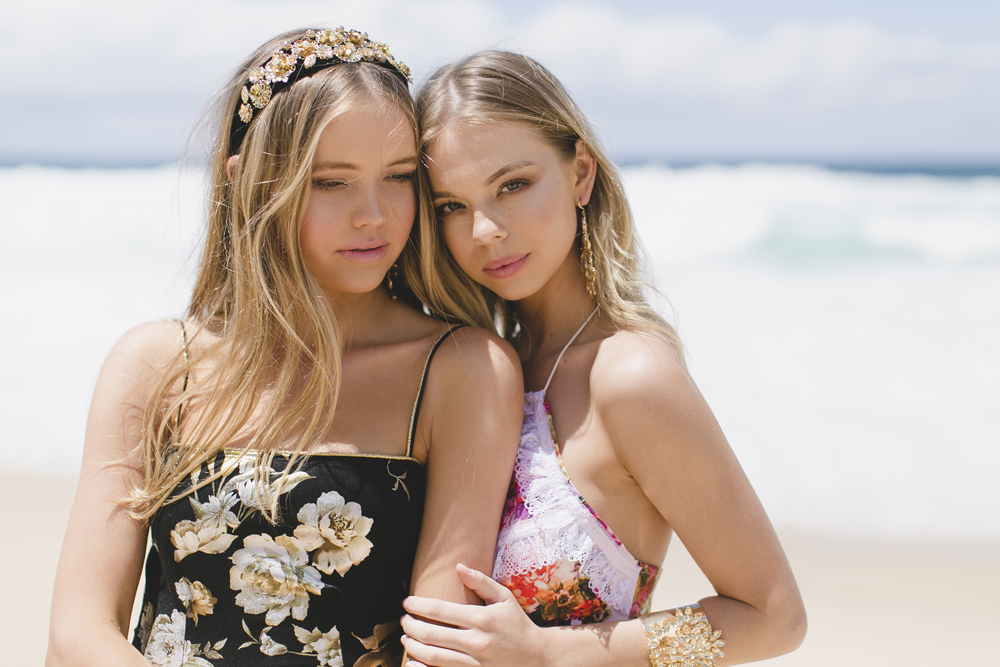
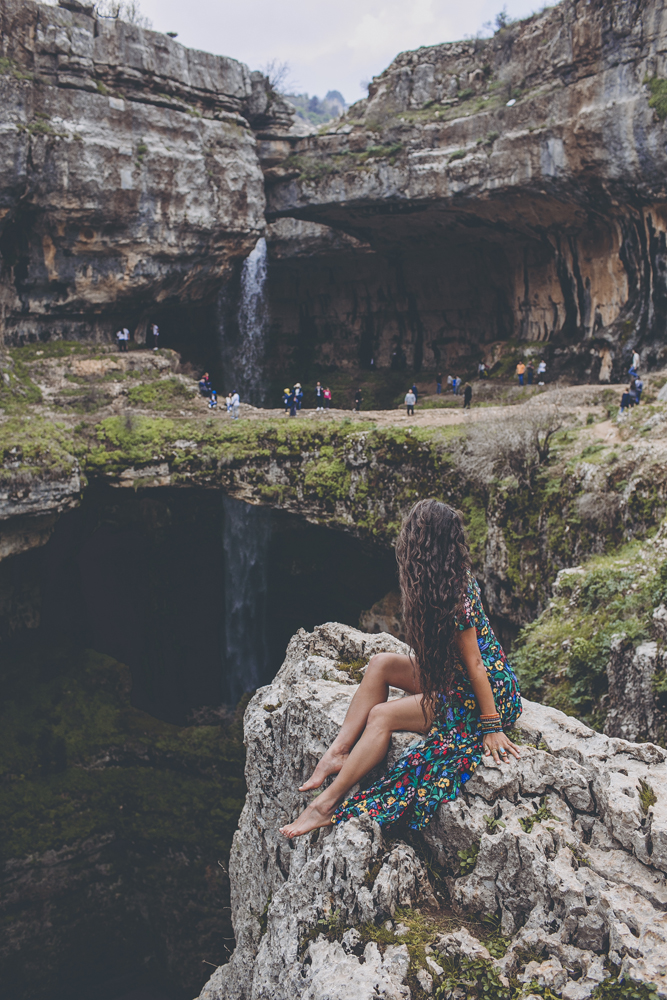
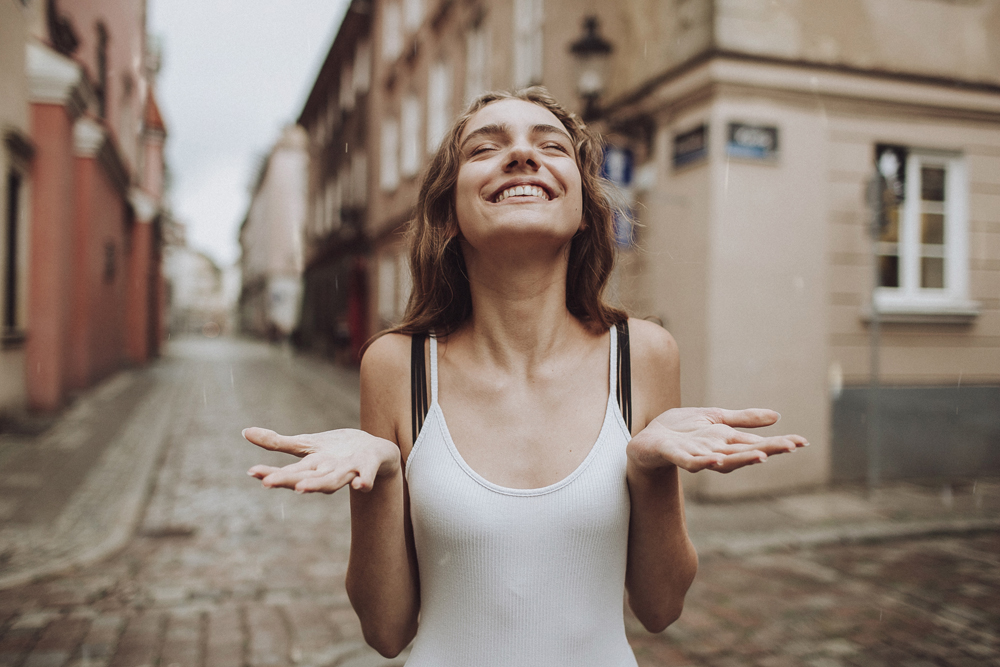
If you enjoyed these photos and videos, you might like to see one of my newest photoshoots on the Sony A7III with the GM 35mm f1.4.