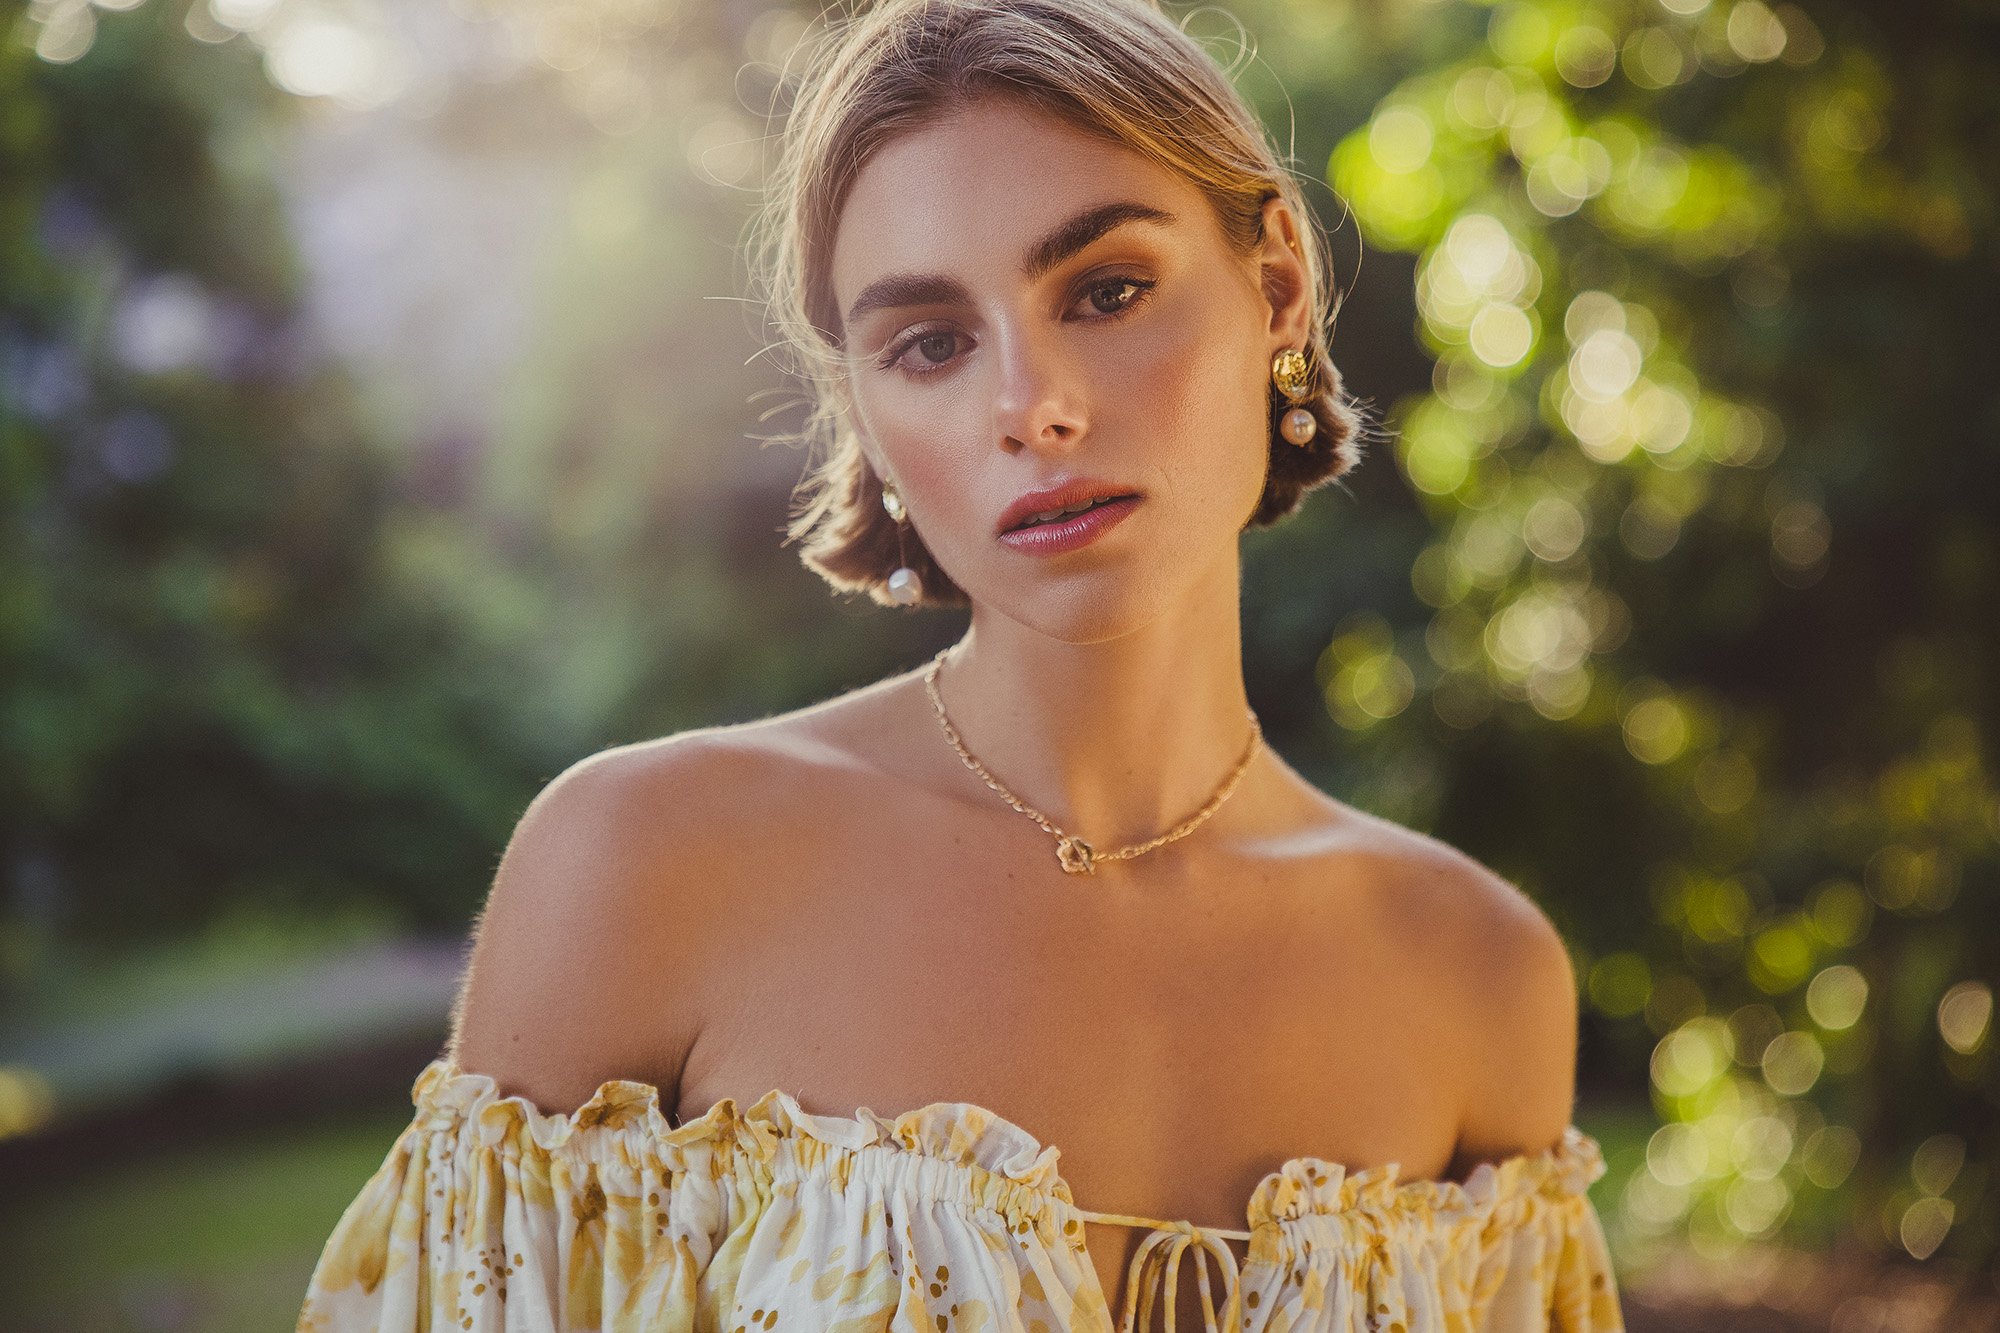
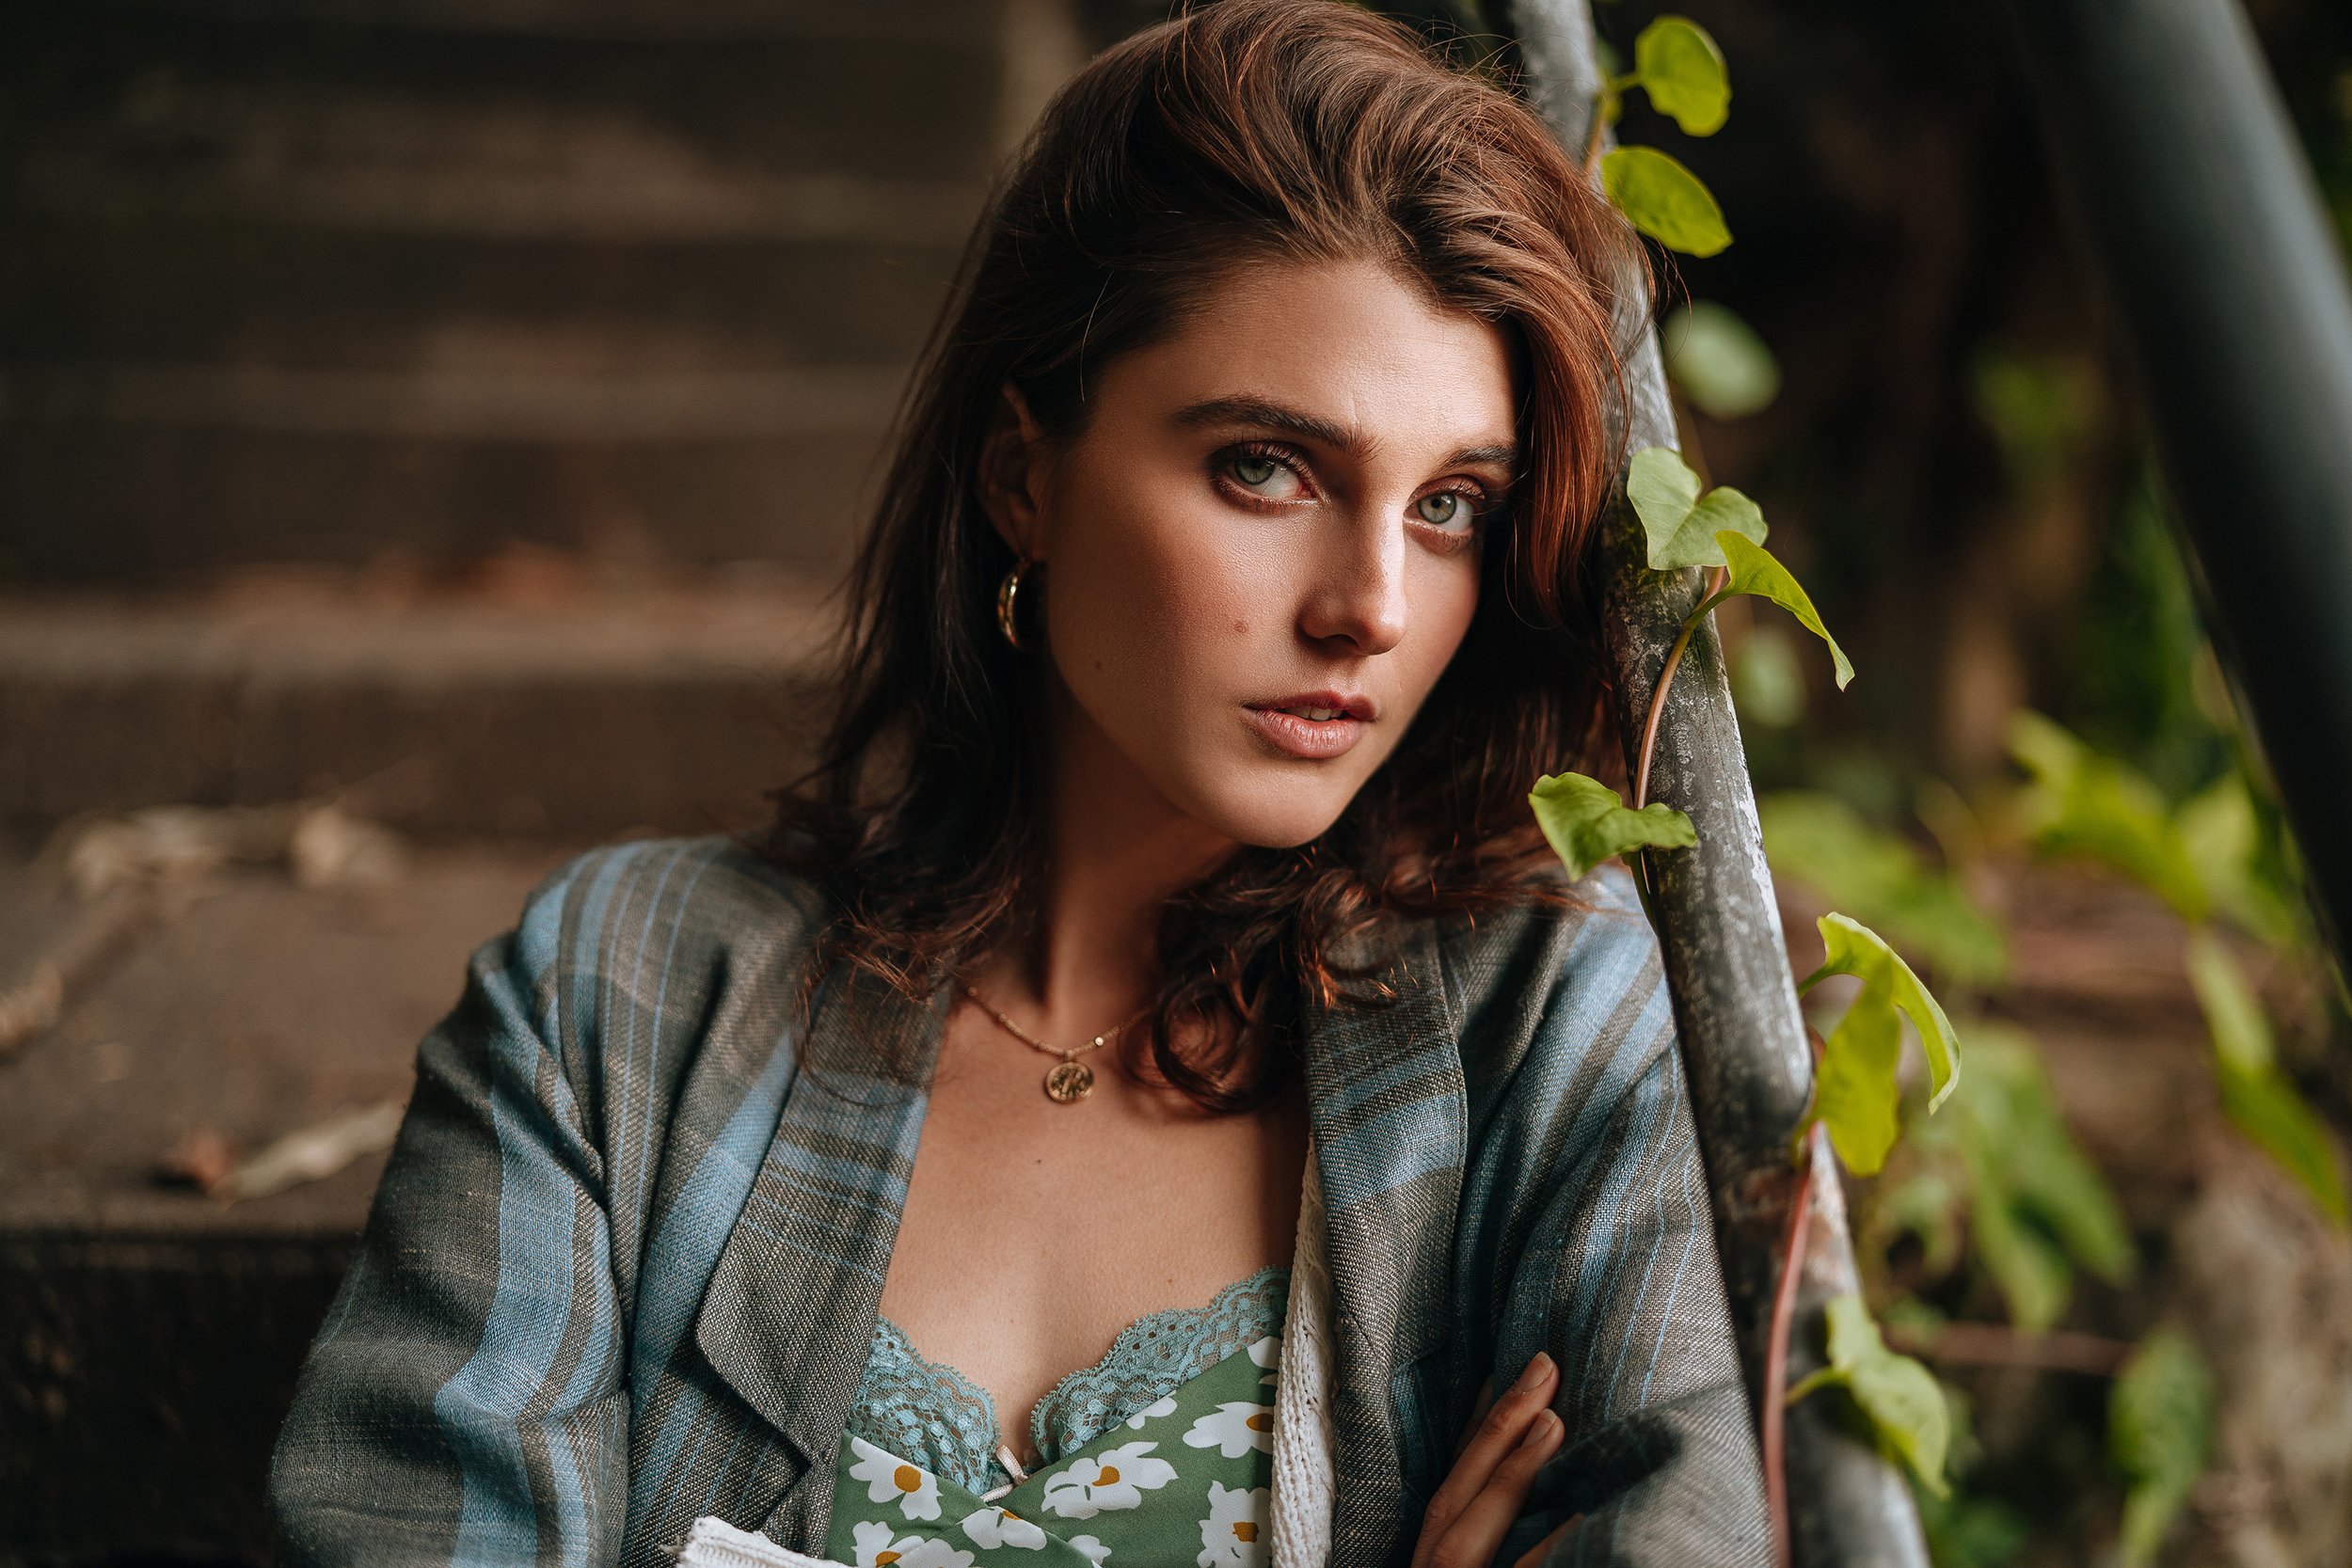
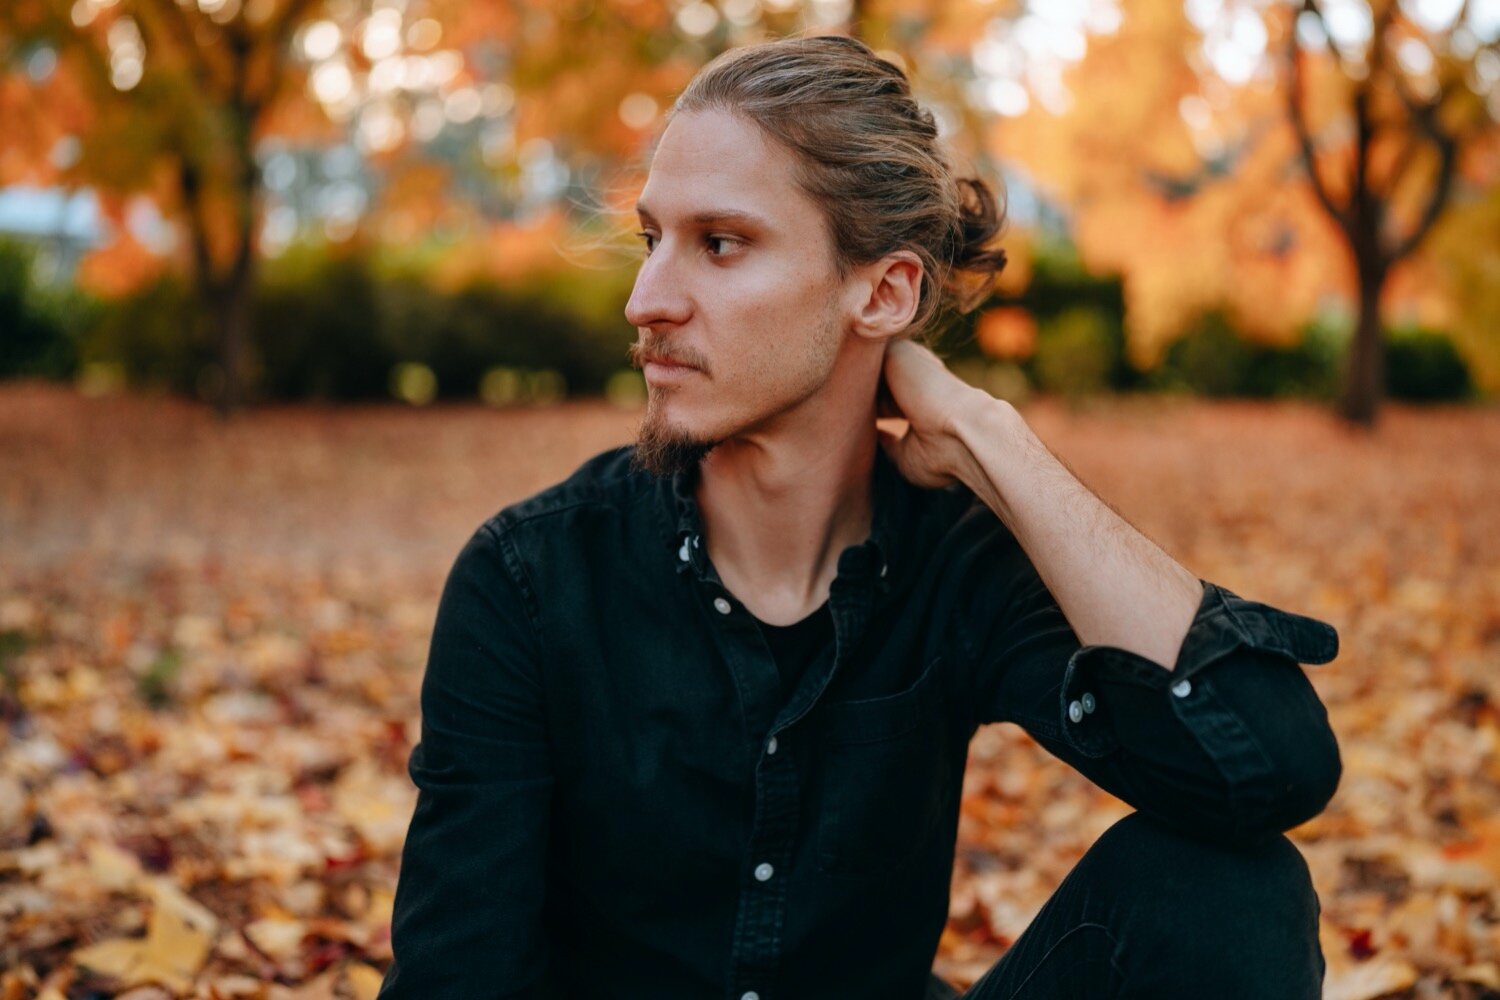
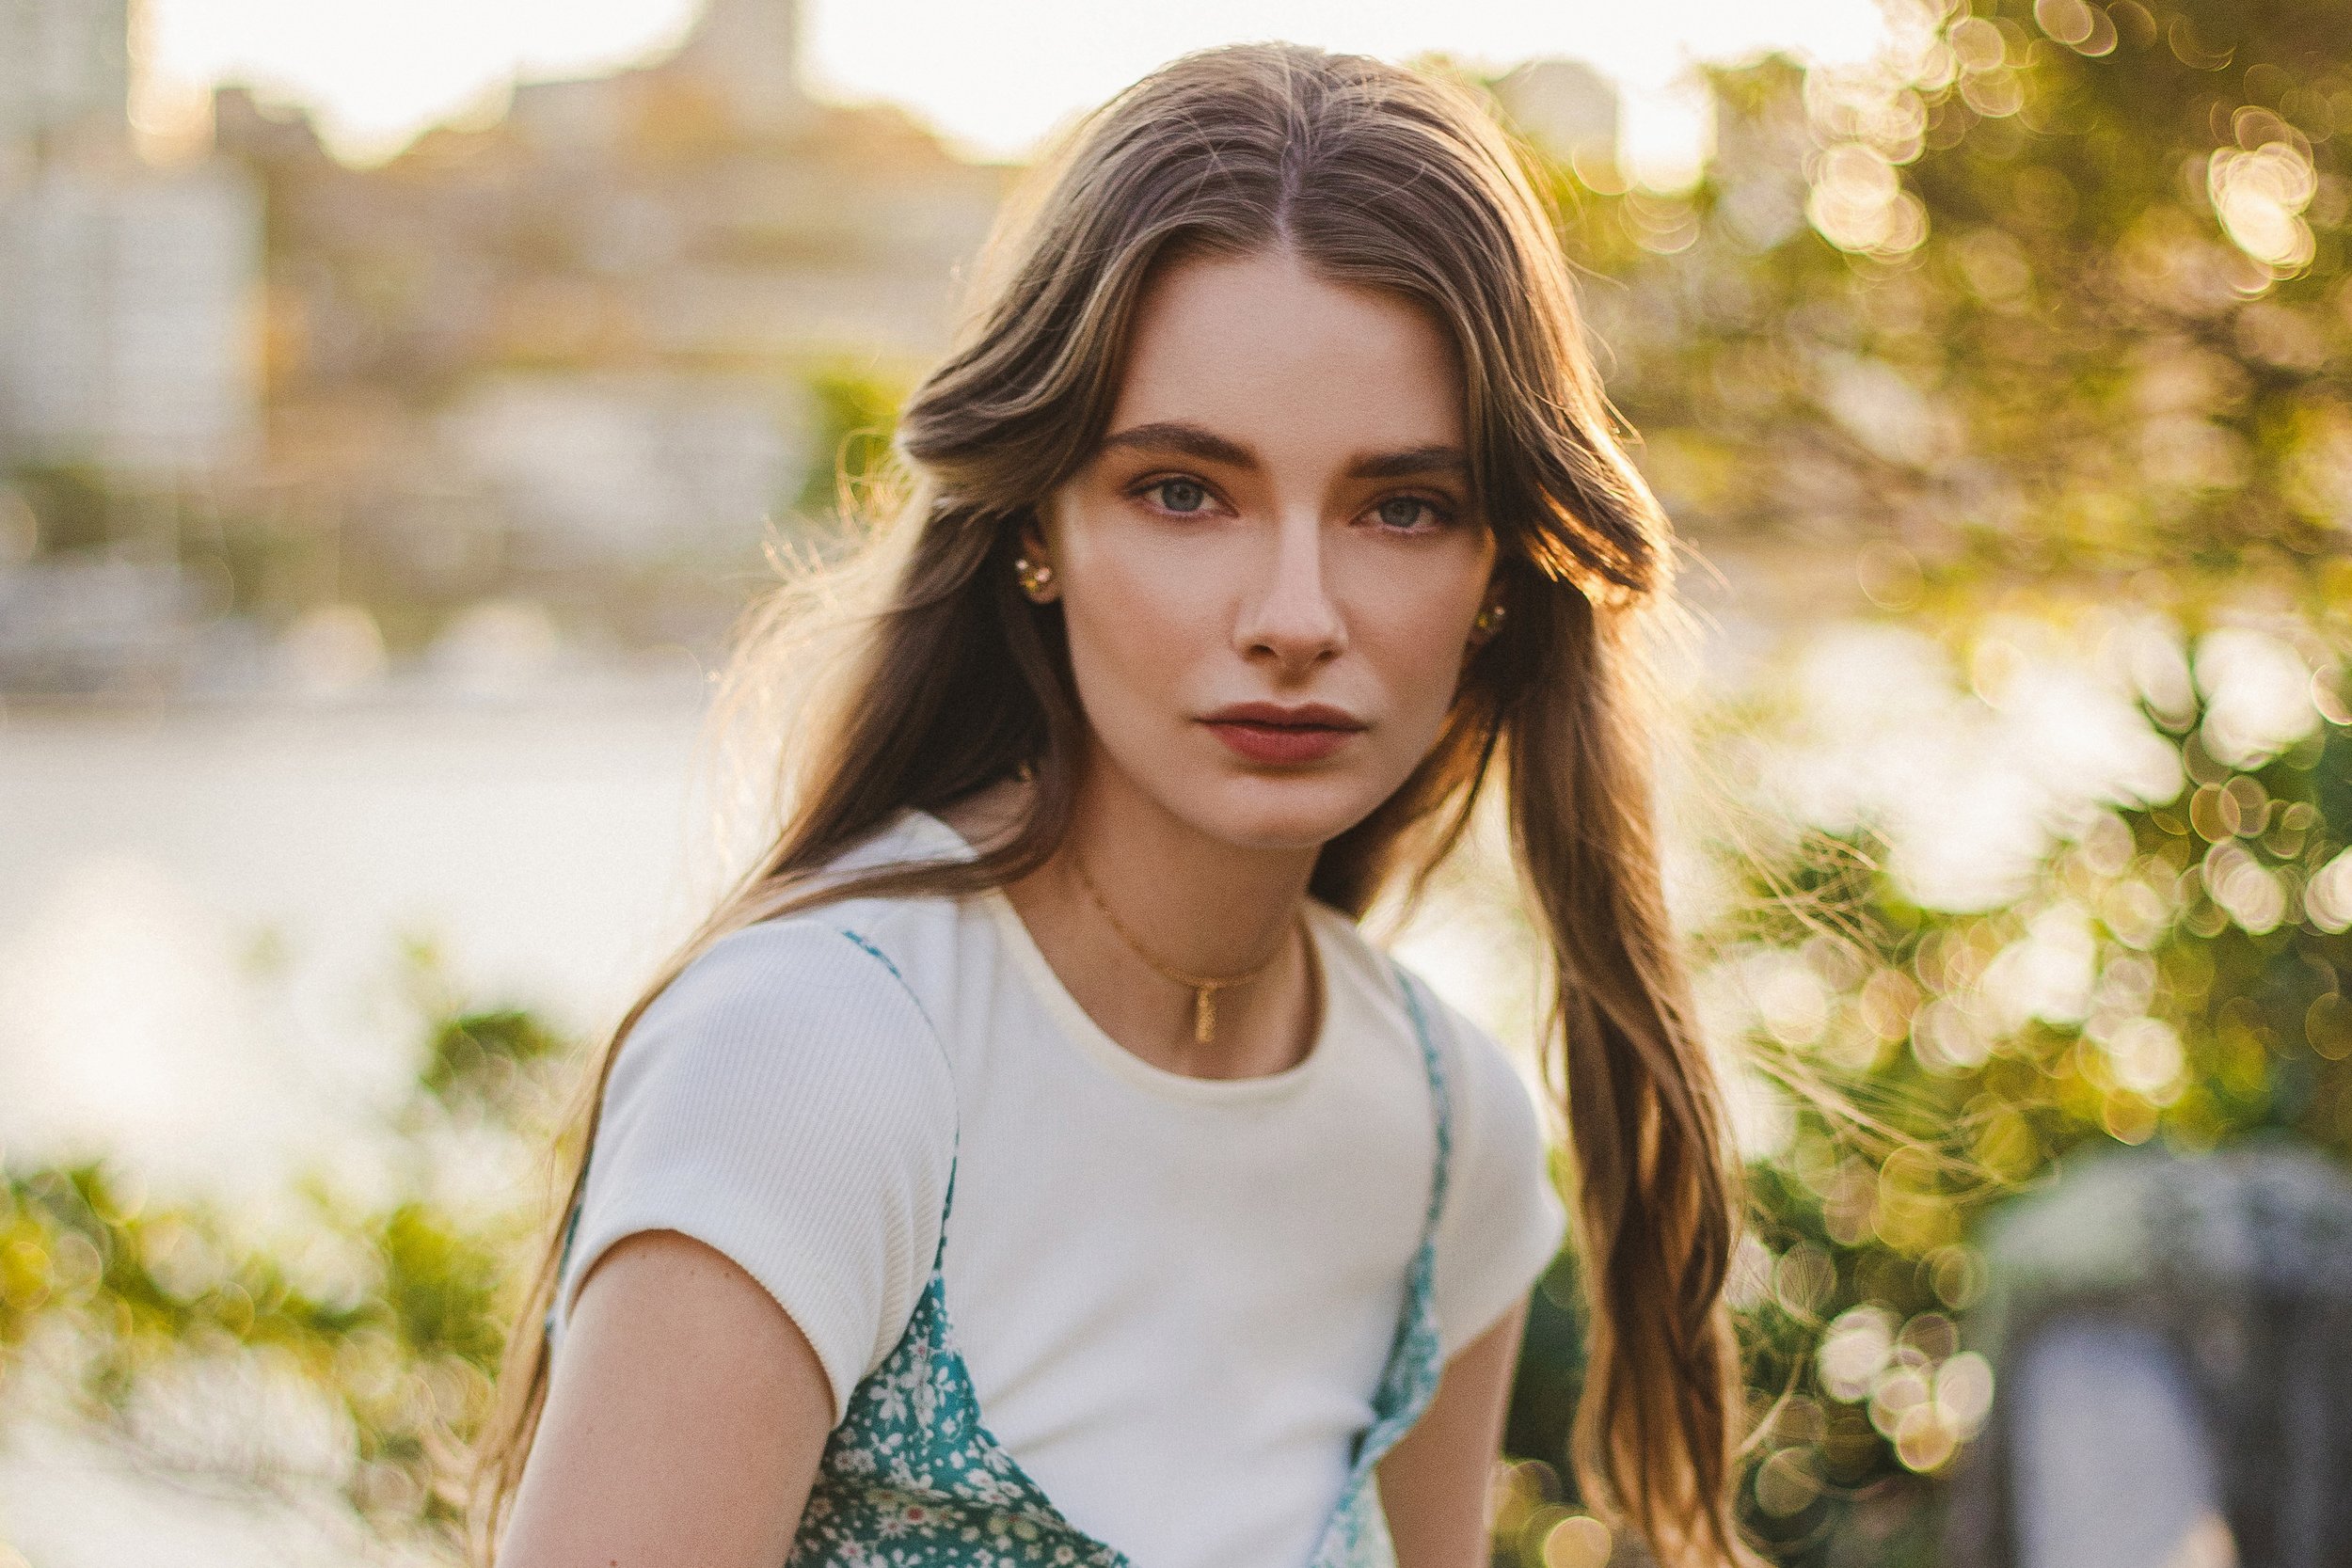
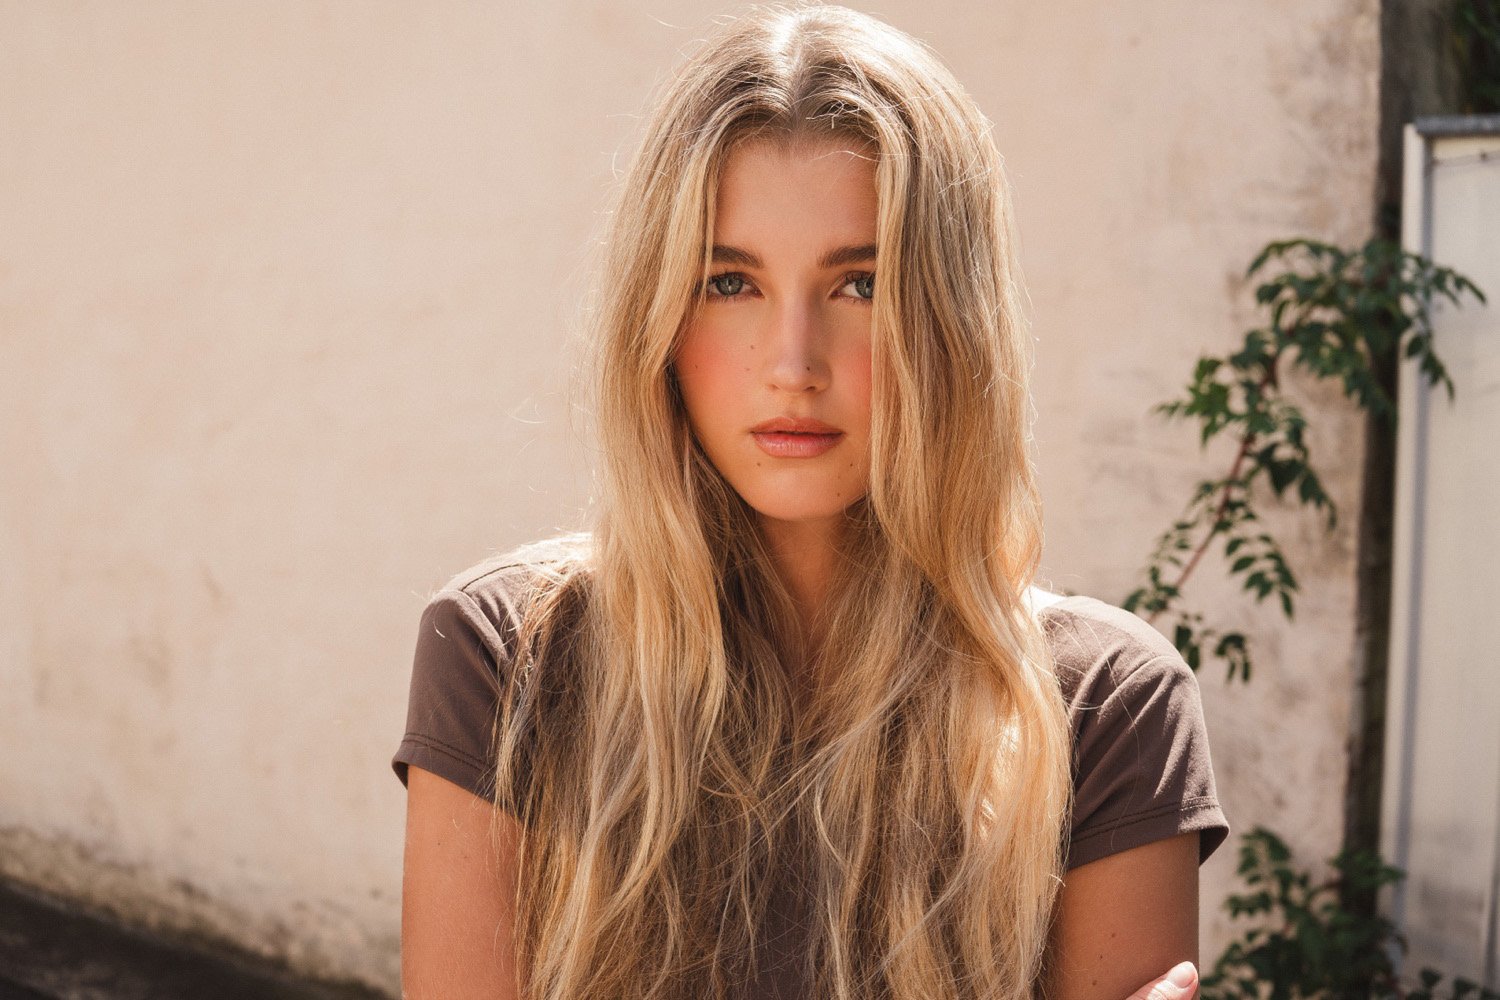
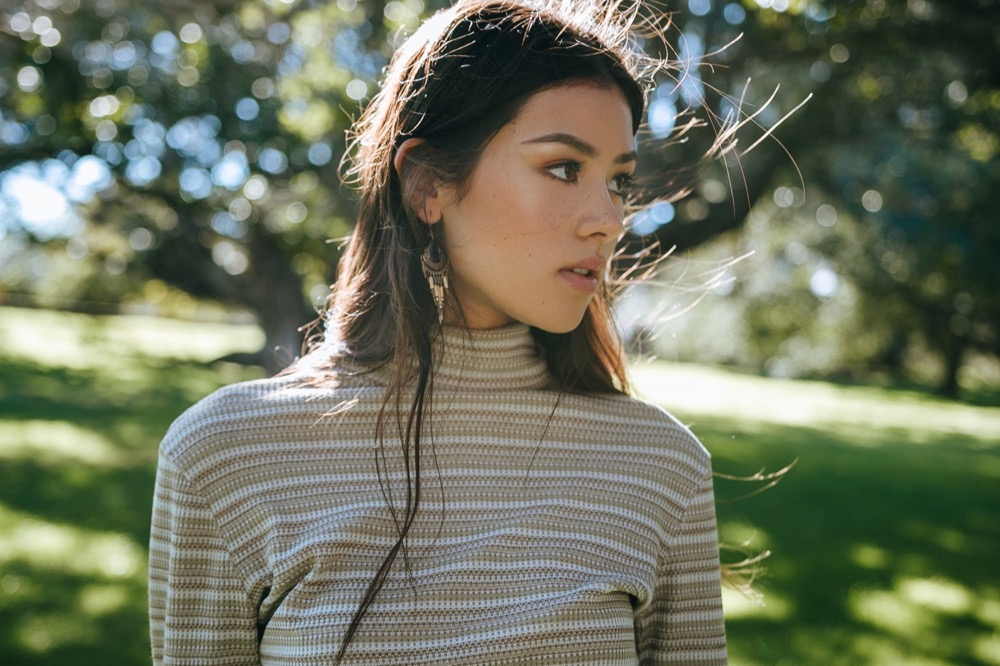
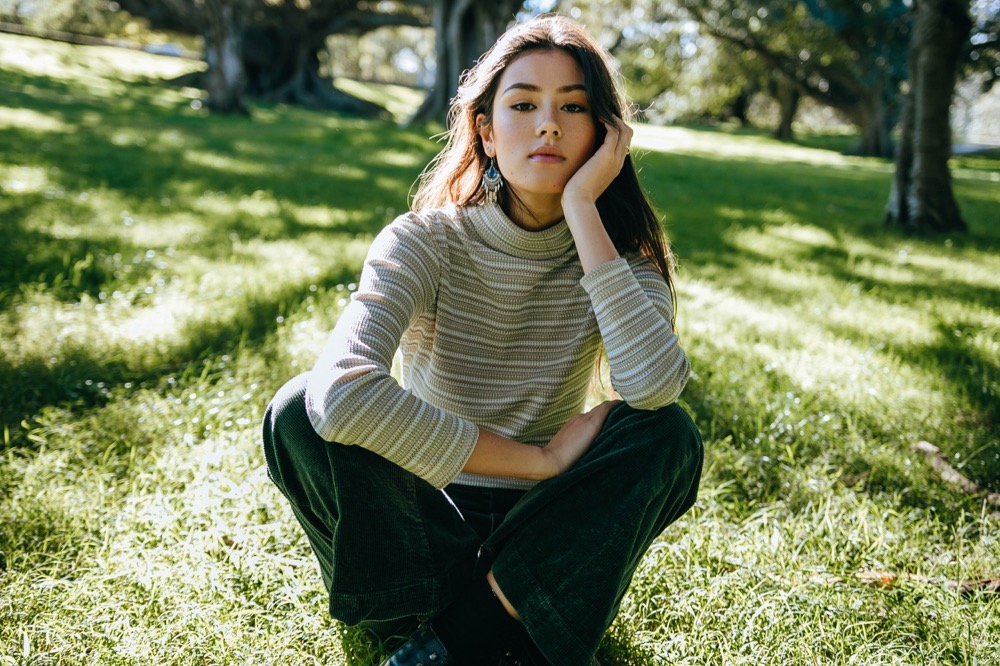
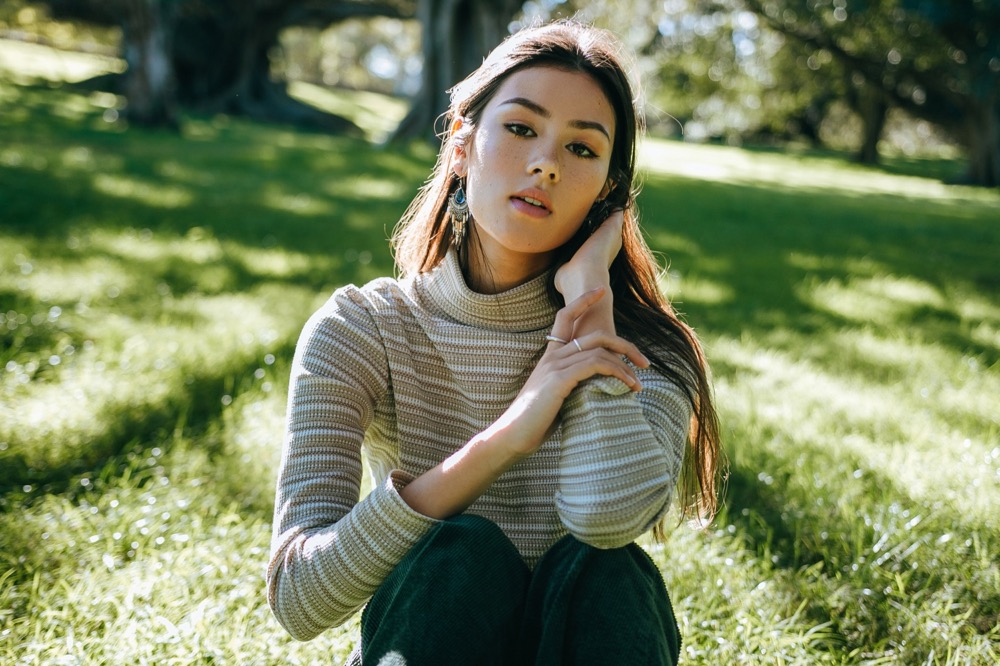
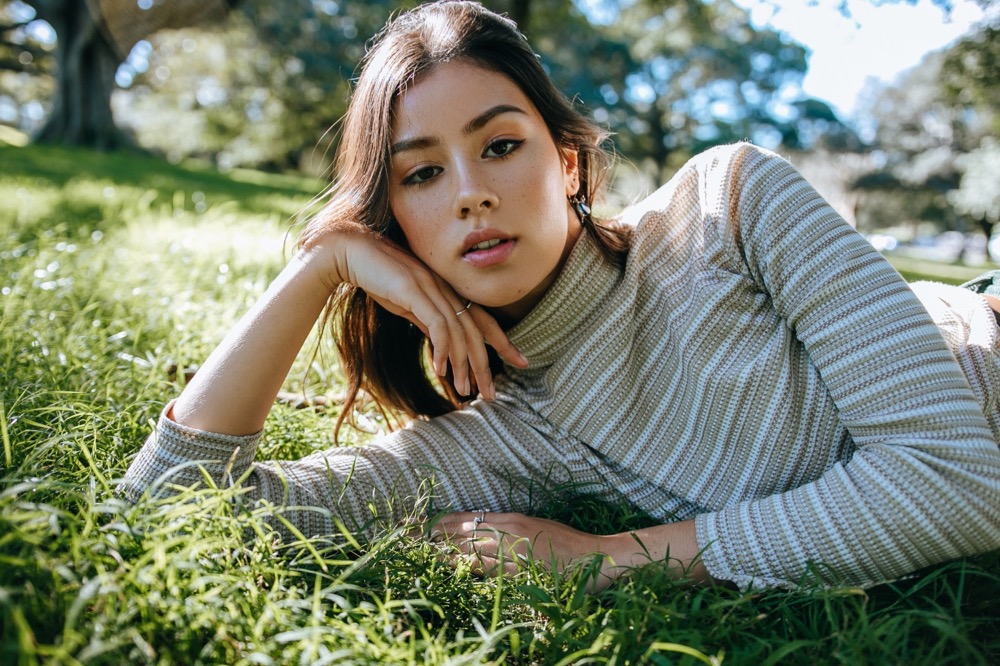
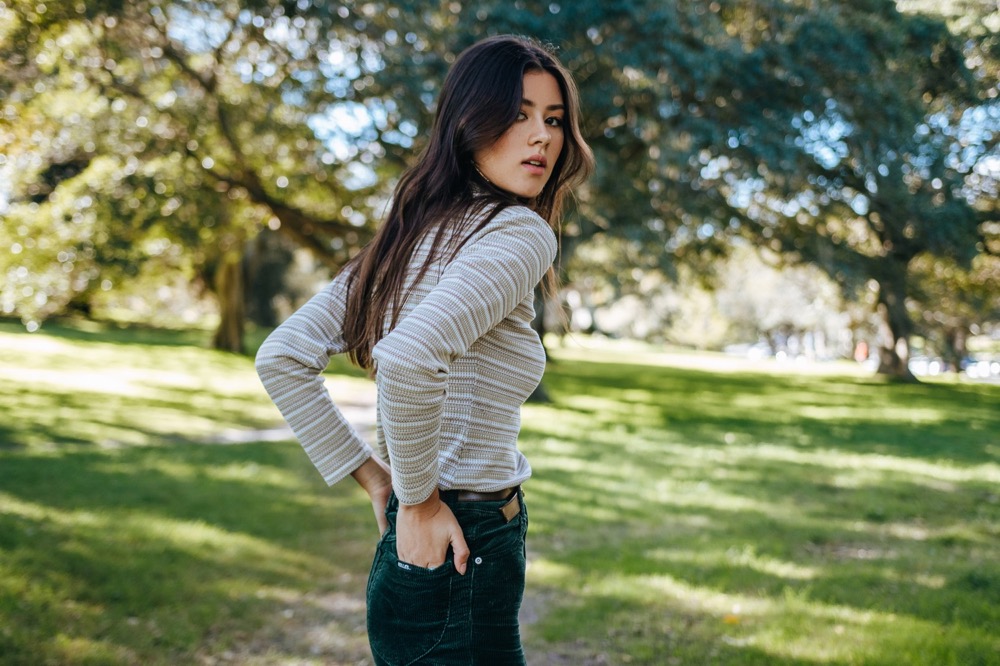
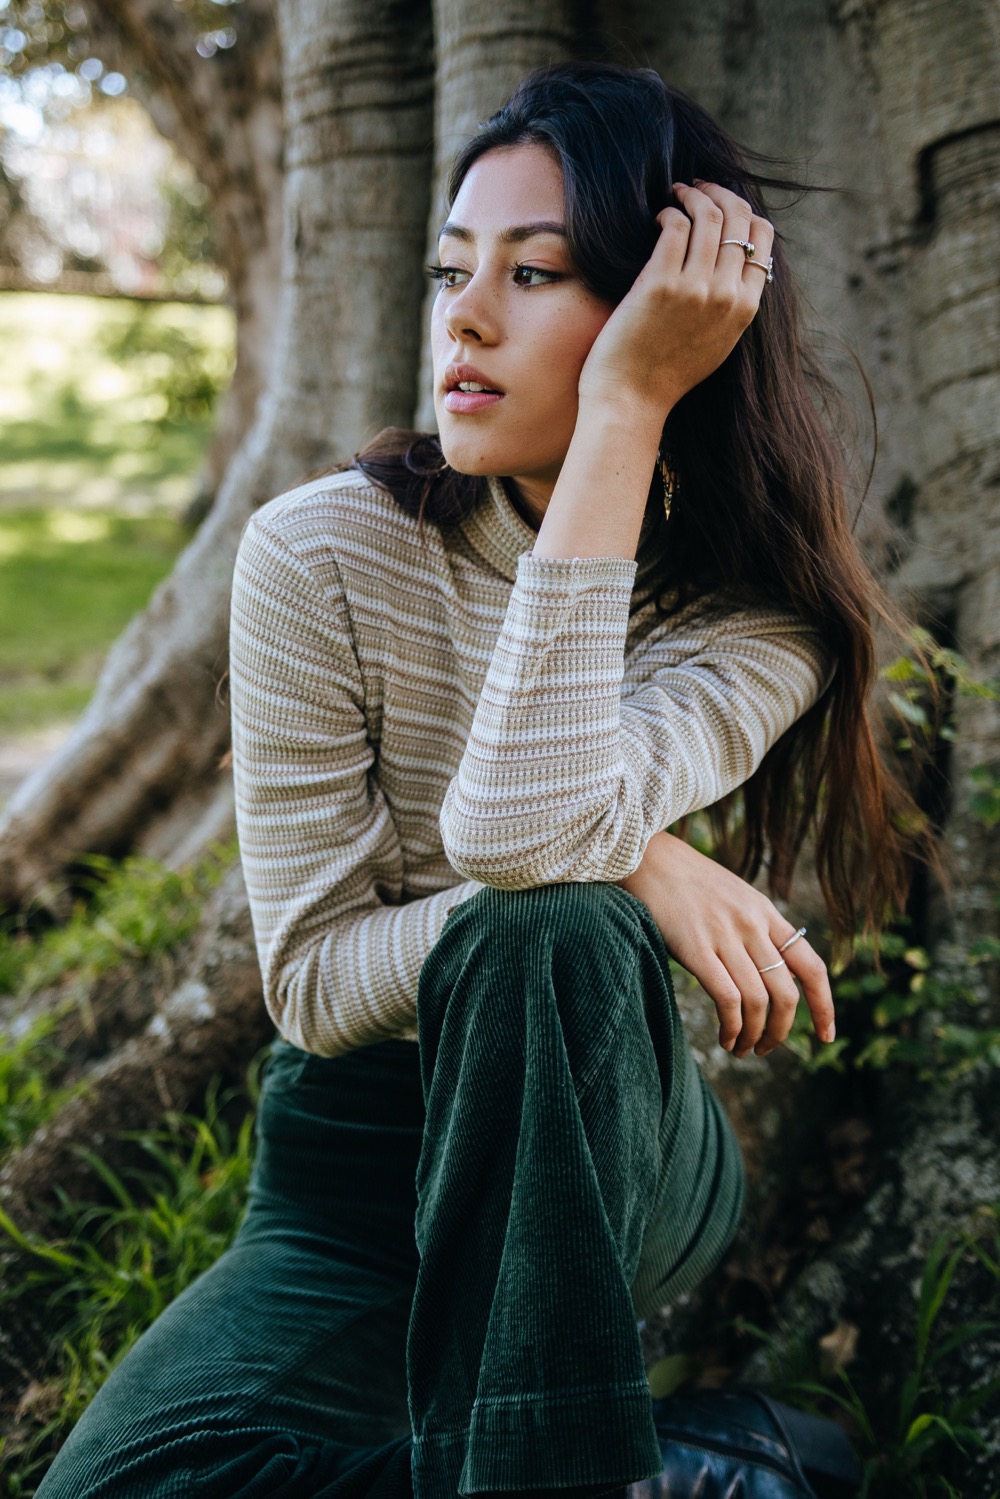
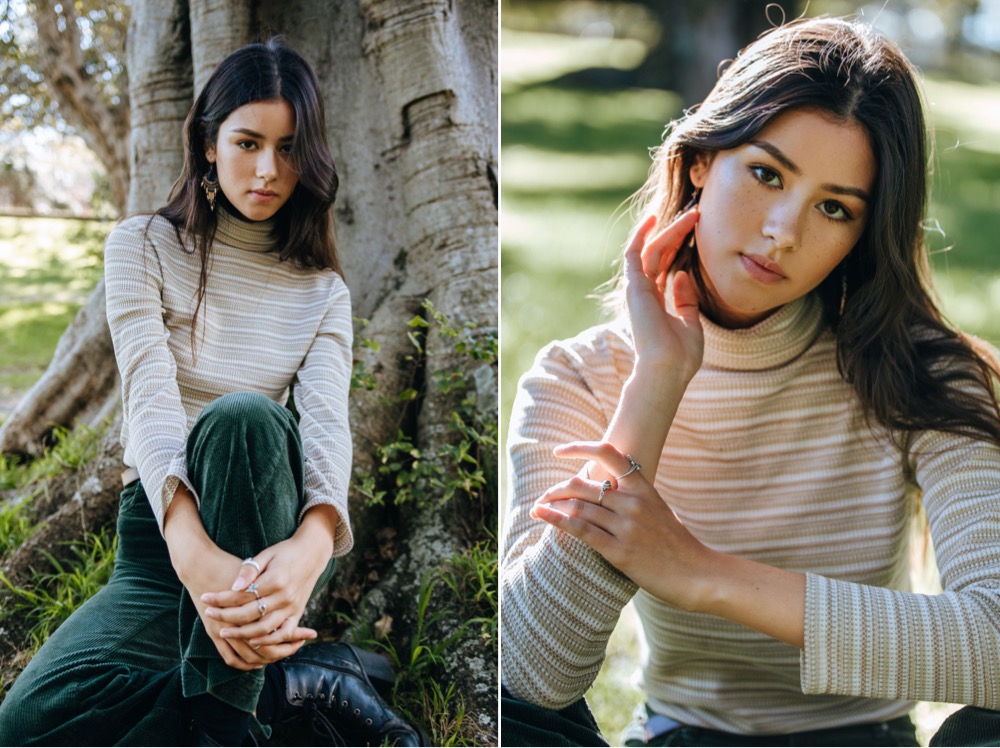
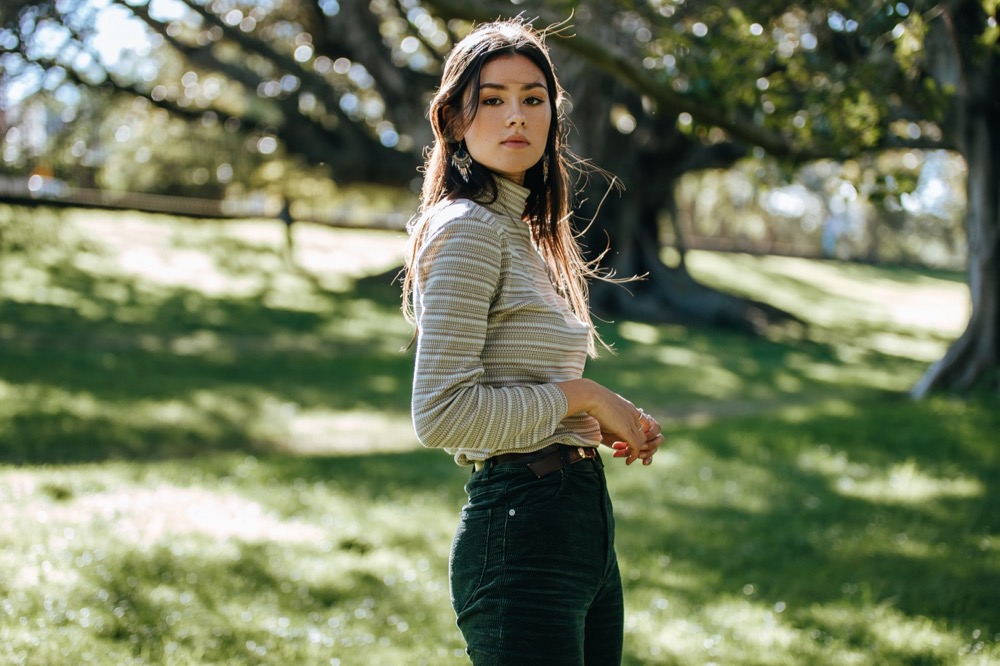
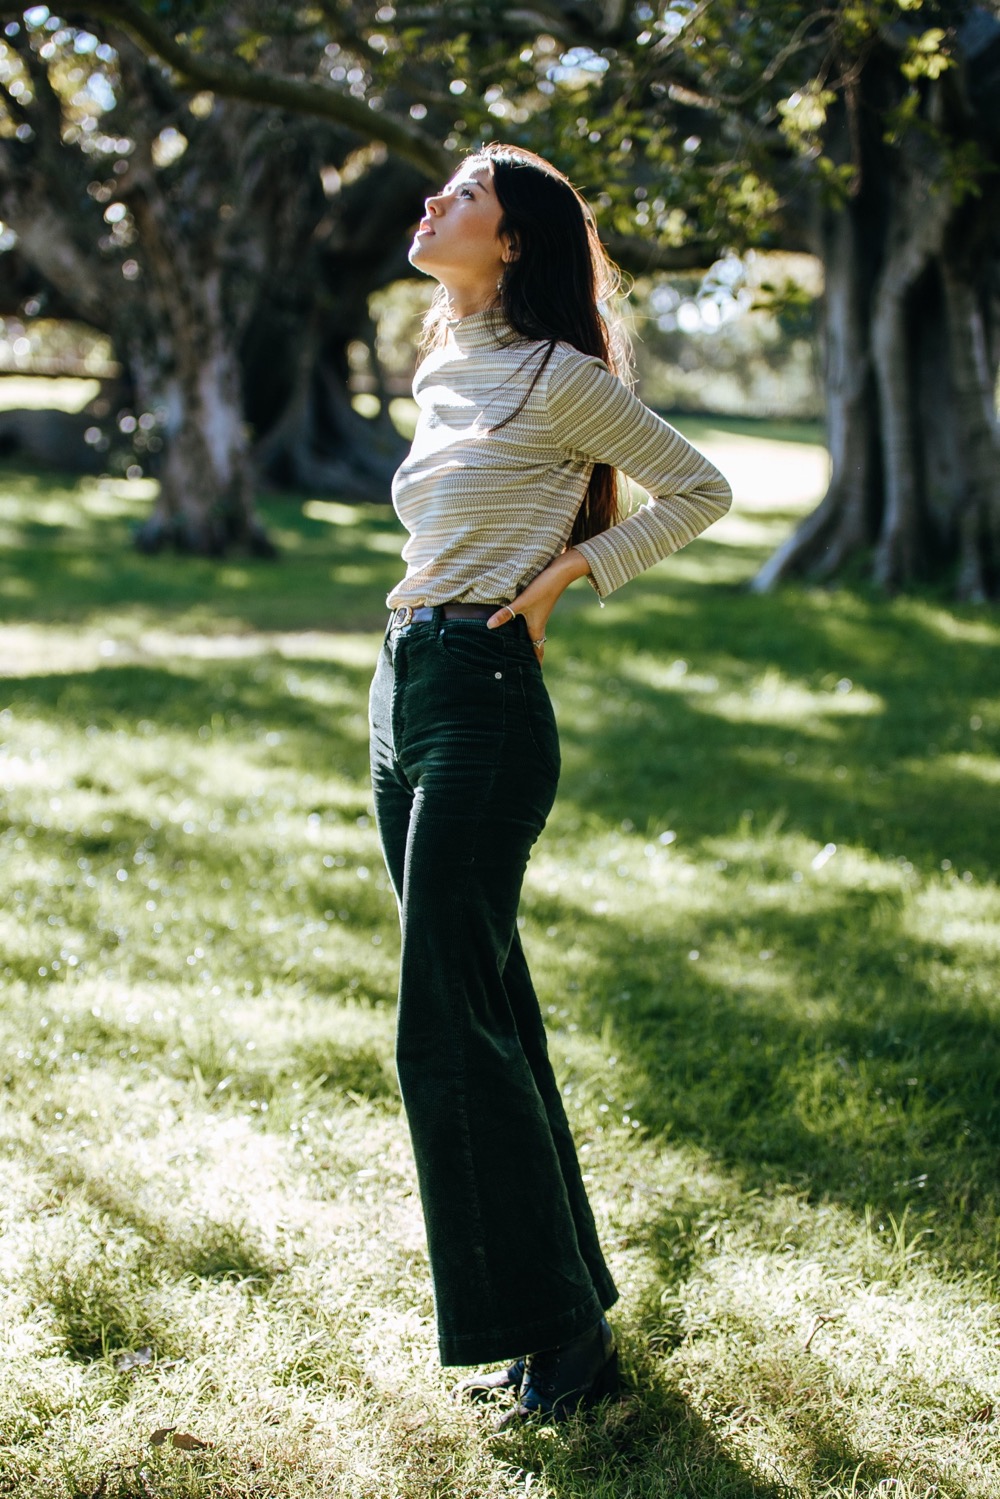
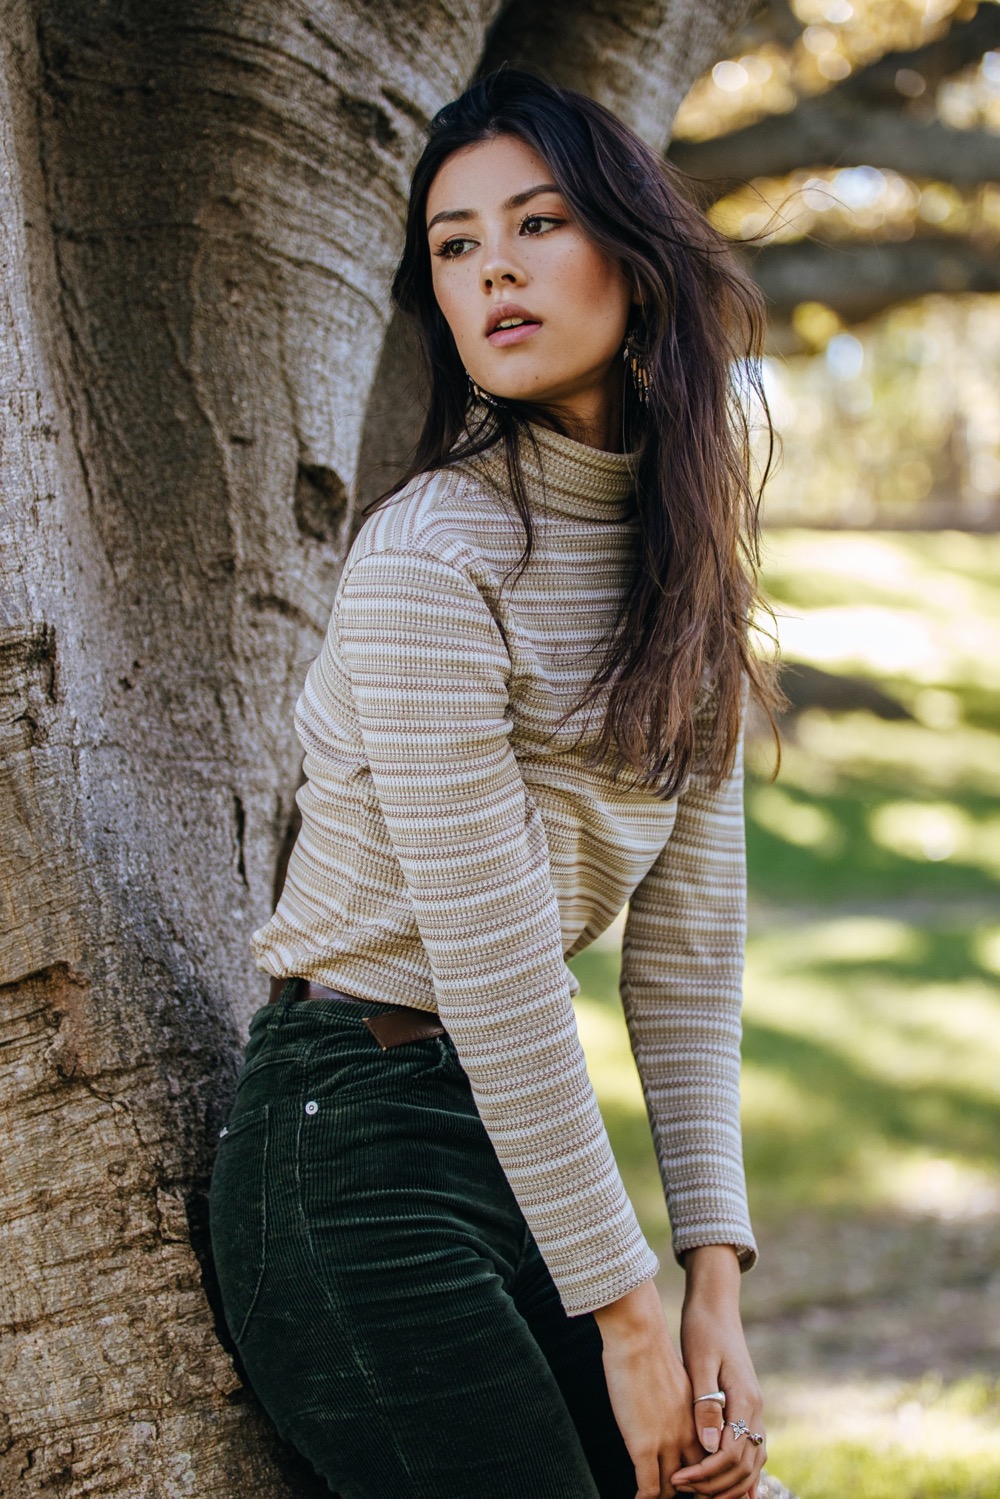
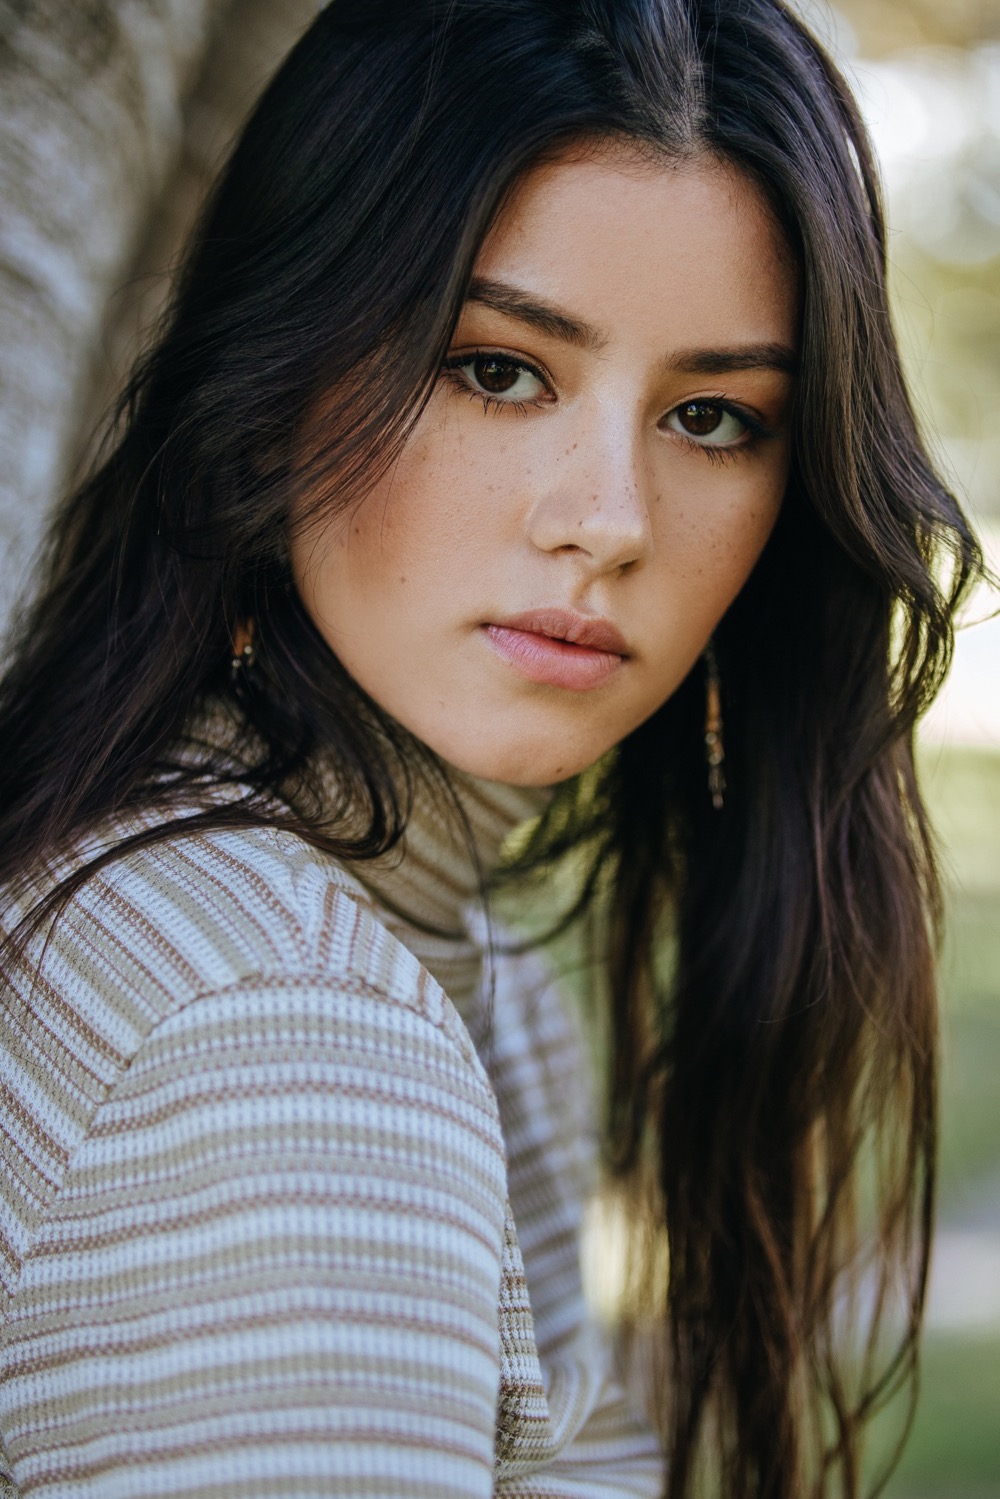
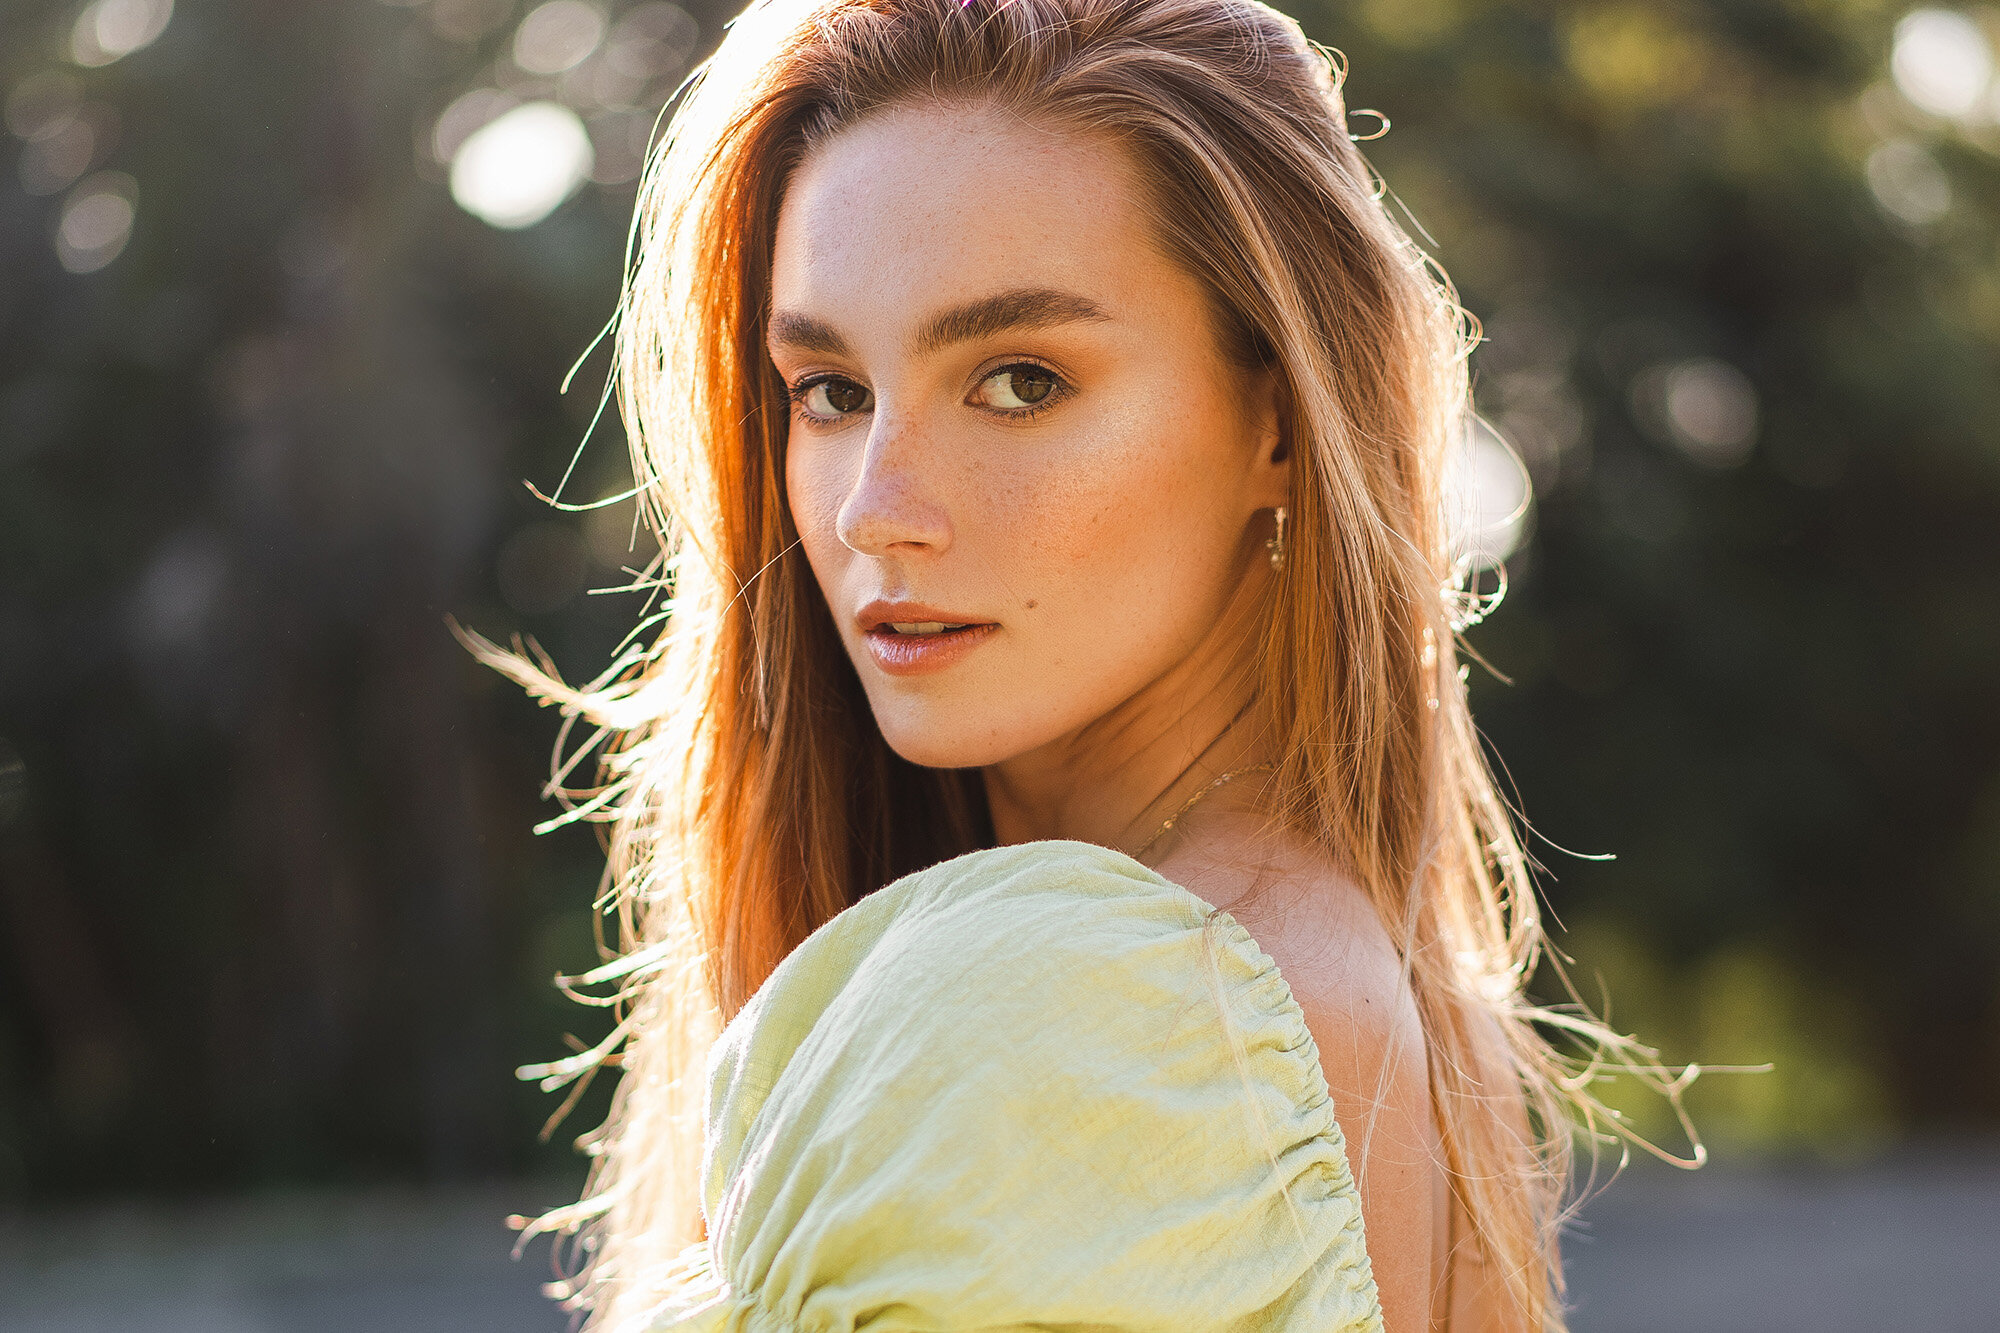
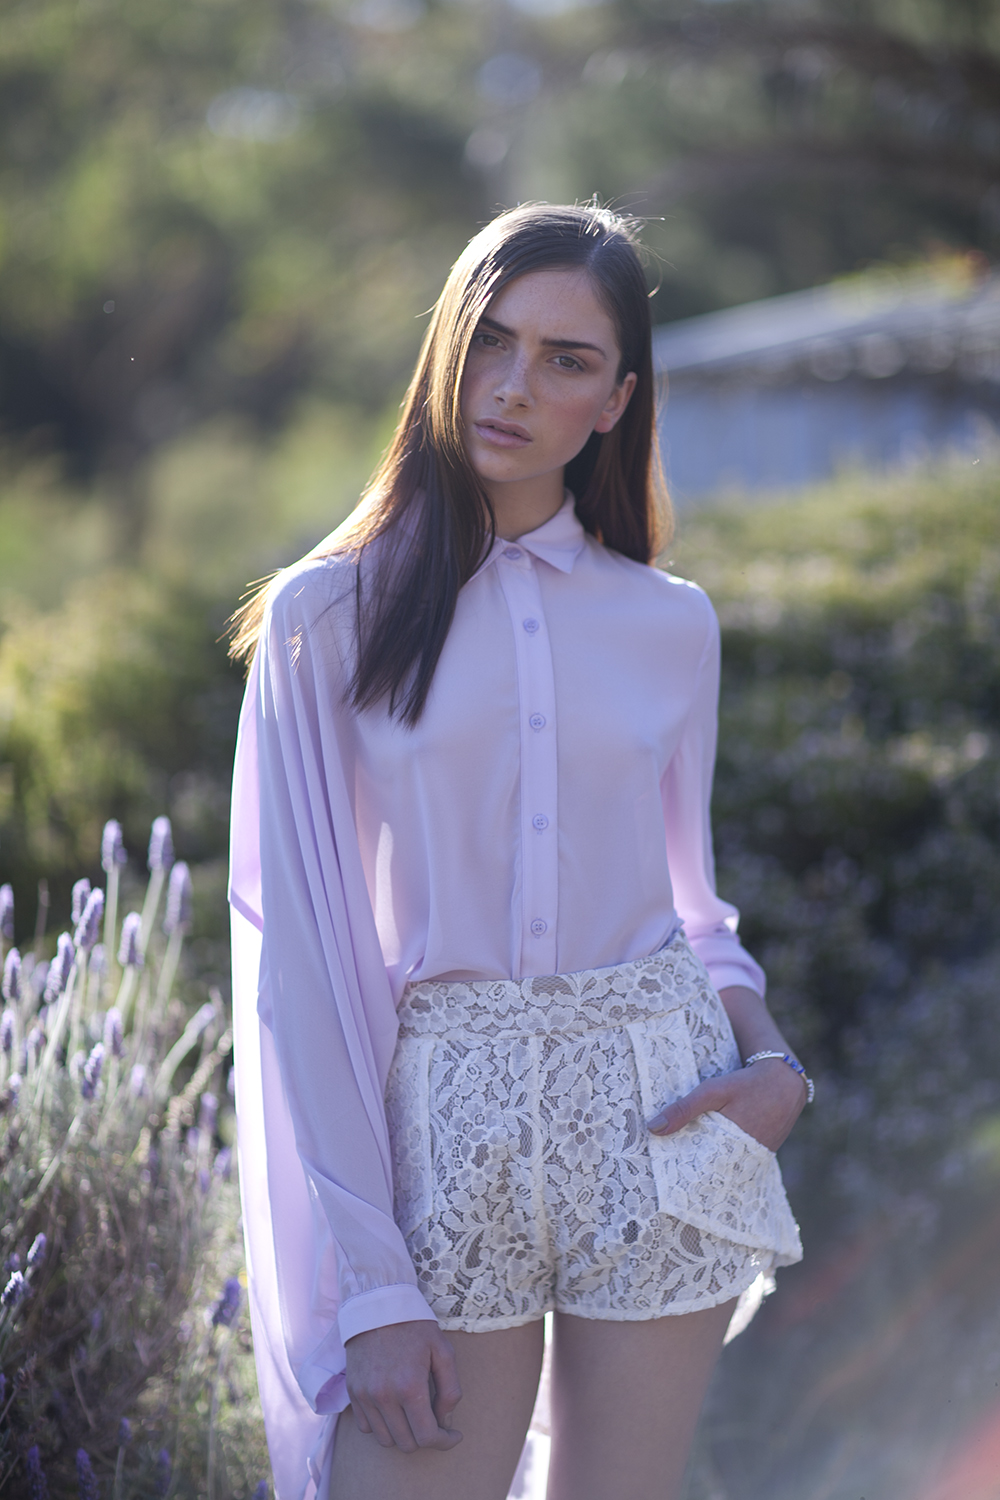
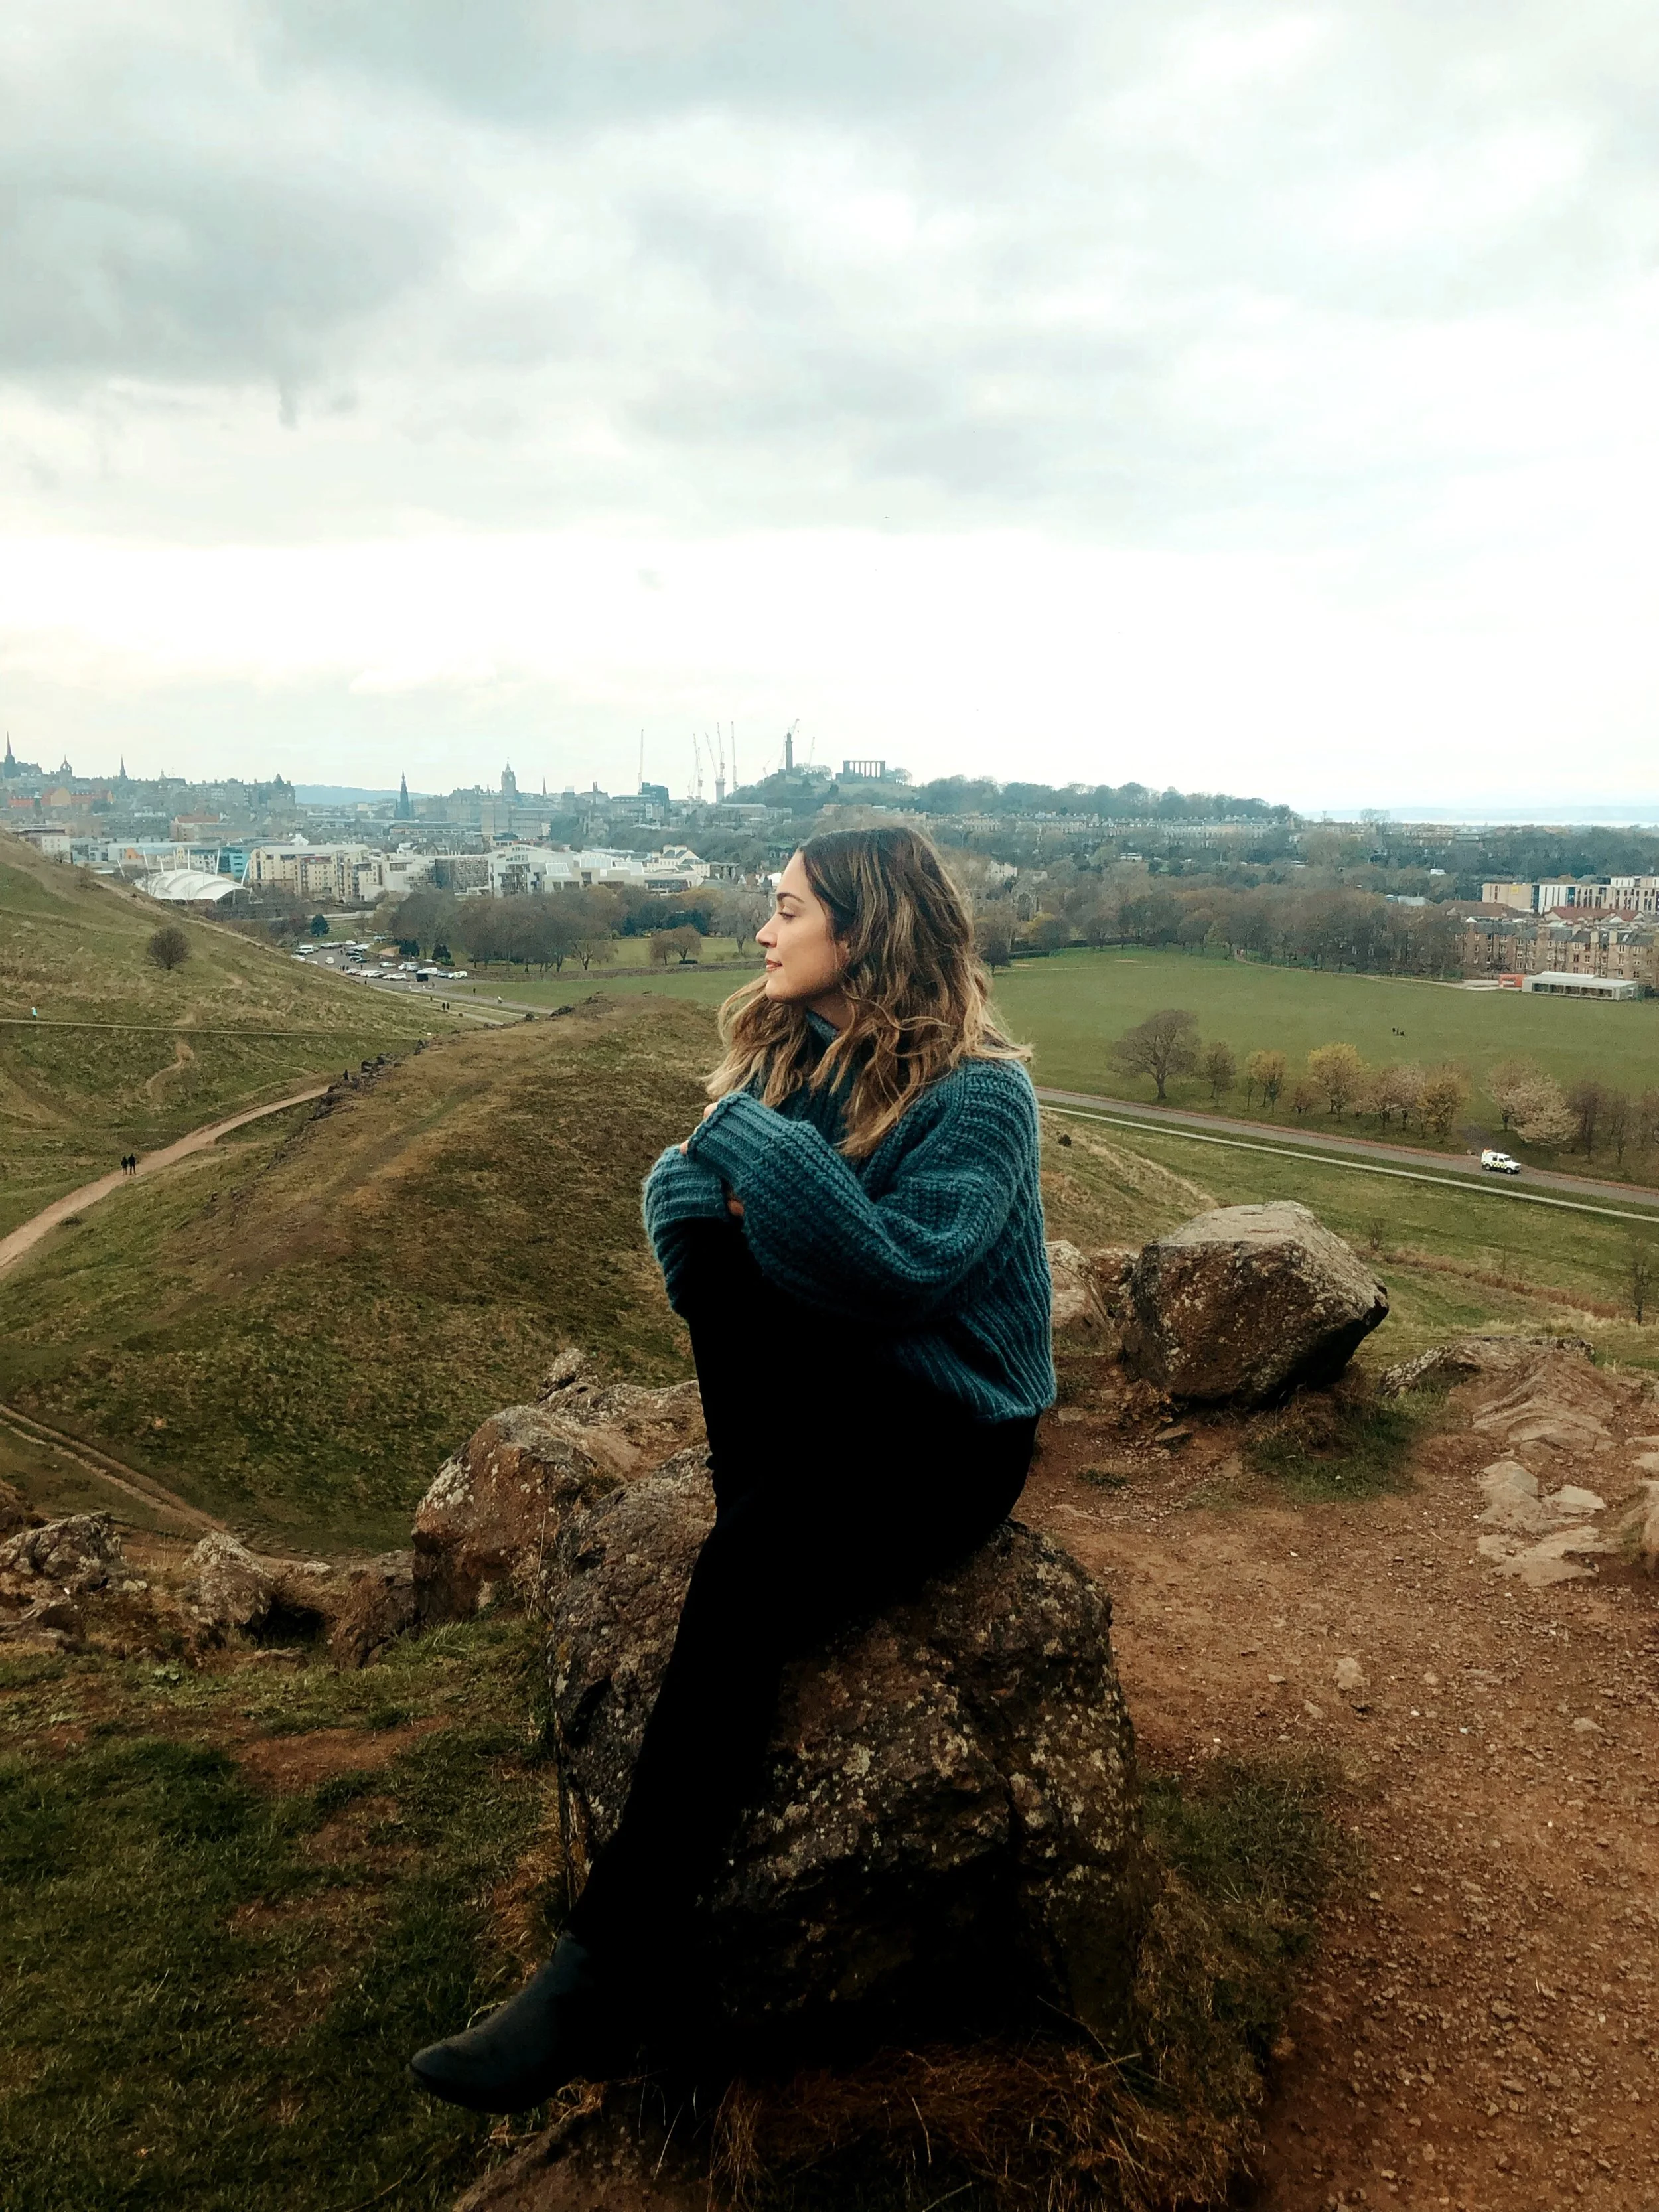
During this photoshoot, I’m using the Sony A7IV paired with the Samyang 24-70mm f2.8 zoom lens. This zoom lens gives me a lot of flexibility while shooting as it allows me to capture both wide and tight compositions without changing lenses. This is especially helpful is fast paced environments or when taking photos on a time crunch. While taking portraits, I’m also sharing a few of my go to composition tips for working with a standard zoom like this.
Viewing entries tagged
tutorial
During this photoshoot on the streets of Sydney, I share 5 composition tips to improve your portraits. I take you through my thought process when taking portraits in busy locations and share what to look out for to capture beautiful portrait of your subject.
My top 10 favourite photography tutorials I created in 2021. From composition tips, to reviewing new camera bodies and creative portrait photoshoot behind the scenes!
If you can only afford one prime lens, make sure this is the one you get! The 50mm focal length is a versatile prime for portrait photography, making it a great solo lens in your camera bag. I share 5 easy composition tips for portrait photography when using a 50mm lens.
Every portrait photographer should have a range of poses for their subject at a photoshoot. I work with many talented models who often already know how to pose and move around in front of the camera. I also work with people who have never been in front of a camera before and have no idea what to do!
This is my process of planning a photoshoot from beginning to end. I share how to find photo locations, organise a team of makeup and a model and how I make my shoot vision come to life.
In this portrait photoshoot, I share 5 tips for better portrait locations even when you find yourself in a mundane location. The photos in this creative photoshoot behind the scenes were shot on the Canon 5D mk4 + Canon EF 35mm f1.4 mk1.
In this tutorial, I share with you how to take sharp photos on a DSLR camera. This tutorial in particular focuses (no pun intended!) on how to take sharp portraits when shooting wide open at f1.2 and capturing movement at the same time.
The 35mm prime focal length is the perfect lens for travel photography. In this video I share with you 5 reasons you should consider adding a 35mm lens to your camera kit.
In this beginner photography tutorial, learn how to use your camera in manual mode. I share how to choose the best camera settings for taking photos, with an easy trick to understand and master the exposure triangle.
In this photography tutorial, I share my favourite portrait composition tips to capture better looking portraits. I chose an urban location for this photoshoot, since having a distracting background with lines, different colours and textures is helpful to see the before & afters of my composition tips.
In this photography tutorial, learn how to pose your clients for a portrait photoshoot. These are easy posing prompts that you can use for a subject who isn’t comfortable in front of the camera.
These are some of the sample images I took with the new Google Pixel 4, watch my review video to hear my thoughts about the camera below! We did a portrait photoshoot on location and also headed on a roadtrip to try our the new astrophotography mode. All of these photos are straight out of the camera with no editing except for the banner image and the final astro photo at the end of the blog post. Download the high resolution images for some Pixel 4 pixel peeping here!
Please subscribe to my channel if you haven’t already! I upload new photography related videos every single week.
Big thank you to my team!
model claudia
makeup lidija j
video dan @ i make films
The Sigma 18-35mm f1.8 is a lens my partner Dan uses to film our YouTube videos with on the Sony A7sII and A7sIII. During this photoshoot, I decided to try it out for portrait photography alongside the Sigma 50-100mm f1.8 lens. I love the colour rendition and quality of our raw YouTube video footage, and am excited to see what these lenses look like for photography!
Both the Sigma 18-35mm f1.8 and Sigma 50-100mm f1.8 are crop frame lenses. Dan uses them adapted with a Metabones 4 to his Sony cameras. However, I hired the Canon 7D mk2 crop frame camera body to use them for this portrait photoshoot. I find that using native mount lenses helps with autofocus performance and accuracy. For video it's not a problem since Dan manual focuses. But for photography, part of a lens review is seeing how well a lens can autofocus.
Watch the behind the scenes video below to see my camera settings and how we took these images. I also share my review on how these 2 Sigma zoom lenses perform for portrait photography.
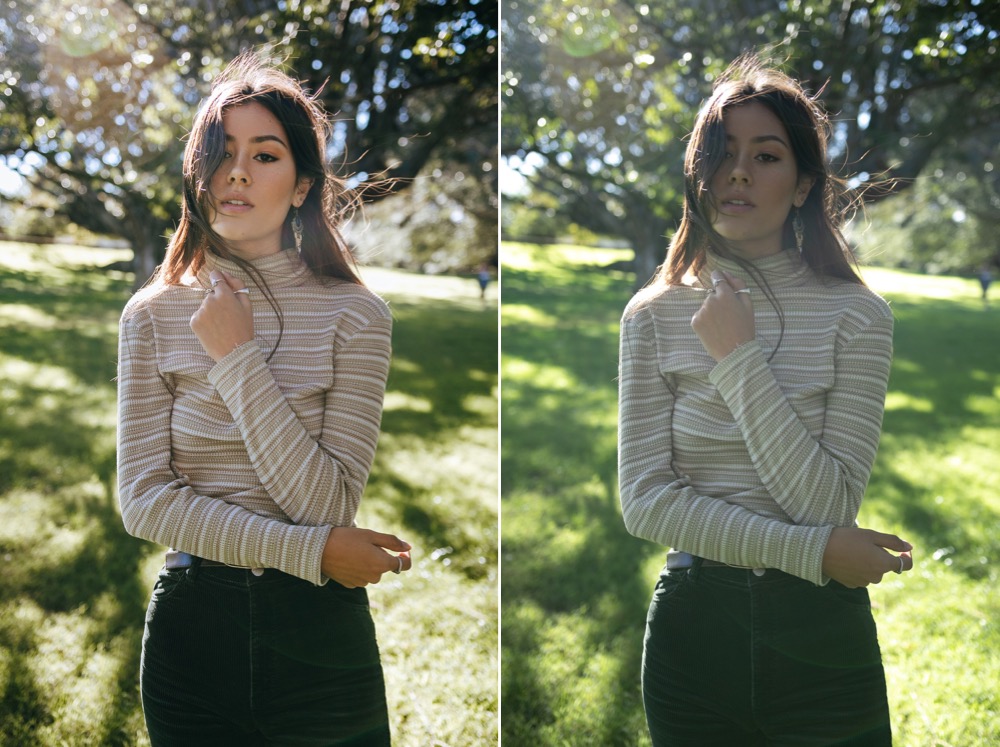
Below are my favourite photos I took on this day! I included before and after examples so you can see what the image looks like straight out of the camera. The photos in this blog post are edited with my Mountains Lightroom Preset Pack. You can watch the behind the scenes video to see all the SOOC photos.
Please subscribe to my channel, I upload new photography videos every single week!
model @mahaliaceleste
makeup @lidija.mua
All photos edited with my Mountains Lightroom Preset!
All photos edited with my Mountains Lightroom Preset!
If you enjoyed this blog post, you might want to check out this photoshoot on the one of a kind Sigma 35mm f1.2 on the Sony A7iii! Or if you are after more Canon photoshoots, in this photoshoot I compare crop frame vs full frame with the Canon 7Dmk2 and the Canon 5Dmkiv.
This free photoshoot checklist is a helpful and efficient way to plan your next portrait photography session. This checklist is completely customisable to suite you and your clients needs.
If you've ever felt stuck with giving direction to your subjects during a portrait photoshoot, then this tutorial is for you! In this "How to pose people who are not models" video, I share with you some simple posing tips and tricks that you can use at your next photoshoot.
I uploaded this speed editing video to my youtube channel a long time ago, and I finally thought it was time to write up a tutorial to follow it! Above is the final image and below is the image I took straight out of the camera. You can watch the youtube speed editing video to see my process, and below I have finally written up the steps I took to create this image! Enjoy!
01. Lightroom Editing // This is the original image straight out of the camera, no editing done yet whatsoever. The first thing I do to any image is open it in Lightroom. In Lightroom I applied my Wild Bird Preset from Digital Film Action to colour my photo to work as a base for my expansion. I made a few minor tweaks to the exposure and white balance and opened up my image in Photoshop.
02. The Expansion Process // In Photoshop begins my expansion process. I didn't plan to create an expansion with this photo when I first took it, so it took a creative eye to find the right background to stitch to the photo from other photos I took on the day.
I went through all the photos I took around this one and picked out the ones I could use the background of to add to this image. I then imported all those photos to Lightroom and synced the edits so all the images would have the same colours and tones applied to them to make the stitching process easier.
03. Stitching Images Together // When expanding a photo with a busy background, I aim to focus on particular areas and expand the image slowly rather than doing all of it at once. In this case, I started with the top left hand corner first as it was the easiest in my opinion - it was very blurred bokeh trees that were easy to blend together. I used the Lasso tool to select a similar looking area from another photo then dragged it into place on the image I am working on. I add a layer mask and use a low opacity (about 20%), soft brush to slowly blend in the edges.
04. The Stitching Continues // I continue with the process on focusing on particular areas to expand my image. First I expanded the top left hand corner of blurred colour and texture, next I focused on the lavender field in the bottom left hand corner, then the blurred flower bush in the right corner. Finally I added some more blurred bokeh tree to cover the structure that was distracting in the background of the top right hand corner.
There are no real shortcuts to expanding images like this. It takes a lot of patience to find the right sections that you can copy from other pictures to blend into the one you're working on. After about an hours worth of work, I was finished!
05. Subtle Details // Once I saw my image expanded as a whole, I could start getting creative with the extra details. The first thing I added is very subtle but I thought added a nice touch. I used a large, soft brush at an opacity of about 5% and painted with a solid white colour in the bottom of the right hand corner. This was to add to the washed out back-lit look of the photo.
06. Adding the Bugs // During this shoot, I photographed some closeups of Elle in front of a lavender bush and there were hundreds of little bugs flying around catching the light around her which I thought was a lovely addition to the photo. I really wanted to add that aspect to this image I was working on, so I collected a few different bugs from those close up portraits and added them to this picture. I made sure to add a variety of these bugs - some are in focus, some are on her hair or over her clothes and some are blurred out from the depth of field.
Just like the background images I used for the expansion, I also applied the same Lightroom presets to the bug portraits to make sure they would fit in to the picture. I then selected the individual bugs with the Lasso tool and with a layer mask and a soft brush, painted out the background until they blended in and looked natural.
07. Adding Light Leaks & Final Colour Grading // One of the last details I want to add to the image is another light leak, this time opposite to the first one I added. I create a new layer, select a vibrant yellow/orange colour in my palette, then use the Gradient Tool set to a Radial Gradient to create a circle on the top left hand side of the image. I set the layer to Screen and lower the opacity until the light leak blends in.
The final step I take in editing an expansion is one last colour grade. I first colour grade the image in sections. I use the Lasso Tool to make a selection around Elle and set the feather to 200, then use the RGB Curves tool to increase the contrast and tweak the colours. I also colour the blurred flower bush to the right of the image on it's own as well as the lavender bush. I then create one last RGB Curve layer to colour the image overall and we're done!
And here's a little fun GIF I want to leave you with of all the process images I saved throughout my editing! Please leave a comment letting me know what you think and if you'd like to see more blog posts like this.
If you would like to see more tutorials, please check out my Digital Film Actions Blog which is updated twice a week, as well as my YouTube Channel - also updated weekly with tutorials and daily with vlogs!
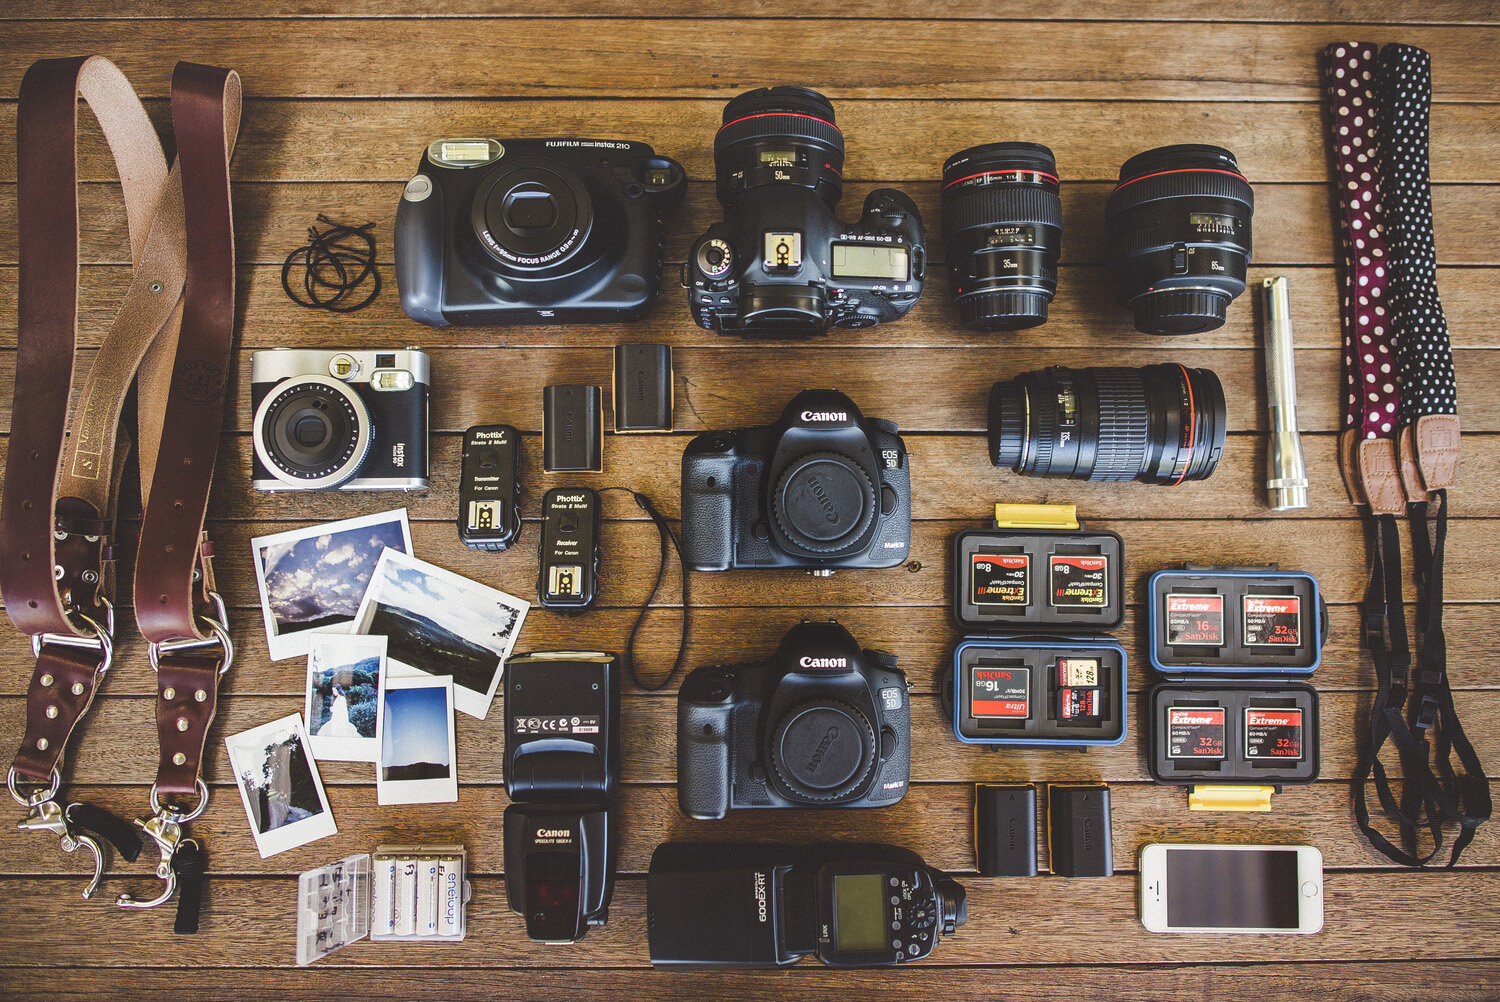
I currently shoot on the Canon 5D mkiii for all my work and have a second mkiii body as an insurance policy in case anything happens to my main camera body.
for as long as i can remember i have always been artistic or creative in some way. i was a quiet girl with long, untamed hair and bruised legs from rollerskating falls. i was quite dark when i was younger. i think looking back on those days now, i understand why. i didn't know what to do with my thoughts or my creativity, i didn't really understand who i was or what i was meant to be doing. i would spend a lot of time alone, i didn't like talking to new people and i always quiet at school and would mind my own business. i think inside i knew there was meant to be something more for me, something that i couldn't find by doing what everyone else was doing; i needed to do it myself.
in 2005, i was fourteen years old when colour and art began to really spark an interest in me. i opened up a deviantart account under the name of vampire-zombie for lack of a clearer vision of what me or my art was about. from there i became obsessed at watching other people's artworks. the first thing i would do when i came home from school is log on and flick through the endless pages of inspiration in this new world i discovered. at first i gushed over the work of traditional artists; drawers, painters, people who used mixed media. that slowly grew into discovering the world of digital painters and slowly after, the world of photomanipulations.
about a year after opening my deviantart account i decided to take matters into my own hands and try my hand at some manipulations. at first i would use stock images from the internet and post them up online and ask people what they thought. i never got much of a response. i would put together digital wallpapers of my favourite bands and things i thought were pretty. but after a while i realised all that was not for me. the next thing i did was grab my family's digital camera, it was nothing special - just a little compact camera, but i took it with me everywhere i went and took pictures of everything. there was something about documenting the everyday things; the mundane, the usual, that captivated me. it seemed like a whole new world of remembering had been opened up for me.
i was too scared to take pictures of people. even of myself. i would take landscape photos, pictures of my dogs and i would stop on the side of highways just to look at the flowers close up. i was particularly inspired by the sky and created conceptual photos every now and then.
eventually i tired of taking photos of the same things and started to take self portraits. i would set my compact camera on the floor on a ten second timer and would get photos of myself running through fields or jumping in the air. at the same time i would ask my sister if i could take photos of her sitting on rocks or walking through the water at the beach. my photos even when i started, were natural and full of movement, i liked the quiet moments, the little nothings.
i took photos of my sister and i for half a year while saving up for my first slr. the pictures i took and posted online were sold as book and album covers, much to my bewilderment. but i still took every offer i had with appreciation even though i didn't quite understand what was going on. when i finally had my pentax k1000d in my hands, i spent time learning how to shoot manually, with confidence that i could finally take control over the images i wanted to create. i shot self portraits and pictures of my sister for a little while longer before i asked two of my friends if they could model for me. my first ever shoot with someone other than me, was an alice in wonderland shoot. we set up a table full of teacups and pills, walked down to the supermarket to buy cupcakes to shoot with and spent the afternoon living a mad hatter's tea party while i took photos.
i didn't do any fashion shoots with my pentax camera. i spent that time learning what my style was, learning how to shoot portraits and work with people in photography. it helped me realise that i loved taking photos of people; but not in the ordinary way that the photography magazines i bought told me to. i liked to take photos while they are doing something, jumping, lost in thought, exploring the wilderness, brushing a strand of hair off their face.
i started to save up for a new camera. the lens on my pentax camera broke and i had been using it with a $7 film lens i found at the markets which wouldn't screw onto my camera so it sat on the body taped up with electrical tape. the photos were lovely either way, but i wanted something more. i started to have dreams of seeing my work up on billboards and to create art that would be remembered forever. somewhere my passion for taking portraits evolved into the desire to shoot fashion. i wanted a new challenge, to take photos of people i've never met before, put teams together and shoot for a reason (although just shooting for yourself is probably one of the best reasons to shoot). i wanted to put all my concentration into shooting and using the camera rather than trying to juggle both photography and modeling for my photos.
when i finally got my hands on my new camera, the canon 5dmkii, it was a breath of fresh air, like i was rejuvinated with inspiration. i had ideas and absolutely nothing in my way of making them happen. i planned a few shoots with some pretty models i found online and the shooting started. i spent a lot of time still just shooting for fun, i blogged all the photos i took and continued sharing my work online. eventually people started emailing me asking if i could shoot for them for money. i got to shoot book covers, photos for bands, eventually i started shooting model portfolios and lookbooks for designers. all of that came with me growing in what i'm doing. i never really pushed for that side of things or even thought about it all that much. they happened and all i tried to do was put as much passion into those jobs as i did for my personal work.
along the way my family and dan have helped me endlessly and supported me. i know a lot of people don't have that luxury, but i am so appreciative to have the love of the people who are close to me and even their help and advice when i needed it the most.
since then until now it has all been a wonderful ride of experiences and learning and meeting new people that i never expected to happen. i feel so blessed to be living the way i do and being able to do what i love every single day. i know i worked hard and i've been doing this for a long time even though i am young. since the beginning, taking photos would be the first thing i thought about and the only thing i would do during the day and night.
i guess i'm writing all this, not just to share it with you, but for myself too. even after years of taking photos and being a photographer i still feel unsure about myself every now and then. sometimes old feelings crawl back under my skin and haunt me for a couple of days. sometimes something doesn't go right and i question what i'm really doing. but the answer will always be i'm doing what i love and what makes me most happy (more than anything).
it's okay to be uncertain sometimes, it's okay if things go wrong and it's okay if you don't know where you're going or how to get there. i still don't know.
all you need to know is that if you're passionate about something; follow those dreams and make them come true. all the hard work is worth it if you enjoy the journey and live a full life knowing that you're living for something you love.


